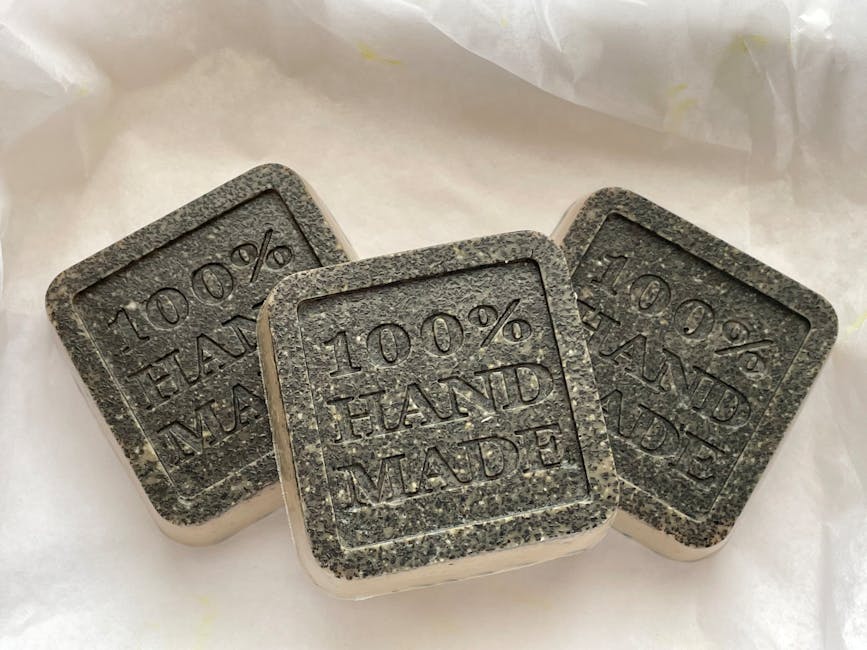
How to Make Shea Butter Soap (Creamy Cold Process Recipe)
Learn how to make shea butter soap with this cold process recipe. Get the right oil ratios, step-by-step instructions, and tips for a luxurious moisturizing bar.

How to Make Shea Butter Soap (Creamy Cold Process Recipe)
Shea butter produces some of the most moisturizing, skin-loving bars you can make at home. It brings a creamy lather and silky feel that few other ingredients can match. This cold process recipe uses shea butter at 20% for a conditioning bar that holds up well in the shower without turning mushy.
- Why Use Shea Butter in Soap?
- Choosing the Right Shea Butter
- Shea Butter Soap Recipe
- Step-by-Step Instructions
- Tips for Working With Shea Butter
- Troubleshooting
- Variations to Try
- Frequently Asked Questions
Why Use Shea Butter in Soap?
Shea butter is rich in unsaponifiables, the portion of the fat that doesn't react with lye. That leftover shea stays in your finished bar as a natural moisturizer. Bars made with shea butter tend to feel smoother on the skin and leave less of the "tight" feeling you get from high-coconut recipes.
In terms of bar properties, shea butter contributes:
- Conditioning - High oleic and stearic acid content softens skin
- Hardness - Makes a firm, long-lasting bar
- Creamy lather - Dense, lotion-like bubbles (not big fluffy ones)
- Stability - Resistant to going rancid thanks to natural antioxidants
The tradeoff is that shea butter doesn't add much cleansing power or lather volume on its own. That's why you pair it with coconut oil and other oils to balance the recipe. Use the Soaply calculator to see exactly how different shea butter percentages affect your bar properties.
Choosing the Right Shea Butter
Not all shea butter is the same. For soap making, here's what matters:
Unrefined (raw) shea butter keeps its natural vitamins and fatty acids intact. It has a nutty, earthy smell and a yellow-to-ivory color. This is the best choice for cold process soap because you get the full skin-care benefits.
Refined shea butter has been filtered and deodorized. It's white, odorless, and slightly lower in beneficial compounds. Use this if the natural shea scent clashes with your fragrance plan.
Grade A vs. Grade B: Grade A is minimally processed and retains the most nutrients. Grade B is more heavily filtered. Either works fine for soap, but Grade A is preferred.
Avoid shea butter that lists additives or preservatives. Pure, single-ingredient shea butter is what you want.

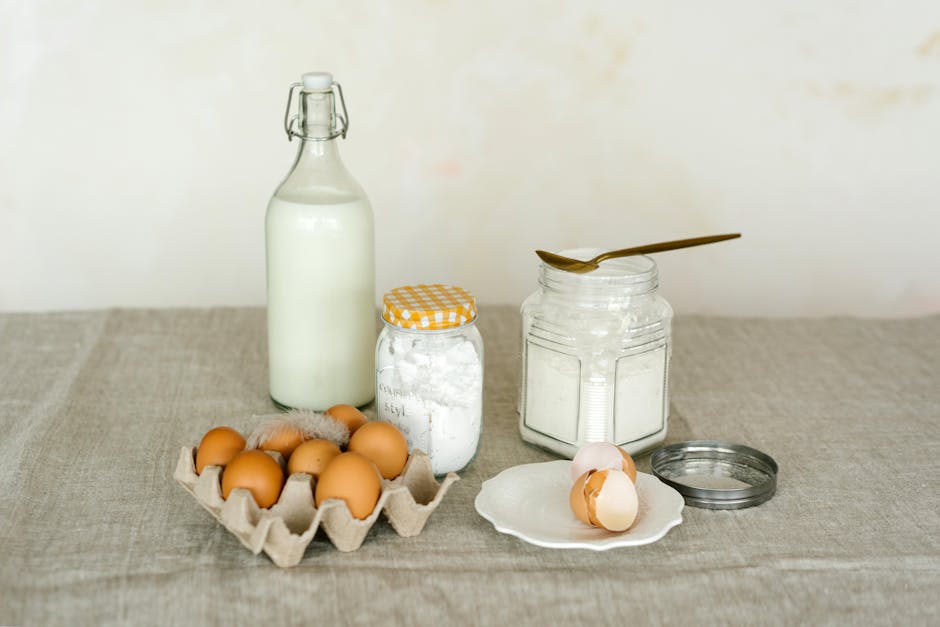
Shea Butter Soap Recipe
This recipe makes about 3 pounds of soap (roughly 8-10 bars depending on your mold).
| Ingredient | Percentage | Weight (grams) |
| ------------ | ----------- | ----------------- |
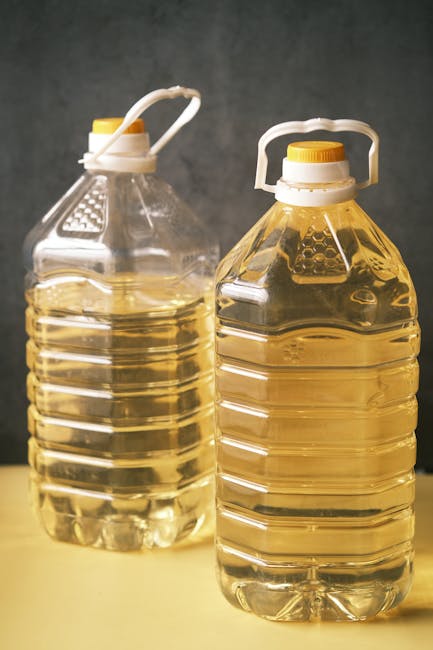
| Olive Oil | 35% | 476 g |
| Coconut Oil (76 degree) | 25% | 340 g |
| Shea Butter | 20% | 272 g |
| Sweet Almond Oil | 10% | 136 g |
| Castor Oil | 10% | 136 g |
| Total Oils | 100% | 1360 g |
Lye and water:
- Sodium Hydroxide (NaOH): 192 g (5% superfat)
- Distilled Water: 408 g (30% lye concentration)
Optional additions:
- Fragrance or essential oil: 82 g (6% of oils)
- Colorant of choice
Use the Soaply calculator to adjust this recipe to your preferred batch size or superfat level. Every oil has a different SAP value, so always run the numbers before changing percentages.
What This Recipe Produces
Based on the oil profile, here's what to expect:
- Hardness: Firm bar that lasts well in the shower
- Cleansing: Moderate, won't strip skin
- Conditioning: High, thanks to shea and almond oil
- Lather: Creamy with moderate volume (castor oil boosts bubbles)
- INS: Within the ideal 136-170 range
Step-by-Step Instructions
1. Prepare Your Workspace
Lay out all equipment: digital scale, stick blender, mixing containers, silicone mold, and safety gear. Wear goggles and gloves before handling lye.
2. Mix the Lye Solution
Weigh 408 g of distilled water into a heat-safe container. Slowly add 192 g of lye to the water (never water to lye). Stir until dissolved. The solution will heat up to around 200F. Set it aside to cool. For a detailed lye safety walkthrough, see our soap making safety guide.
3. Melt and Combine Your Oils
Weigh each oil into a large pot or mixing bowl. Shea butter and coconut oil are solid at room temperature, so gently melt them on the stove or in the microwave. Add the liquid oils (olive, almond, castor) and stir to combine.
4. Temperature Check
Let both the lye solution and oils cool to around 100-110F. Shea butter can cause false trace if the temperatures are too different, so try to get them within 10 degrees of each other.
5. Combine and Blend
Pour the lye solution into the oils through a strainer (catches any undissolved lye particles). Use your stick blender in short bursts to bring the mixture to light trace. Light trace looks like thin pudding; a drizzle across the surface leaves a faint line for a second before sinking back in.
Important with shea butter: Don't over-blend. Shea butter accelerates trace, especially at higher percentages. Stick to short 2-3 second bursts of the blender, stirring by hand in between. If you blast it with the blender continuously, you'll hit thick trace fast and won't have time to add fragrance or swirl.
6. Add Fragrance and Color
At light trace, stir in your fragrance oil or essential oil blend. If you're adding colorant, now's the time. For color ideas, check our natural colorants guide.
7. Pour Into Mold
Pour the batter into your prepared mold. Tap the mold on the counter a few times to release air bubbles. If your batter is still thin enough, you can do a simple in-the-pot swirl.
8. Insulate and Wait
Cover the mold with a lid or cardboard, then wrap it in a towel. Shea butter soap benefits from insulation because it helps the saponification process complete evenly. Let it sit undisturbed for 24-48 hours.
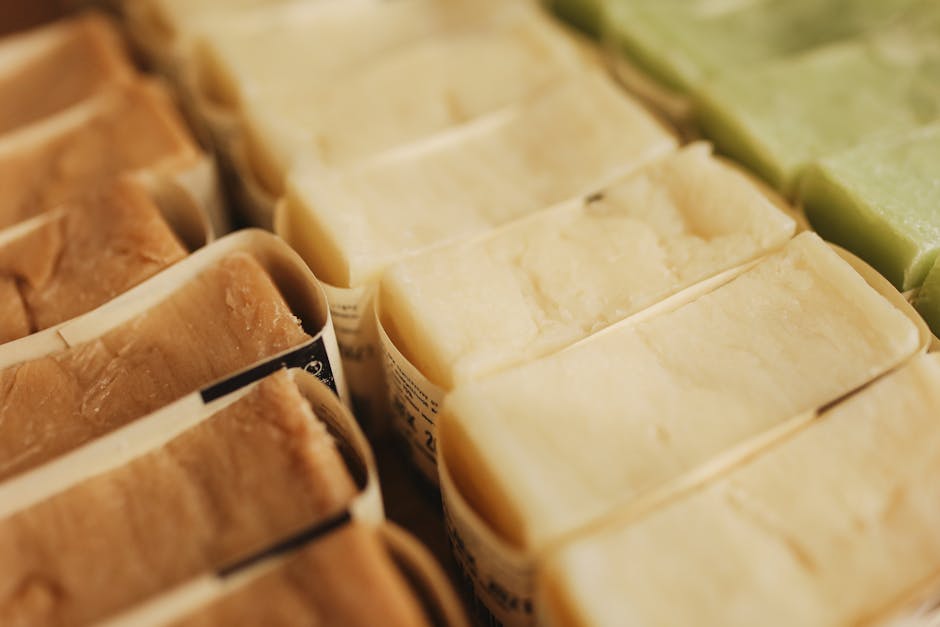
9. Unmold and Cut
Once the soap is firm enough to hold its shape, remove it from the mold and cut into bars. If it's still too soft after 48 hours, give it another day.
10. Cure
Place bars on a drying rack with space between them for airflow. Cure for 4-6 weeks. For more on why curing matters, read our curing guide.
Tips for Working With Shea Butter
Watch your temperatures. Shea butter can develop a grainy texture if it cools too slowly or unevenly. Keeping your soaping temperatures in the 100-110F range helps prevent this.
Don't exceed 30%. Shea butter above 30% can make your soap feel waxy or draggy. The 20% in this recipe hits the sweet spot for conditioning without sacrificing lather.
Stick blend carefully. Shea butter accelerates trace. If you want time for swirls or layers, soap at the lower end of the temperature range and blend minimally.
Use it in the superfat. Some soapmakers add shea butter at trace (after the initial lye-oil reaction) so more of it remains unsaponified. To do this, hold back 5-10% of the shea butter, melt it separately, and stir it in at trace. This keeps more of the conditioning properties intact.
Pair with castor oil for lather. On its own, shea butter makes a bar with minimal lather. Adding 5-10% castor oil significantly boosts both lather and bubbles.
Troubleshooting
Soap traced too fast: Shea butter and high temperatures are the usual suspects. Next time, soap cooler (90-100F) and use shorter blender bursts.
Grainy texture in the bar: The shea butter crystallized unevenly. This is cosmetic, not a safety issue. Soaping at a consistent temperature and insulating well usually prevents it.
Soft bars after 48 hours: High olive oil and shea butter both make softer initial bars. Be patient and unmold after 3-4 days if needed. The bars will harden significantly during the cure.
White spots on the surface: Likely soda ash, which is harmless. You can prevent it by spraying the top of your freshly poured soap with 91% isopropyl alcohol. More details in our troubleshooting guide.
Bar feels draggy or waxy: Too much shea butter relative to other oils. Keep it at 15-20% for the best skin feel.
Variations to Try
Honey shea butter soap: Add 1 tablespoon of raw honey at light trace. Honey increases lather and adds a warm golden color. Watch your temperatures because honey heats up during saponification. See our honey oatmeal soap recipe for more tips.
Shea and cocoa butter bar: Replace half the shea butter (10%) with cocoa butter for a harder, chocolate-scented bar. Cocoa butter adds extra firmness.
Lavender shea soap: Use lavender essential oil at 6% and add dried lavender buds at trace for a classic combination. Our lavender soap guide has detailed instructions.
Unscented sensitive skin bar: Skip the fragrance entirely and increase the superfat to 7-8%. Combined with the high shea butter content, this makes an extremely gentle bar. See our sensitive skin soap guide for more ideas.
Charcoal detox bar: Add 1 teaspoon of activated charcoal per pound of oils at trace. The shea butter's conditioning balances the drying effect of charcoal. Check our charcoal soap guide for details.
💬 Frequently Asked Questions
Can I use 100% shea butter to make soap?
You can, but you won't enjoy the result. A bar made from 100% shea butter produces almost no lather and has a sticky, waxy texture. Shea works best at 10-25% of your total oil blend, balanced with cleansing and lathering oils.
Does shea butter soap need a longer cure time?
Not necessarily. The standard 4-6 week cure applies. However, bars with high shea butter content do continue to improve in hardness and lather quality over 6-8 weeks, so extra patience pays off.
Is shea butter soap good for eczema or dry skin?
Shea butter's high unsaponifiable content means more natural moisturizers stay in the finished bar. Many people with dry or sensitive skin prefer shea butter soap. Keep the superfat at 5-8% and skip fragrance oils for the gentlest bar possible.
Can I substitute cocoa butter for shea butter?
They're not interchangeable. Cocoa butter is harder and adds more firmness but less conditioning. You can substitute about half (swap 10% of a 20% shea recipe for cocoa butter), but replacing all of it will change the bar's feel significantly. Run the numbers through the Soaply calculator to see how your bar properties shift.
How much shea butter is too much in soap?
Above 25-30%, shea butter starts causing problems: accelerated trace, waxy feel, and reduced lather. The 15-20% range gives the best balance of moisturizing power and usability.
Make Your Shea Butter Batch
Shea butter is one of the best additions you can make to any soap recipe. This 20% shea butter formula gives you a conditioning, long-lasting bar without the common pitfalls of using too much. Plug the oil percentages into the Soaply calculator to customize the batch size for your mold, and adjust the superfat to match your skin's needs.
For more recipe inspiration, try our castile soap guide, goat milk soap recipe, or coconut oil soap tutorial.
Ready to Try It?
Use our free soap calculator to create your perfect recipe with real-time property predictions.
Open Calculator