Soap Swirl Techniques: A Complete Guide for Beginners
Learn popular soap swirl techniques including the hanger swirl, in-the-pot swirl, drop swirl, and more. Step-by-step instructions with tips for beautiful handmade soap designs.
Soap Swirl Techniques: A Complete Guide for Beginners
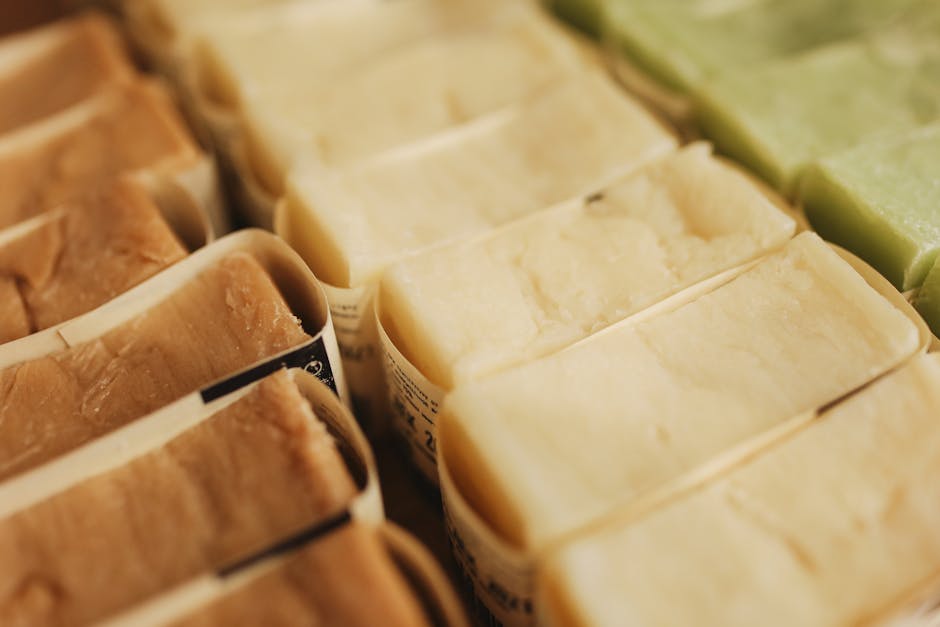
Swirling is one of the most satisfying parts of soap making. A well-executed swirl can turn a simple bar into something that looks like it belongs in a boutique. The good news? Most swirl techniques are easier than they look : you just need the right consistency and a bit of practice.
Before You Swirl: Understanding Trace
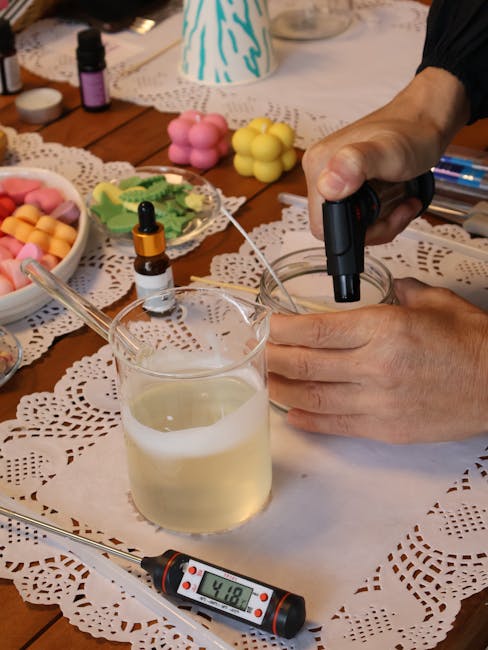
Every swirl technique depends on working at the right trace (thickness). This is the single most important factor.
| Trace Level | Consistency | Best For |
| ------------- | ------------- | ---------- |
| Light trace | Thin, like crepe batter | Drop swirls, Taiwan swirls, spin swirls |
| Medium trace | Like thin pudding | In-the-pot swirls, hanger swirls |
| Heavy trace | Like thick pudding | Spoon swirls, top designs |
Tip: Recipes high in olive oil stay fluid longer, giving you more working time. Recipes heavy on coconut oil or with high fragrance loads can accelerate trace and ruin your design.
Use our Soaply calculator to build a slow-moving recipe : aim for 40%+ olive oil or other slow-tracing oils like sunflower or rice bran. Check the complete oil guide for trace speed details.
Coloring Your Soap
You'll need at least two colors for most swirls. Common colorant options:
- Micas : Vibrant, reliable, wide color range. Best for beginners.
- Oxides & pigments : Earthy tones, very stable
- Natural colorants : Clays, activated charcoal, turmeric, spirulina (see our natural colorants guide)
Pre-disperse your colorants by mixing them with a small amount of lightweight oil before adding to soap batter. This prevents clumps and streaks.
How Much Colorant?
| Colorant Type | Usage Rate |
| --------------- | ------------ |
| Micas | 1–2 tsp per pound of oils |
| Oxides | ½–1 tsp per pound of oils |
| Activated charcoal | ½–1 tsp per pound of oils |
| Clays | 1–2 tsp per pound of oils |
The Techniques
1. In-the-Pot Swirl (ITP)
Difficulty: Easy : great for absolute beginners
Trace: Light to medium
This is the simplest swirl and produces organic, unpredictable patterns.
Steps:
- Bring your soap batter to light trace
- Split into separate containers and add colorants
- Pour each color back into the main pot : don't stir
- Use a spatula or chopstick to make 2–3 figure-eight motions through the pot
- Pour into your mold from one end in a steady stream
Tips:
- Less stirring = more defined color separation
- Pour slowly and steadily : don't dump
- Every bar will be unique
2. Hanger Swirl
Difficulty: Easy to medium
Trace: Light to medium
Creates elegant, flowing lines through each bar.
Steps:
- Pour alternating colors into a loaf mold in layers or stripes
- Insert a wire hanger (or long skewer) at one end of the mold
- Push the hanger to the bottom, then drag it through the soap in an S-pattern or zigzag
- Pull it out at the other end
- Repeat from the opposite end if desired
Tips:
- One pass creates subtle elegance; multiple passes create more complex patterns
- Keep the hanger touching the bottom for full-depth swirls
- Don't over-swirl or colors will muddy together
3. Drop Swirl
Difficulty: Easy
Trace: Light
Produces bullseye-like concentric rings when cut.
Steps:
- Prepare 2–4 colors at thin trace
- Pour a small amount of your base color into the mold
- Pour a contrasting color into the center of the base : it will push the base outward
- Pour the next color into the center of that
- Keep alternating colors, pouring into the center each time
- Fill the mold this way without stirring
Tips:
- Thin trace is critical : if it's too thick, colors won't spread
- Pour from the same height (about 6 inches above the mold)
- For a variation, pour from alternating ends instead of the center
4. Taiwan Swirl
Difficulty: Medium
Trace: Light
Creates dramatic, flowing curves. Essentially a drop swirl with a hanger pass.
Steps:
- Do a drop swirl (above) to fill the mold
- Insert a chopstick or skewer at one end
- Drag it through the soap in a continuous S-curve from one end to the other
- Optionally repeat from the opposite end
Tips:
- Use 3+ high-contrast colors for the most dramatic effect
- The thinner the trace, the more fluid and beautiful the curves
- This technique combines well with mica lines on top
5. Spoon Swirl / Spoon Plop
Difficulty: Easy
Trace: Medium to heavy
A beginner-friendly technique that works even with fast-moving batters.
Steps:
- Prepare 2–3 colored batters
- Spoon alternating dollops of each color into the mold
- For a spoon swirl, drag a skewer through the dollops lightly
- For a spoon plop (no swirl), leave as-is for a chunky mosaic look
Tips:
- This is your rescue technique when trace gets away from you
- Looks great even without any swirling
- Each bar cut will have a different pattern
6. Spin Swirl
Difficulty: Medium to advanced
Trace: Very light
Creates a mesmerizing circular spiral pattern.
Steps:
- Prepare 3–4 colors at very thin trace
- Pour alternating colors into a round mold (or the center of a slab mold)
- Use a skewer to drag from the center outward in a spiral
- Or place the mold on a lazy susan and spin slowly while pouring
Tips:
- Requires very thin trace : this won't work once batter thickens
- Round molds showcase this technique best
- Practice with 2 colors before attempting 3+
7. Pencil Line
Difficulty: Easy
Trace: Any
Adds a thin, crisp line of color between layers.
Steps:
- Pour your first color layer into the mold
- Sprinkle a thin, even line of mica powder or activated charcoal directly on the surface
- Gently pour the next layer on top (pour over a spatula to avoid disturbing the line)
Tips:
- Use a fine mesh strainer to dust mica evenly
- Charcoal creates a striking black line; gold mica is also popular
- Can be combined with any other swirl technique
Troubleshooting Common Swirl Problems
| Problem | Cause | Fix |
| --------- | ------- | ----- |
| Colors are muddy/mixed | Over-swirled or trace too thin | Fewer passes, slightly thicker trace |
| No color definition | Colors too similar, or over-mixed | Use higher contrast colors, swirl less |
| Soap seized while swirling | Fragrance oil accelerated trace | Use a slower fragrance or reduce usage |
| Uneven swirl distribution | Poured too fast or unevenly | Practice slow, steady pouring |
| Colors faded after cure | Unstable colorant (some naturals fade) | Use lab-grade micas or oxides |
Best Recipes for Swirling
Slow-moving recipes give you the most working time. Here's a proven swirl-friendly formula:
| Oil | Percentage | Purpose |
| ----- | ----------- | --------- |
| Olive Oil | 40% | Slow trace, conditioning |
| Coconut Oil | 25% | Cleansing, lather |
| Shea Butter | 15% | Hardness, moisturizing |
| Sweet Almond Oil | 10% | Conditioning |
| Castor Oil | 10% | Lather boost |
Use Soaply's calculator to run this recipe with 5% superfat and 33% lye concentration. The high olive oil content gives you plenty of time to execute even complex swirls.
Avoid for swirl recipes:
- High palm kernel or coconut oil percentages (accelerate trace)
- Floral fragrance oils (notorious for acceleration)
- Beeswax or stearic acid (thicken fast)
Tips for Better Swirls Every Time
- Stick blend less : Bring batter to emulsion, then hand-stir to trace. Over-blending accelerates trace.
- Prep everything beforehand : Colors mixed, mold lined, tools ready. You can't pause once you start.
- Temperature matters : Cooler temperatures (around 90–100°F) slow trace. Don't soap too hot.
- Fragrance test first : If using a new fragrance oil, test a small batch first. Some cause instant trace.
- Document what works : Take photos of each pour and the cut bars. Track what technique + recipe + colors you used. Our batch journal is perfect for this.
- Accept the surprise : Part of the joy is that you never know exactly what you'll get. Even "failed" swirls usually look great once cut and cured.
What's Next?
Once you're comfortable with basic swirls, try combining techniques:
- Hanger swirl + pencil line for elegant striped bars
- Drop swirl + Taiwan swirl for dramatic flowing patterns
- ITP swirl + spoon plop top for rustic artisan looks
The best way to learn is to make soap. Pick one technique, run a recipe through Soaply's calculator, and go for it.
Related reading:
Ready to Try It?
Use our free soap calculator to create your perfect recipe with real-time property predictions.
Open Calculator