Honey Oatmeal Soap Recipe: Soothing, Natural, and Easy to Make
Learn how to make luxurious honey oatmeal soap at home with this beginner-friendly cold process recipe. Gentle enough for sensitive skin with natural exfoliation.
Honey Oatmeal Soap Recipe: Soothing, Natural, and Easy to Make
Honey oatmeal soap is one of the most beloved recipes in cold process soap making : and for good reason. The combination of raw honey and colloidal oatmeal creates a bar that's gentle, moisturizing, and mildly exfoliating. If you've been looking for a honey oatmeal soap recipe that actually works, you're in the right place.
This recipe is beginner-friendly but produces professional-quality bars that make excellent gifts or products to sell.
Why Honey and Oatmeal Work So Well in Soap
Before we dive into the recipe, let's look at why these two ingredients are soap making superstars:
Honey in Soap
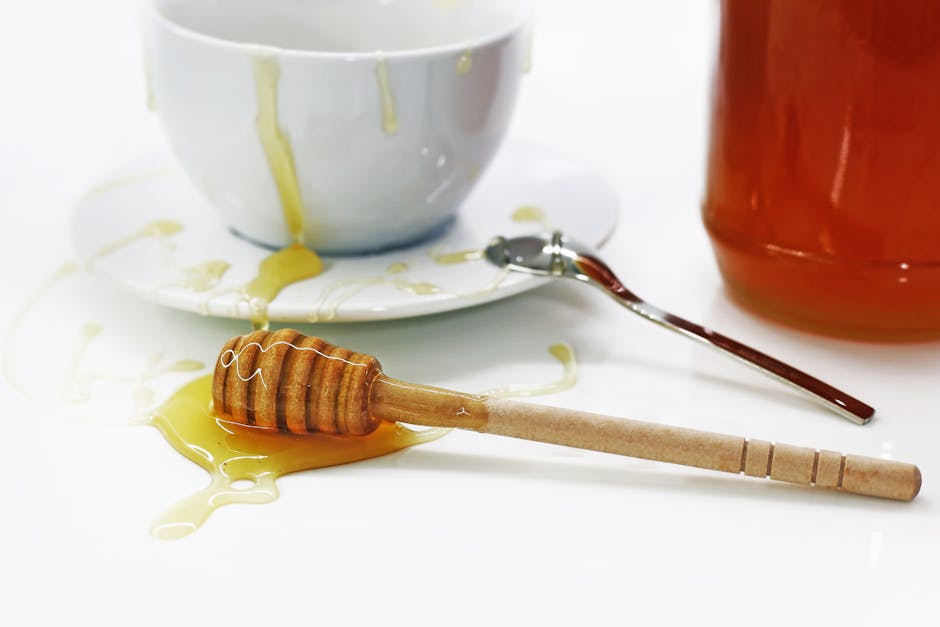
- Natural humectant : draws moisture to the skin
- Contains antioxidants : vitamins, minerals, and amino acids
- Produces a warm, golden color : no artificial colorants needed
- Boosts lather : honey sugars create extra bubbles
- Caution: Honey accelerates trace and heats up during saponification : you need to manage temperatures carefully
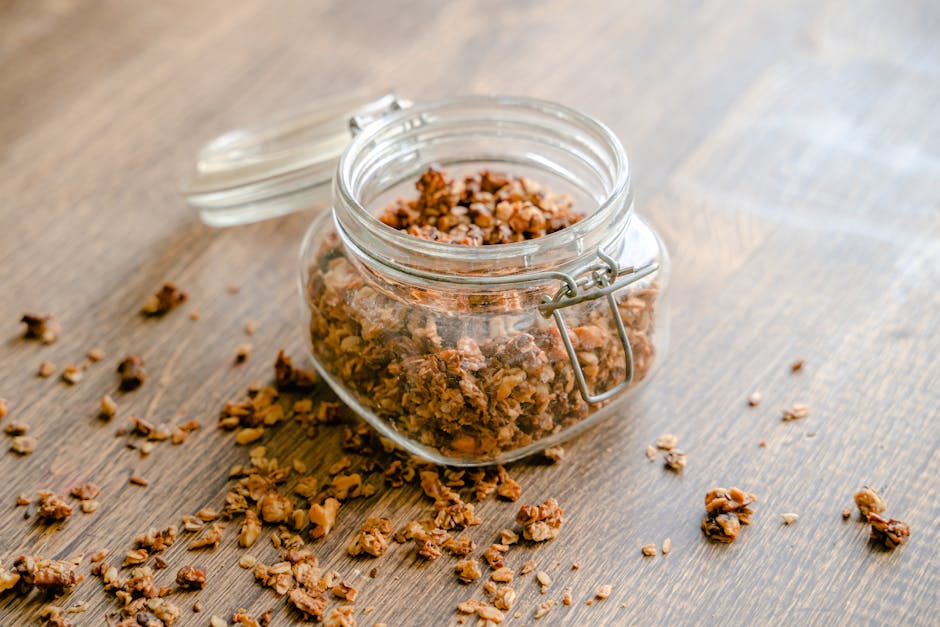
Oatmeal in Soap
- Gentle exfoliation : removes dead skin without irritation
- Anti-inflammatory properties : soothes itchy, dry, or irritated skin
- Colloidal oatmeal is FDA-recognized as a skin protectant
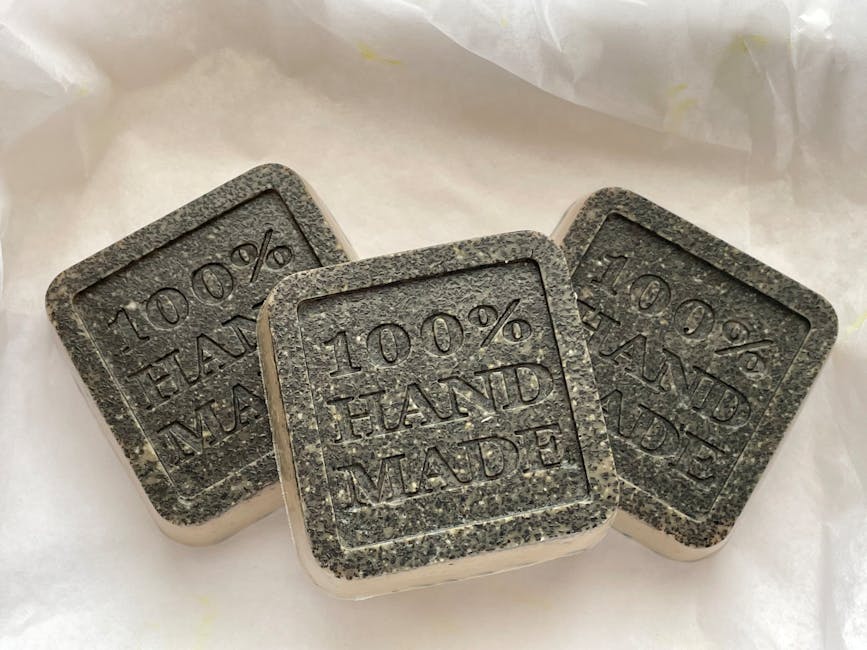
- Adds visual texture : gives your bars a rustic, artisan look
Together, they make a bar that's perfect for sensitive skin, winter dryness, or anyone who wants a gentle daily cleanser.
Honey Oatmeal Soap Recipe
Oil Formula
| Oil | Percentage | Purpose |
| ----- | ----------- | --------- |
| Olive Oil | 35% | Moisturizing, gentle base |
| Coconut Oil (76°) | 25% | Cleansing, hardness, lather |
| Shea Butter | 15% | Conditioning, creaminess |
| Sweet Almond Oil | 15% | Lightweight moisture, skin-loving |
| Castor Oil | 10% | Lather booster, humectant |
Key Parameters
| Parameter | Value |
| ----------- | ------- |
| Superfat | 6% |
| Lye Concentration | 33% |
| Fragrance | 0.7 oz per lb of oils (oatmeal milk & honey FO recommended) |
Use our Soaply calculator to get exact lye and water amounts for your batch size. Just enter your oil weights, set superfat to 6%, and lye concentration to 33%.
Additives
| Additive | Amount | When to Add |
| ---------- | -------- | ------------- |
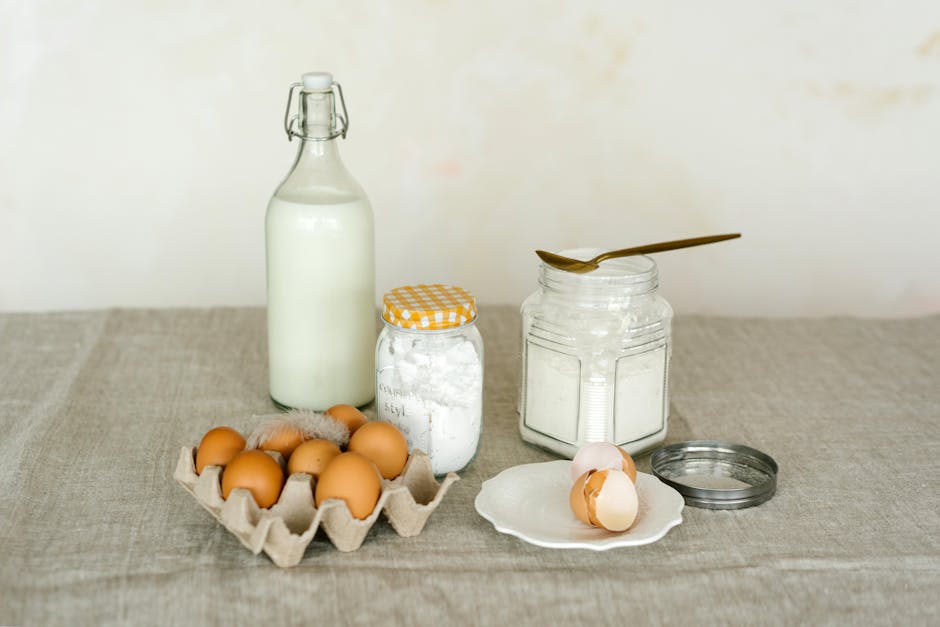
| Raw honey | 1 tablespoon per pound of oils | Dissolved in warm water at trace |
| Colloidal oatmeal | 1 tablespoon per pound of oils | At trace |
| Whole rolled oats | Sprinkle on top | After pouring into mold |
Step-by-Step Instructions
What You'll Need
Equipment:
- Digital scale (measure everything by weight)
- Stick blender
- Heat-safe mixing containers
- Silicone soap mold
- Infrared thermometer
- Stainless steel spoon
Safety gear:
- Safety goggles
- Chemical-resistant gloves
- Long sleeves and closed-toe shoes
Step 1: Prepare Your Additives
- Colloidal oatmeal: If you don't have pre-ground colloidal oatmeal, blend rolled oats in a coffee grinder until they're a fine powder. The finer the better : chunky oatmeal can feel scratchy in soap.
- Honey mixture: Dissolve your raw honey into 1 tablespoon of warm distilled water per tablespoon of honey. This makes it easier to incorporate at trace. Set aside.
Step 2: Make the Lye Solution
- Weigh your distilled water into a heat-safe container
- Slowly add lye (sodium hydroxide) to the water : never water to lye
- Stir gently until fully dissolved
- Set aside to cool to 90–100°F
Temperature matters more than usual here. Honey heats up during saponification. You want everything cooler than a typical batch to prevent overheating and volcano-like eruptions.
Step 3: Prepare Your Oils
- Melt coconut oil and shea butter gently (microwave in 30-second bursts or double boiler)
- Add olive oil, sweet almond oil, and castor oil
- Cool to 90–100°F : aim for both oils and lye to be in the same range
Step 4: Combine and Reach Trace
- Pour lye solution into oils
- Use your stick blender to mix
- Blend to a light trace only : honey will accelerate things quickly
- Work fast from here
Step 5: Add Honey and Oatmeal
- Pour in the dissolved honey mixture and stir (don't stick blend : it moves too fast)
- Add colloidal oatmeal and stir to combine
- If using fragrance oil, add it now and stir
- The batter will thicken quickly : pour as soon as everything is incorporated
Step 6: Pour and Top
- Pour batter into your mold
- Tap the mold on the counter to remove air bubbles
- Sprinkle whole rolled oats on top for decoration
- Do NOT insulate this batch : honey generates extra heat during saponification
Step 7: Monitor Temperature
This is the most important step for honey soap:
- Place the mold somewhere you can watch it
- If the soap starts cracking on top or getting very hot, move it to the refrigerator or freezer
- Check after 1 hour, 4 hours, and 12 hours
- Unmold after 24–48 hours
Step 8: Cut and Cure
- Cut into bars once firm enough to handle
- Place on a curing rack with airflow between bars
- Cure for 4–6 weeks minimum (see our guide to curing soap)
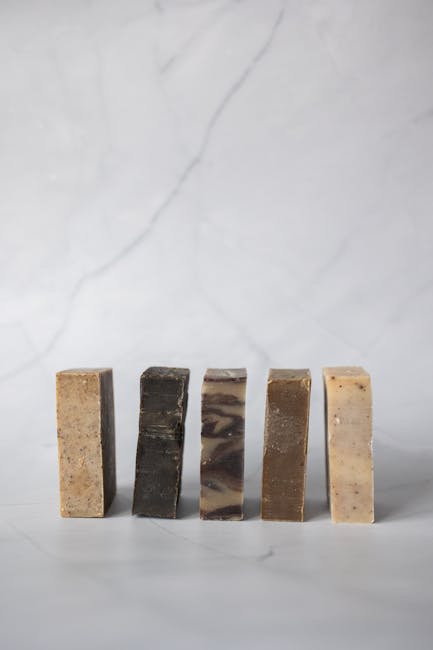
- The bars will harden and the honey color will deepen over time
Tips for Perfect Honey Soap Every Time
Temperature Control is Everything
The #1 mistake in honey soap is overheating. Honey sugars accelerate the saponification reaction, generating extra heat. If your soap gets too hot:
- It can crack, volcano, or develop glycerin rivers
- The honey can burn, turning the soap dark brown instead of golden
- Solution: Soap cool (90-100°F), don't insulate, and be ready to refrigerate
Use Raw Honey
Processed honey works, but raw honey retains more beneficial properties. Local raw honey is ideal. Avoid honey with additives.
Colloidal vs. Whole Oats
- Colloidal oatmeal (finely ground) blends into the soap and provides gentle, invisible exfoliation plus skin-soothing benefits
- Whole rolled oats look beautiful on top but can get mushy and turn brown : use them only as decoration on the surface
- Never use steel-cut oats in soap : they're too rough on skin
Honey Darkens Over Time
Your soap will start a light golden color and darken to a rich amber over the curing period. This is normal and actually looks beautiful. If you want to keep it lighter, use less honey (½ tablespoon per pound of oils).
Customization Ideas
Once you've nailed the basic recipe, try these variations:
| Variation | What to Change |
| ----------- | --------------- |
| Milk & Honey | Replace water with goat milk (see our milk soap guide) |
| Honey Lavender | Add lavender essential oil and dried lavender buds on top |
| Honey Spice | Add ½ tsp cinnamon and clove essential oil (test for acceleration first) |
| Extra Moisturizing | Increase superfat to 8% in our calculator |
| Vegan Version | Replace honey with agave nectar (same ratios) |
Soap Bar Properties
Using our Soaply calculator, this recipe scores well across all key properties:
- Hardness: Good : coconut oil and shea butter create a firm, long-lasting bar
- Cleansing: Moderate : enough to clean without stripping
- Conditioning: Excellent : olive oil, sweet almond, and high superfat
- Lather: Great : castor oil and honey sugars boost bubbles
- Exfoliation: Gentle : colloidal oatmeal provides light texture
💬 Frequently Asked Questions
Can I use honey in melt and pour soap?
Yes, but the benefits are reduced since saponification has already occurred. Add 1 teaspoon of honey per pound of melt and pour base at around 135°F.
Will honey soap attract ants or go bad?
No. After saponification, the honey is fully incorporated into the soap and won't attract insects or spoil. Properly cured honey soap lasts as long as any other bar.
Can I add honey to hot process soap?
Absolutely. Add honey at the cook's end (after the "vaseline stage"). Hot process is actually easier with honey since there's less risk of overheating during saponification.
My honey soap turned dark brown. What happened?
The soap overheated. Next time, soap at lower temperatures, don't insulate, and consider putting the mold in the fridge immediately after pouring.
Ready to Make Your Batch?
Head to our Soaply calculator to calculate exact lye and water amounts for your batch size. Enter the oils from this recipe, set your superfat to 6%, and you're ready to go.
Related reading:
Ready to Try It?
Use our free soap calculator to create your perfect recipe with real-time property predictions.
Open Calculator