How to Make Salt Bar Soap: Recipes, Tips, and Everything You Need to Know
Learn how to make salt bar soap at home with cold process. Get tested recipes, salt ratios, oil tips, and tricks for rock-hard, spa-quality bars every time.
How to Make Salt Bar Soap: Recipes, Tips, and Everything You Need to Know
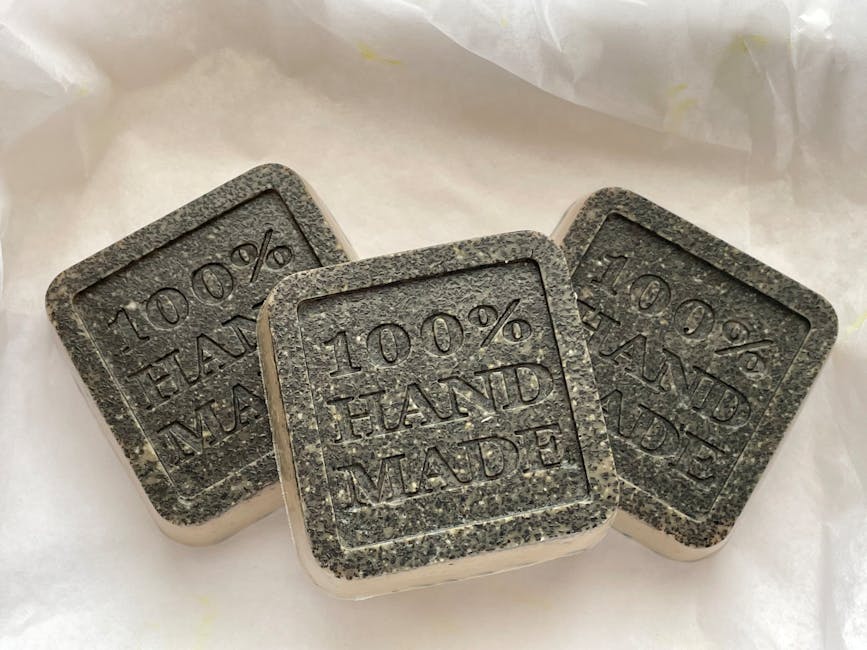
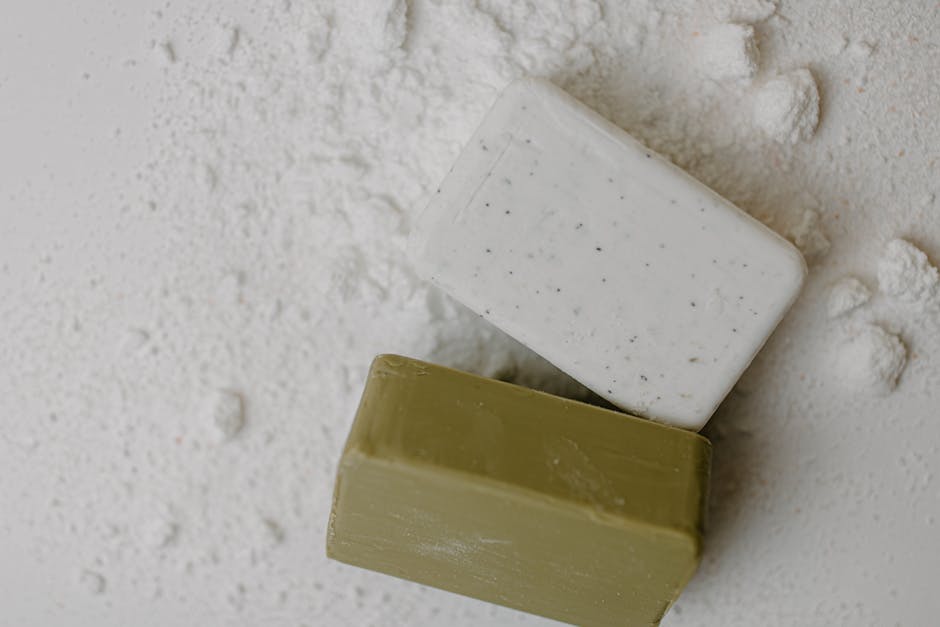
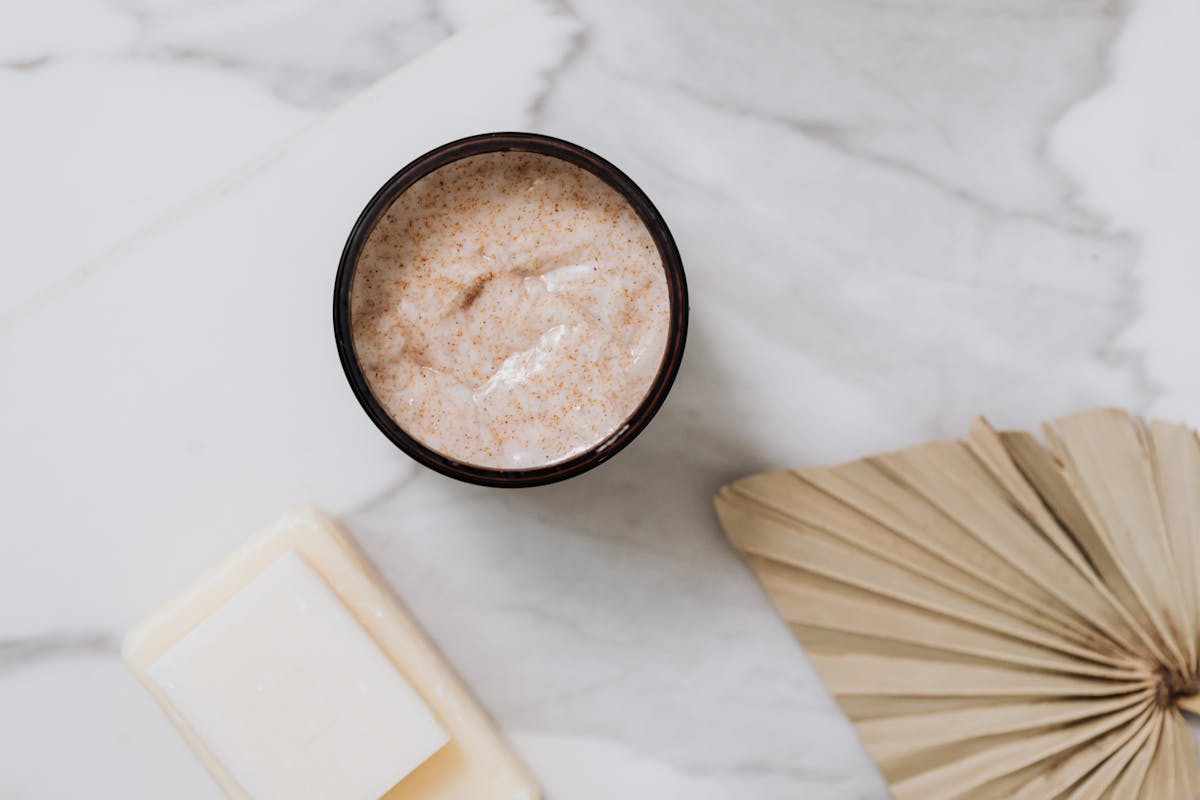
Salt bar soap is one of those things you don't fully appreciate until you've tried one in the shower. The lather feels thick and almost lotion-like, your skin comes out smooth and slightly tingly, and the bar itself is rock-hard and lasts forever. If you've been making regular cold process soap, salt bars are a fun next project that'll stretch your skills without being overly complicated.
- What Makes Salt Bars Different
- Choosing Your Salt
- The Oil Formula That Works
- Salt Ratios: How Much to Add
- Classic Salt Bar Recipe
- Himalayan Pink Salt Bar Recipe
- Step-by-Step Instructions
- Why You Need Individual Cavity Molds
- Common Salt Bar Mistakes
- Frequently Asked Questions
What Makes Salt Bars Different
Salt bars aren't just regular soap with salt thrown in. The salt changes almost everything about how the bar behaves:
Hardness. Salt bars get incredibly hard, often within hours. A regular cold process bar might need 24-48 hours to unmold. Salt bars can be ready in 4-6 hours.
Lather. Here's the surprising part: salt inhibits lather from most oils. That's why salt bar recipes use a very high percentage of coconut oil, the one oil that still lathers beautifully in the presence of salt.
Skin feel. Salt is a natural exfoliant and mineral source. Sea salt and Himalayan salt contain trace minerals like magnesium, potassium, and calcium. Your skin feels polished and smooth after using a salt bar.
Longevity. These bars last a very long time in the shower. The salt crystals dissolve slowly, and the high coconut oil content creates a hard, dense bar.
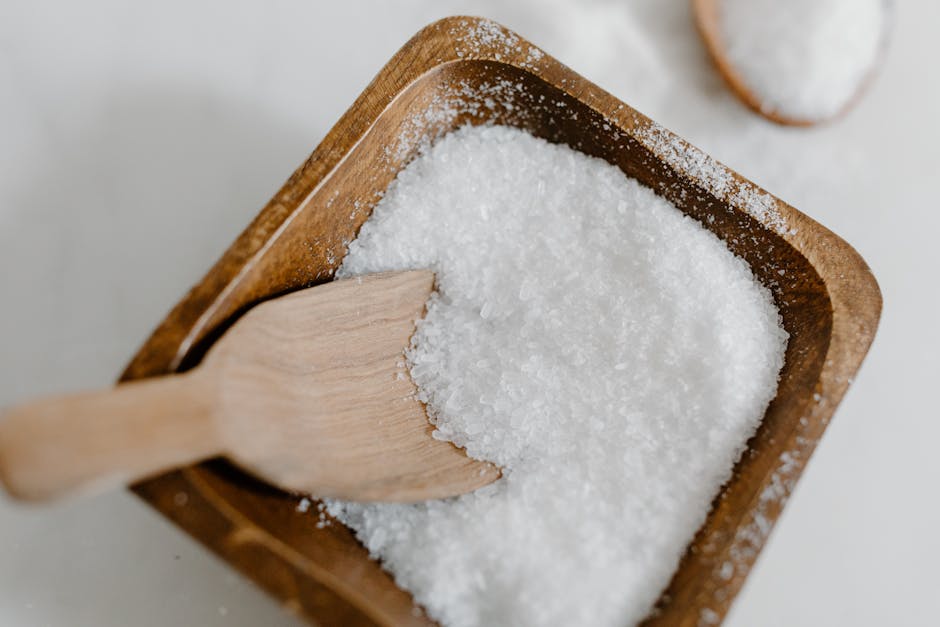
Choosing Your Salt
Not all salt works the same in soap. Here's what you need to know:
Best Choices
| Salt Type | Color | Grain Size | Notes |
| ----------- | ------- | ------------ | ------- |
| Fine sea salt | White | Fine | Most popular, dissolves evenly |
| Fine Himalayan pink salt | Pink | Fine | Beautiful color, trace minerals |
| Dead Sea salt | White/gray | Fine-medium | High mineral content |
| Mediterranean sea salt | White | Fine | Clean, traditional |
What to Avoid
- Table salt (iodized). The iodine and anti-caking agents can affect your soap. Skip it.
- Coarse salt. Large crystals create an uncomfortably scratchy bar and can fall out during use. Always use fine grain.
- Epsom salt (magnesium sulfate). This isn't actually salt in the soap making sense. It dissolves too quickly and can make your bars sweat.
- Rock salt. Too coarse and inconsistent.
Buy fine salt for soap: Fine Sea Salt on Amazon | Fine Himalayan Pink Salt on Amazon
The Oil Formula That Works
Here's the biggest thing that separates salt bars from regular soap: coconut oil dominates the recipe.
In a typical cold process bar, you'd cap coconut oil at 25-30% because it's highly cleansing and can be drying. But salt bars flip that rule. Most salt bar recipes use 75-100% coconut oil.
Why? Because coconut oil is the only common soap making oil that produces good lather in the presence of salt. Olive oil, shea butter, and other favorites produce almost no lather when salt is in the mix.
Typical Salt Bar Oil Split
| Oil | Percentage | Purpose |
| ----- | ----------- | --------- |
| Coconut Oil (76 degree) | 75-85% | Lather, hardness, cleansing |
| Olive Oil or Avocado Oil | 10-15% | Conditioning |
| Castor Oil | 5% | Lather boost |
Compensating for High Coconut
With this much coconut oil, you MUST use a high superfat. A normal bar uses 5% superfat, but salt bars need 15-20% superfat to keep the bar from being overly stripping. Those extra unsaponified oils counteract the aggressive cleansing of all that coconut.
Use our Soaply calculator to set your oils and superfat percentage. You'll see the cleansing value spike, but that's expected. The high superfat and the salt itself balance it out in practice.
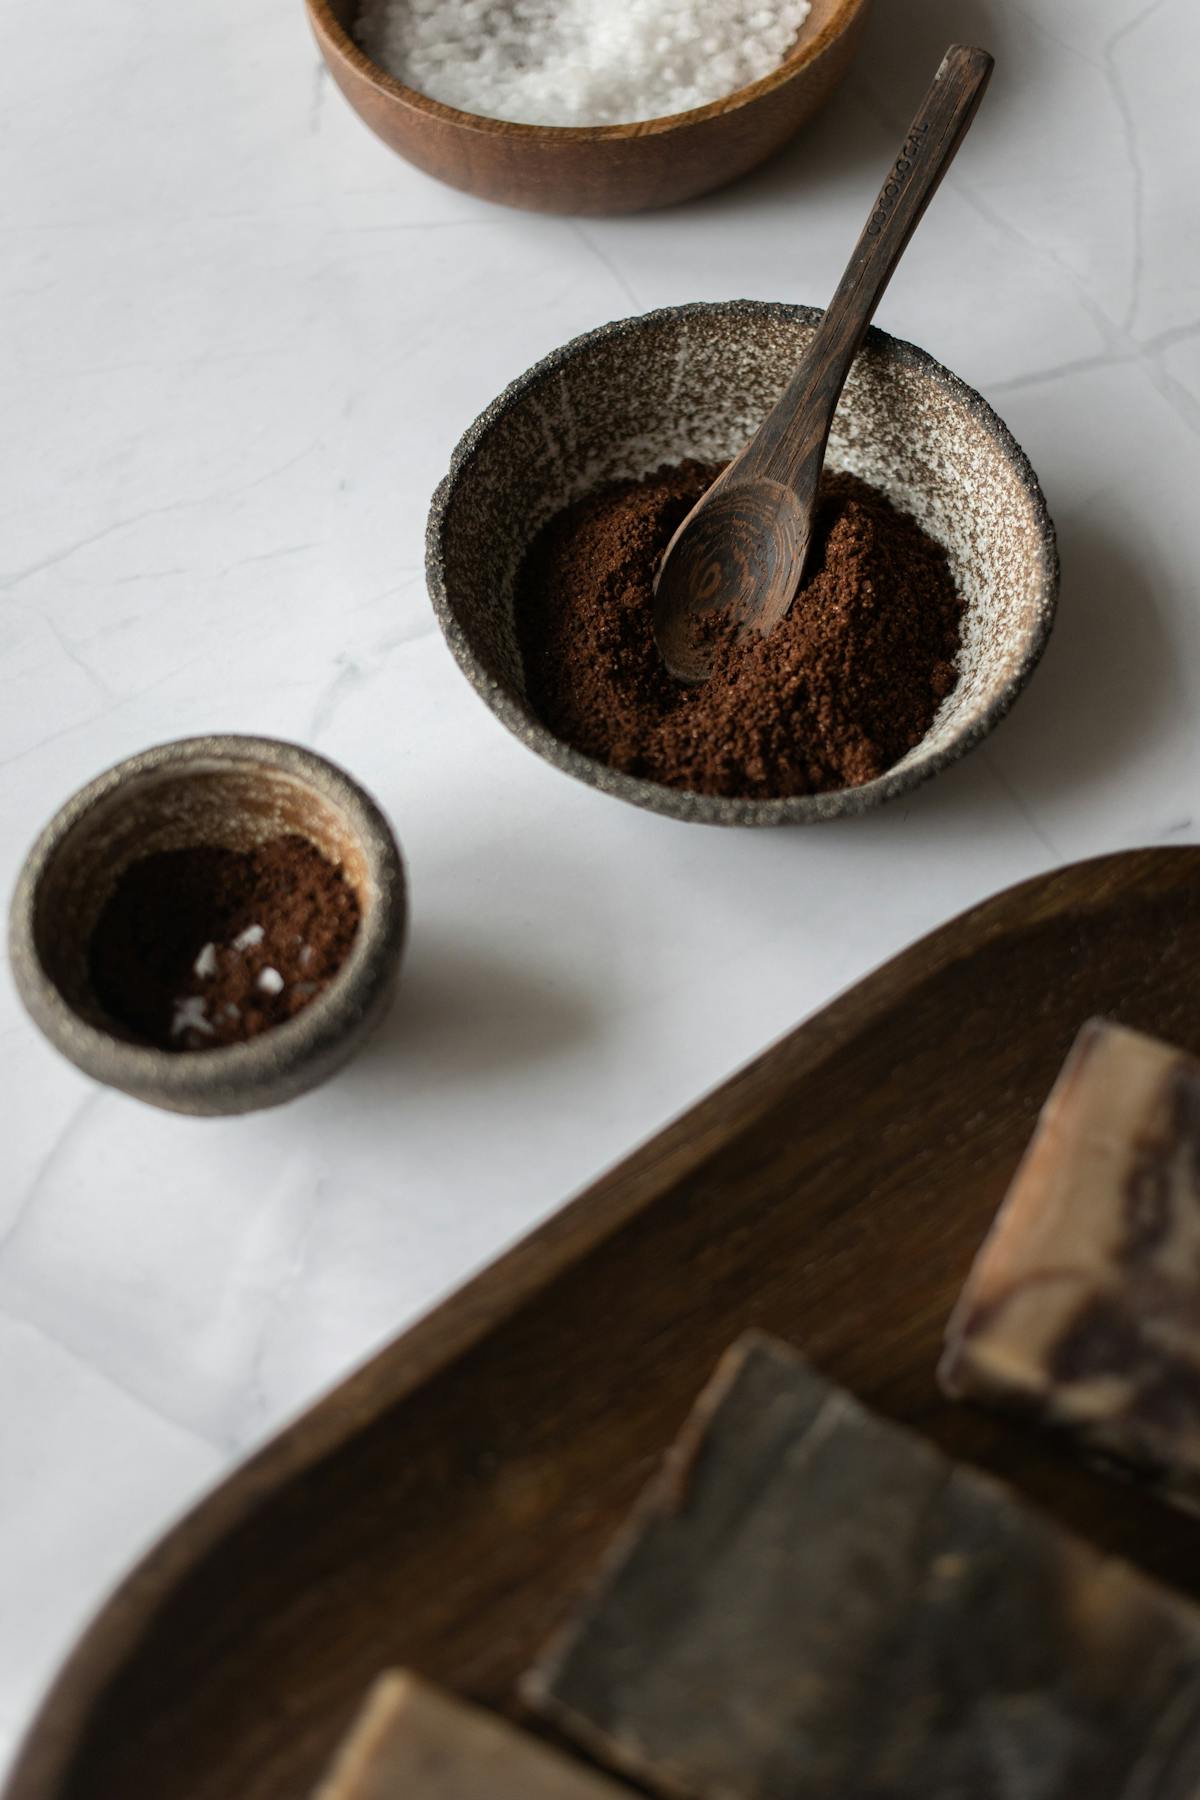
Salt Ratios: How Much to Add
The amount of salt is measured as a percentage of your total oil weight:
| Salt Ratio | Result |
| ------------ | -------- |
| 25-50% | Light salt bar, moderate hardness, good for beginners |
| 50-75% | Standard salt bar, very hard, nice exfoliation |
| 75-100% | Heavy salt bar, rock-hard, maximum exfoliation |
| 100%+ | Extreme, can be crumbly if too high |
For your first salt bar, try 50%. That means if your recipe has 32 oz of oils, you'd add 16 oz of salt. It's a forgiving ratio that still gives you the full salt bar experience.
Classic Salt Bar Recipe
This is a straightforward, reliable recipe that produces beautiful bars.
| Ingredient | Amount |
| ----------- | -------- |
| Coconut Oil (76 degree) | 80% |
| Olive Oil | 15% |
| Castor Oil | 5% |
| Superfat | 20% |
| Lye Concentration | 33% |
| Salt | 50% of oil weight |
For a 2 lb (32 oz) batch:
- Coconut Oil: 25.6 oz
- Olive Oil: 4.8 oz
- Castor Oil: 1.6 oz
- Salt: 16 oz (fine sea salt)
- Lye and water: use Soaply calculator for exact amounts at 20% superfat
Plug these into our calculator with 20% superfat and 33% lye concentration for your exact lye and water amounts.

Himalayan Pink Salt Bar Recipe
Want something a little more luxurious? Himalayan salt gives you a gorgeous natural pink color without any added colorants.
| Ingredient | Amount |
| ----------- | -------- |
| Coconut Oil (76 degree) | 75% |
| Avocado Oil | 15% |
| Shea Butter | 5% |
| Castor Oil | 5% |
| Superfat | 20% |
| Lye Concentration | 35% |
| Salt | 65% of oil weight |
| Fragrance | Lavender EO at 3% |
The avocado oil and shea butter add extra conditioning to offset the high coconut. Using 35% lye concentration reduces water, which helps the bar set up faster with all that salt.
Optional topping: Sprinkle coarse Himalayan pink salt on top of the bars right after pouring for a beautiful spa look. Press the crystals in gently so they stick.
Step-by-Step Instructions
Before You Start
- Weigh everything precisely using a digital scale
- Put on safety gear: goggles and gloves
- Measure your salt into a separate bowl
- Have individual cavity molds ready (not a loaf mold; more on this below)
Step 1: Make the Lye Solution
- Weigh distilled water into a heat-safe container
- Slowly add lye to water, stirring until dissolved
- Set aside to cool to around 100-120 degrees F
Step 2: Prepare Oils
- Melt coconut oil and shea butter (if using) gently
- Add liquid oils (olive, avocado, castor)
- Cool to about 100-120 degrees F
Step 3: Combine and Blend
- Pour lye solution into oils
- Stick blend to a light to medium trace
- Don't go past medium trace; you need to add salt and it thickens fast
Step 4: Add Fragrance and Color
- Stir in fragrance oil or essential oil by hand
- Add any colorant at this stage
- Stir briefly
Step 5: Add Salt
- Pour in your pre-measured salt
- Stir by hand with a spatula (not the stick blender)
- Work quickly because the batter will thicken rapidly
- The mixture will look like wet sand or thick oatmeal
Step 6: Mold
- Scoop (you won't be able to pour) the batter into individual molds
- Press firmly to eliminate air pockets
- Smooth the tops with a spoon or spatula
- Optional: press decorative salt into the tops
Step 7: Unmold Early
- Check bars after 3-4 hours
- Salt bars set up incredibly fast
- If you wait too long (overnight), they may be too hard to unmold from rigid molds
- Silicone molds are much more forgiving than plastic ones
Step 8: Cure
- Place bars on a curing rack with airflow
- Cure for 4-6 weeks minimum
- Yes, even though they're rock-hard already, curing still matters for mildness
Why You Need Individual Cavity Molds
This is the most important practical tip for salt bars: do not use a loaf mold.
Salt bars get extremely hard, extremely fast. If you pour into a loaf mold, you'll have a narrow window to cut them (sometimes just 2-4 hours). Miss that window and you'll be trying to saw through a brick.
Individual cavity molds solve this entirely. Each bar pops out on its own with no cutting needed.
Best molds for salt bars:
- Silicone round soap molds (the classic salt bar shape)
- Silicone 6-cavity rectangle molds
- Guest-size oval molds
If you absolutely must use a loaf mold, set a timer for 3 hours and check your soap. Cut the moment it's firm enough to hold its shape but still gives slightly when pressed.
Common Salt Bar Mistakes
1. Using Too Little Coconut Oil
If your coconut oil is below 70%, your salt bar probably won't lather well. Stick to 75-85% for reliable results.
2. Using a Normal Superfat (5%)
A 5% superfat with 80% coconut oil will produce a bar so stripping it'll make your skin feel tight and dry. Bump it to 15-20% for salt bars. This is one of those cases where the calculator is essential. Set that superfat high.
3. Using Coarse Salt
Coarse salt creates a bar that feels like sandpaper. Always use fine grain salt. You can sprinkle coarse salt on top for decoration, but the body of the bar needs fine crystals.
4. Waiting Too Long to Unmold
If your bars are in rigid molds and you wait 24 hours, you may need to put them in the freezer for an hour to get them out. Use silicone molds and unmold at the 4-6 hour mark.
5. Adding Salt at Thin Trace
If you add salt before reaching at least light-medium trace, the salt can sink to the bottom of the mold. The batter needs to be thick enough to suspend the crystals.
6. Skipping the Cure
Salt bars feel hard right away, which tricks beginners into thinking they're ready to use. They're not. An uncured salt bar is harsh. Give them the full 4-6 weeks.
Tips for the Best Salt Bars
Use sodium lactate. Add 1 teaspoon per pound of oils to your cooled lye solution. It helps unmolding and creates an even smoother bar.
Work fast. Once you add salt, you have minutes before the batter becomes unworkable. Have your molds prepped, fragrance measured, and everything within reach.
Try different salt ratios. Your first batch at 50% is great for learning. Once you're comfortable, bump up to 75% or even 100% for a denser, more mineral-rich bar.
Pair with the right fragrance. Salt bars have a spa vibe. Scents like eucalyptus, peppermint, lavender, and rosemary match perfectly. Check our essential oils guide for usage rates.
Don't gel. Salt bars don't need gel phase and can overheat with all that coconut oil. Skip the insulation entirely, or pop them in the fridge if your house runs warm.
Why Salt Bars Make Great Gifts
If you're selling soap or making gifts, salt bars are a standout product:
- They look impressive. Especially with Himalayan pink salt or decorative salt toppings.
- They feel different. The smooth, dense texture stands out from regular bars.
- They last longer. Customers love bars that don't dissolve in a week.
- The story sells itself. "Handmade sea salt soap with trace minerals" is compelling.
- Premium pricing. Salt bars command $1-3 more per bar than standard soap at markets. Check out our pricing guide to set the right price.
If you're selling at craft fairs, browse TheCraftMap to find events near you.
Calculate Your Salt Bar Recipe
Ready to make your first batch? Head to the Soaply calculator and:
- Set coconut oil to 80%, olive oil to 15%, castor oil to 5%
- Set superfat to 20%
- Set lye concentration to 33-35%
- Note your total oil weight, then multiply by 0.5 for your salt amount
The calculator handles the lye math. You handle the salt.
💬 Frequently Asked Questions
What percentage of coconut oil should I use in salt bars?
Most salt bar recipes use 75-85% coconut oil. This high percentage is necessary because coconut oil is the only common soap oil that lathers well in the presence of salt. Always pair it with a high superfat (15-20%) to prevent the bar from being too drying.
How much salt do I add to salt bar soap?
Salt is measured as a percentage of total oil weight. For beginners, start at 50% (16 oz of salt for 32 oz of oils). Experienced soapers often go to 75-100%. More salt means harder bars and more exfoliation, but going above 100% can make bars crumbly.
Can I use Himalayan pink salt in soap?
Yes, and it's one of the most popular choices. Fine-grain Himalayan pink salt gives your bars a natural pink hue and contains over 80 trace minerals. Use it exactly like you'd use fine sea salt, at the same ratios and added at the same stage.
Why is my salt bar soap not lathering?
The most likely cause is not enough coconut oil. If your recipe is below 70% coconut, salt will suppress the lather from other oils. Increase coconut oil to 80% and add 5% castor oil for a lather boost. Also make sure you're rubbing the bar between wet hands rather than using a washcloth, which can scrape salt off without creating suds.
Do salt bars need to cure?
Yes! Even though salt bars harden within hours, they still need 4-6 weeks of curing. The curing process allows water to evaporate, the crystal structure to develop, and the bar to become milder. An uncured salt bar with 80% coconut oil can be quite harsh on skin.
Ready to Try It?
Use our free soap calculator to create your perfect recipe with real-time property predictions.
Open Calculator