How to Make Hot Process Soap (Crockpot Method With Recipe)
Learn how to make hot process soap in a crockpot with a simple beginner recipe. Covers cooking stages, tips for smooth bars, and how HP differs from cold process.
How to Make Hot Process Soap (Crockpot Method With Recipe)
Hot process soap making lets you use your finished bars within 24 to 48 hours instead of waiting four to six weeks for a cold process cure. The method uses heat (typically from a slow cooker) to force saponification to completion while you watch. If you want handmade soap on a faster timeline, hot process is the way to go.
- What Is Hot Process Soap?
- Hot Process vs Cold Process
- Equipment and Supplies
- Beginner Hot Process Recipe
- Step-by-Step Instructions
- The Cooking Stages
- Tips for Smoother Hot Process Bars
- Adding Fragrance and Color
- Molding and Unmolding
- Frequently Asked Questions
What Is Hot Process Soap?
Hot process (HP) soap uses the same basic chemistry as cold process: oils react with lye (sodium hydroxide) through saponification to produce soap and glycerin. The difference is timing. In cold process, you pour the raw batter into a mold and let saponification happen slowly over weeks. In hot process, you cook the batter in a slow cooker or double boiler until saponification is complete before molding.
The result is a fully saponified bar that is safe to use almost immediately. Most soap makers still let HP bars dry for a week or two so excess water evaporates and the bar hardens, but there is no mandatory cure time the way there is with cold process.
Hot Process vs Cold Process
Both methods produce real handmade soap. Choosing between them depends on your priorities.
Hot process advantages:
- Usable within one to two days
- Superfat oils added after the cook stay unsaponified (you control exactly which oils become the superfat)
- No soda ash on the surface
- Lye is fully neutralized before you handle the bars
Cold process advantages:
- Smoother, more polished bars
- Easier to do intricate swirl designs
- Less hands-on time during the process
- Batter stays fluid longer for creative techniques
When to choose hot process: You want bars fast, you want precise superfat control, or you prefer the rustic, textured look that HP bars often have.
For a detailed walkthrough of cold process, see our beginner's guide to cold process soap.
Equipment and Supplies
You need everything a cold process soap maker needs, plus a slow cooker.
Required Equipment
- Slow cooker / crockpot (6-quart works well for 2-3 lb batches)
- Digital scale (weigh everything in grams)
- Stick blender
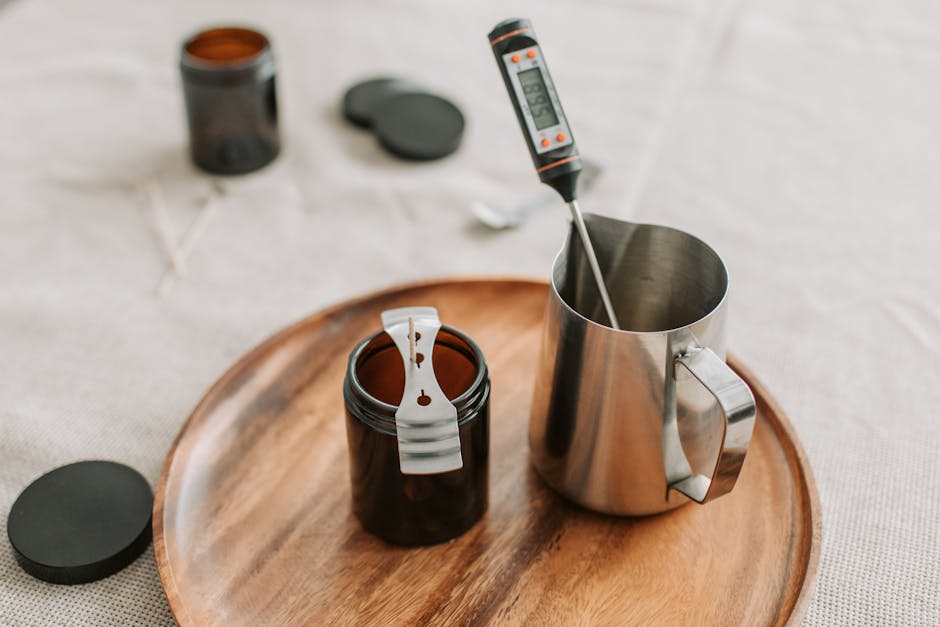
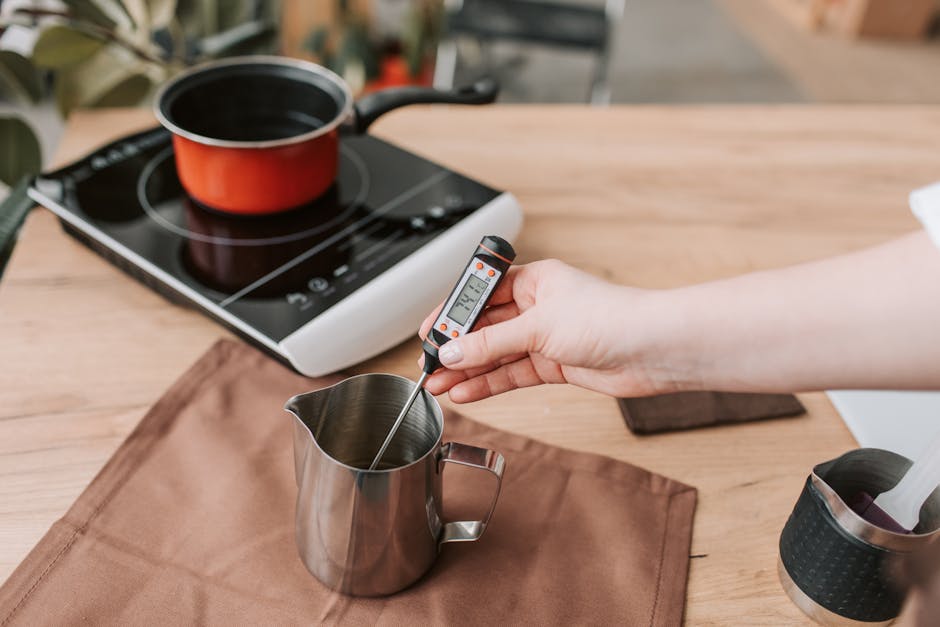
- Infrared thermometer
- Heat-safe mixing containers (for lye solution)
- Silicone spatula (for stirring and scooping)
- Silicone loaf mold or lined wooden mold
Safety Gear
- Safety goggles
- Chemical-resistant gloves
- Long sleeves and closed-toe shoes
- Good ventilation (mix lye solution near an open window or outside)
For a full equipment rundown, see our soap making supplies checklist. For lye safety details, read our soap making safety guide.
Beginner Hot Process Recipe
This recipe produces approximately 2 lbs of mild, well-balanced soap.
| Ingredient | Amount | Percentage |
| ----------- | -------- | ----------- |
| Olive Oil | 340 g | 40% |
| Coconut Oil (76 degree) | 255 g | 30% |
| Shea Butter | 128 g | 15% |
| Sweet Almond Oil | 128 g | 15% |
| Total Oils | 851 g | 100% |
| Sodium Hydroxide (NaOH) | 121 g | (5% superfat) |
| Distilled Water | 281 g | (33% of oil weight) |
Use the Soaply lye calculator to verify these numbers and adjust for your preferred superfat percentage.
Optional additives (added after the cook):
- 1 tablespoon sodium lactate (for harder bars)
- 15-20 g fragrance oil or essential oil blend (roughly 2% of oil weight)
- Colorant of your choice
Step-by-Step Instructions
1. Prepare Your Workspace
Set up your slow cooker on low. Lay out all ingredients, measured and ready. Put on your safety gear. Make sure your mold is nearby and prepped (lined if using a wooden mold).
2. Make the Lye Solution
Weigh 281 g of distilled water in a heat-safe container (not aluminum). Weigh 121 g of sodium hydroxide separately. Slowly pour the lye into the water (never the reverse) while stirring gently. The solution will heat up to around 200 F and produce fumes. Do this in a well-ventilated area. Set aside to cool slightly.
For more on handling lye safely, see our lye safety guide.
3. Melt and Combine Oils
Add your coconut oil and shea butter to the slow cooker on low. Once melted, add the olive oil and sweet almond oil. Stir to combine. The oil temperature should be around 120 to 140 F.
4. Combine Lye Solution and Oils
When both the oils and lye solution are in a similar temperature range (within about 20 degrees of each other), slowly pour the lye solution into the oils in the slow cooker. Use your stick blender to mix in short bursts until you reach a light trace. This usually takes one to three minutes.
Trace means the batter has thickened enough that drizzling it across the surface leaves a visible trail. For hot process, you only need a light trace before the cook takes over.
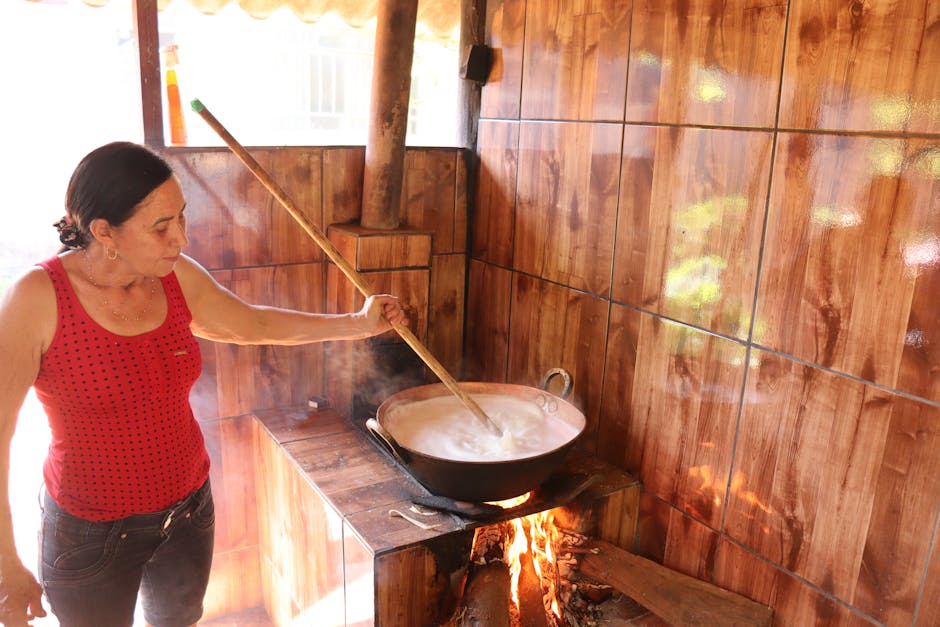
5. Cook
Put the lid on the slow cooker and set it to low. The soap will now go through several visible stages over the next 45 to 75 minutes.
The Cooking Stages
Understanding what your soap looks like at each stage helps you know everything is on track.
Stage 1: Separation (10-15 minutes)
The edges of the batter start to look translucent or darker. The oils may appear to separate slightly from the mixture. This is normal.
Stage 2: Applesauce (15-25 minutes)
The mixture develops a thick, chunky texture similar to applesauce. Stir it gently once, fold the edges toward the center, and replace the lid.
Stage 3: Vaseline / Gel Phase (30-50 minutes)
The soap becomes translucent and glossy, resembling petroleum jelly. It may puff up toward the lid. This is full gel phase and means saponification is nearly complete.
Stage 4: Mashed Potato (45-75 minutes)
The soap looks like thick, waxy mashed potatoes. It pulls away from the sides of the crock. At this point, test a small sample: touch it to your tongue briefly. If it zaps (like touching a battery), cook longer. If there is no zap, just a waxy soap taste, the cook is done.
Important: Do not skip the zap test. It confirms that all lye has been consumed. If you still get a zap after 90 minutes, something may be off with your measurements. Double-check your recipe with the Soaply calculator.
Tips for Smoother Hot Process Bars
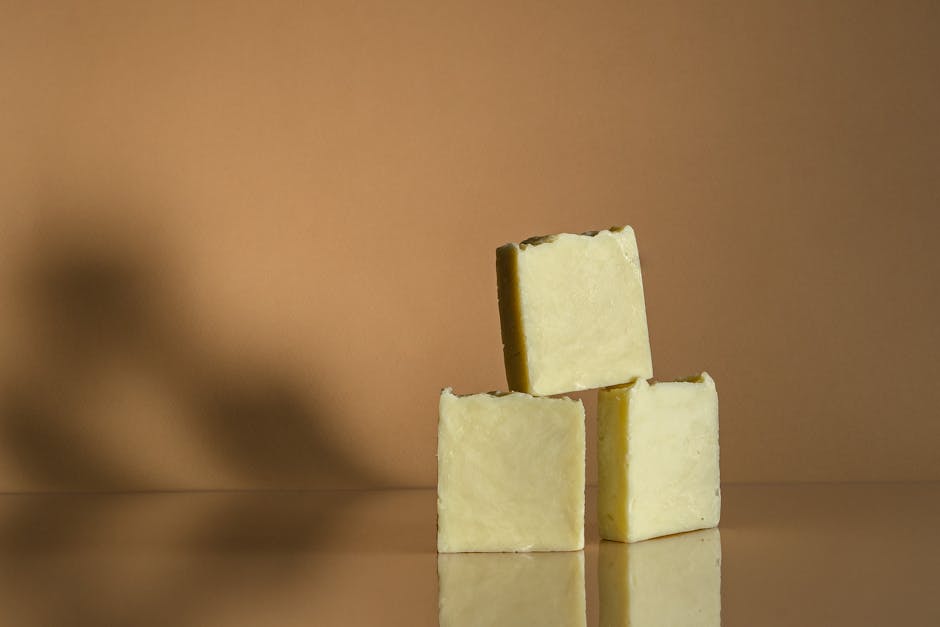
Hot process soap is known for a rustic, textured surface. If you prefer smoother bars, try these techniques:
- Add sodium lactate (1 tablespoon per pound of oils) to the lye water before mixing. This makes the cooked soap more fluid and easier to mold.
- Use a higher water percentage (38-40% of oil weight instead of 33%). More water keeps the batter softer. The tradeoff: longer drying time.
- Work quickly after the cook. Once the soap is done, you have a narrow window before it stiffens. Add your fragrance and color, stir fast, and get it into the mold.
- Tap the filled mold firmly on the counter several times to settle the soap and remove air pockets.
- Press the top flat with a spatula or the back of a spoon dipped in water.
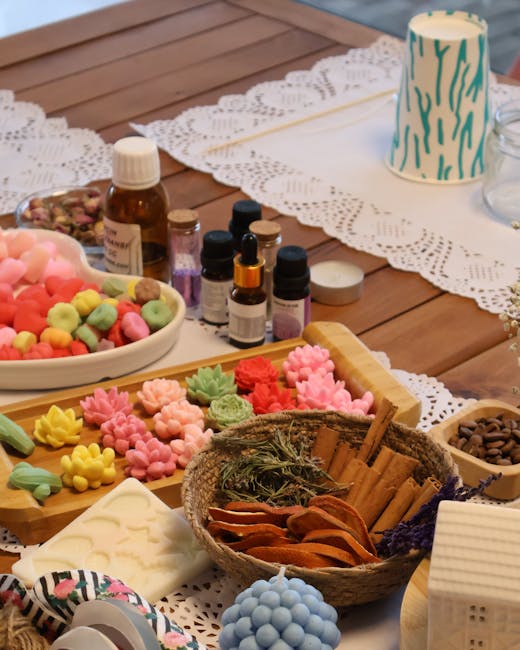
Adding Fragrance and Color
One major advantage of hot process is that you add fragrance and color after saponification is complete. This means:
- Fragrance survival is better. In cold process, the lye reaction can alter or weaken certain fragrance oils. In HP, the reaction is already finished.
- Color stays true. Some colorants behave differently in high-pH raw soap batter. Adding them post-cook avoids this.
When to add: As soon as the zap test passes, remove the crock from the heat. Let it cool for two to three minutes (target around 160-180 F). Stir in your fragrance oil and colorant quickly and thoroughly.
For fragrance load guidance, see our fragrance load calculator guide. For colorant ideas, read about natural soap colorants.
Molding and Unmolding
Spoon or scoop the hot soap paste into your prepared mold. Work quickly. Press it down firmly and smooth the top as much as possible.
Unmolding: Most HP soap can be removed from the mold after 12 to 24 hours. Silicone molds release easily. If using a lined wooden mold, lift out the parchment or freezer paper.
Cutting: If using a loaf mold, cut into bars once the soap is firm enough to hold its shape but not so hard that it cracks. This is usually 12 to 24 hours after molding.
Drying: While HP soap is technically safe to use immediately, letting bars sit on a drying rack for one to two weeks allows excess water to evaporate. This produces harder, longer-lasting bars.
💬 Frequently Asked Questions
Can I use any slow cooker for hot process soap?
Yes. A basic 6-quart slow cooker with low and high settings works fine. Avoid slow cookers with non-stick coatings that are flaking or damaged, as lye is corrosive. Ceramic inserts are ideal.
Why did my hot process soap seize?
Certain fragrance oils cause soap to thicken rapidly (seize). In HP, this usually happens when fragrance is added to soap that is too hot. Let the cooked soap cool to around 160 F before adding fragrance. Some fragrances with high vanillin or floral compounds are known to accelerate. Test new fragrances in a small batch first.
Do I still need to superfat with hot process?
Yes. Running your recipe through a lye calculator with a superfat of 3-7% is standard. With HP, you can add the superfat oils after the cook is complete, which means those specific oils remain unsaponified and contribute their unique skin-care properties directly.
Can I do hot process without a crockpot?
You can use a double boiler on the stove or even an oven set to 170 F. The crockpot method is the most popular because it provides steady, even heat with minimal monitoring.
How long does hot process soap last?
Properly made and dried HP soap lasts just as long as cold process soap. The shelf life depends on your oil choices. Recipes high in unsaturated oils (like olive or sunflower) may go rancid sooner. Our complete guide to soap making oils covers shelf life for each oil.
Is hot process soap as good as cold process?
Both methods produce genuine handmade soap with the same cleaning ability. HP bars tend to have a more rustic appearance. CP bars are typically smoother and easier to decorate. Quality-wise, they are equal. Choose the method that fits your workflow and timeline.
Start Your Hot Process Batch
Ready to try it? Use the Soaply calculator to run the numbers on your recipe. Set your superfat, pick your oils, and let Soaply handle the lye math so you can focus on the cook.
For more recipes and techniques, explore our beginner's guide, castile soap recipe, or tallow soap guide.
Ready to Try It?
Use our free soap calculator to create your perfect recipe with real-time property predictions.
Open Calculator