Beginner's Guide to Cold Process Soap Making
Learn cold process soap making step by step. Get a beginner recipe, equipment list, safety tips, and expert advice to make your first batch at home.
Beginner's Guide to Cold Process Soap Making
Making your own soap at home is easier than you think! Cold process soap making is the most popular method among handcrafters because it gives you complete control over ingredients and allows for endless creative possibilities.
- What is Cold Process Soap?
- Equipment You'll Need
- Basic Soap Recipe for Beginners
- Step-by-Step Instructions
- Common Beginner Mistakes
- Understanding Superfat
- Next Steps
- Recommended Beginner Supplies
- Frequently Asked Questions
What is Cold Process Soap?
Cold process (CP) soap is made by mixing oils and fats with lye (sodium hydroxide) in a chemical reaction called saponification. Unlike "melt and pour" soap bases, cold process soap is made entirely from scratch.
The "cold" in cold process refers to the fact that no external heat is applied after mixing (though the saponification reaction itself generates heat).
Equipment You'll Need
Before you start, gather these essential supplies:
Safety Gear (Non-Negotiable!)
- Safety goggles - Lye can cause serious eye damage
- Chemical-resistant gloves - Protect your hands from lye burns
- Long sleeves - Cover exposed skin
- Well-ventilated area - Lye fumes can irritate lungs
Tools
- Digital scale - Accuracy is crucial in soap making (measure in grams for best results)
- Stick blender - Essential for emulsification
- Heat-safe containers - For mixing lye and oils
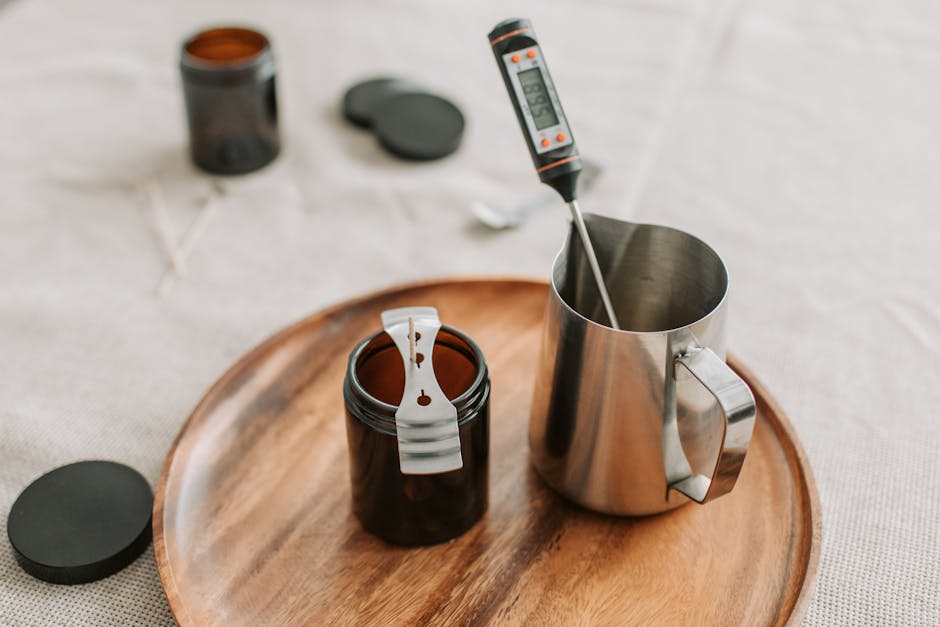
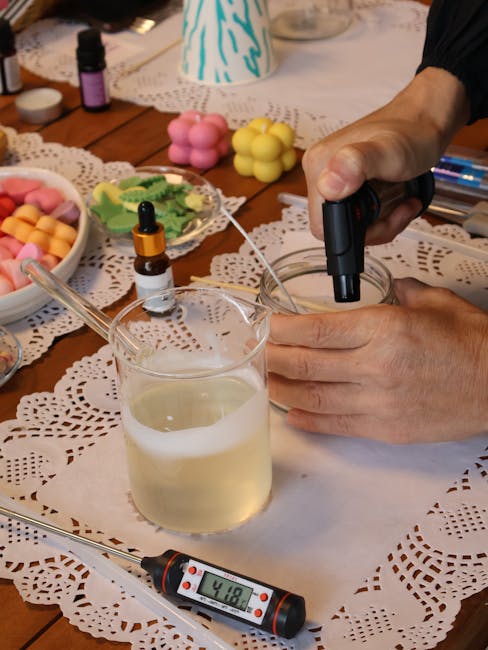
- Infrared thermometer - Quick, accurate temperature readings
- Silicone soap molds - Or a lined wooden mold
- Stainless steel or plastic utensils - Never use aluminum with lye!
Basic Soap Recipe for Beginners
Here's a simple, forgiving recipe perfect for your first batch:
| Ingredient | Amount |
| ------------ | -------- |
| Olive Oil | 40% |
| Coconut Oil | 30% |
| Shea Butter | 20% |
| Castor Oil | 10% |
| Superfat | 5% |
| Lye Concentration | 33% |
This creates a gentle, moisturizing bar with good lather.
Step-by-Step Instructions
Step 1: Safety First
Put on your safety gear before handling any lye. Work in a well-ventilated area and keep children and pets away.
Step 2: Measure Ingredients
Use our Soaply calculator to calculate exact lye and water amounts for your oil weights. Precision matters!
Step 3: Make the Lye Solution
- Measure distilled water into a heat-safe container
- Slowly add lye to water (NEVER water to lye!)
- Stir until dissolved - it will heat up to 200°F+
- Set aside to cool to 100-110°F
Step 4: Prepare Your Oils
- Melt solid oils (coconut, shea) gently
- Add liquid oils (olive, castor)
- Cool to 100-110°F
Step 5: Mix Oils and Lye
- Pour lye solution into oils
- Use stick blender to mix
- Blend until "trace" - when soap leaves a visible trail
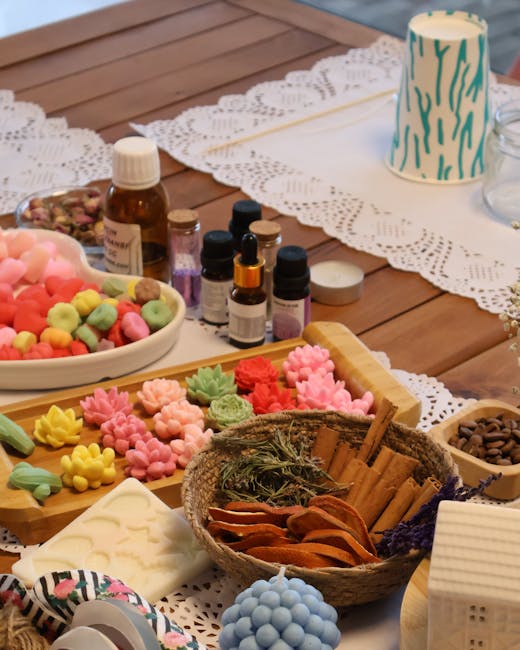
Step 6: Add Fragrance & Color
At trace, add:
- Fragrance oil (0.7 oz per pound of oils)
- Colorants if desired
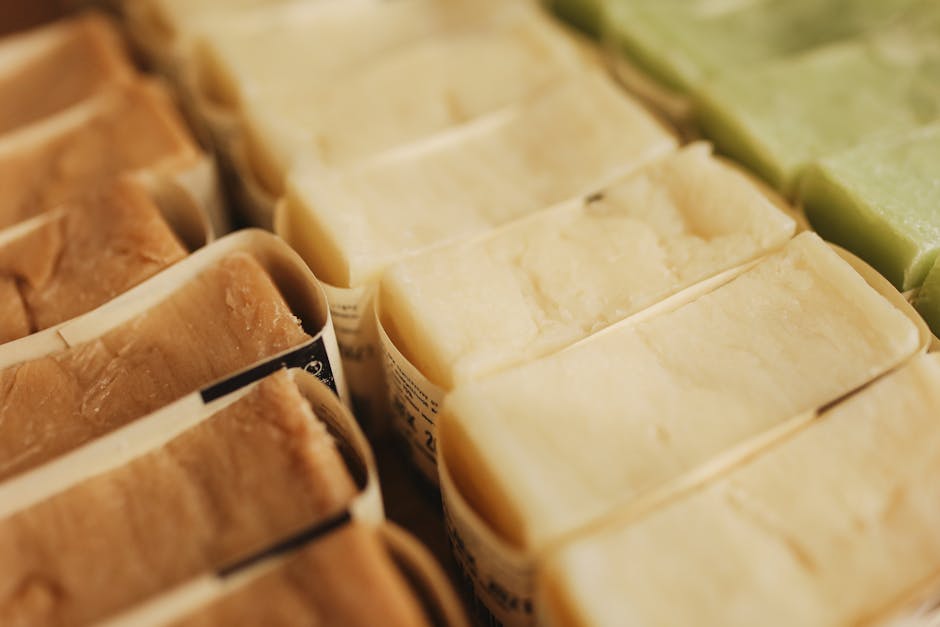
Step 7: Pour and Cure
- Pour into molds
- Cover and insulate for 24 hours
- Unmold after 24-48 hours
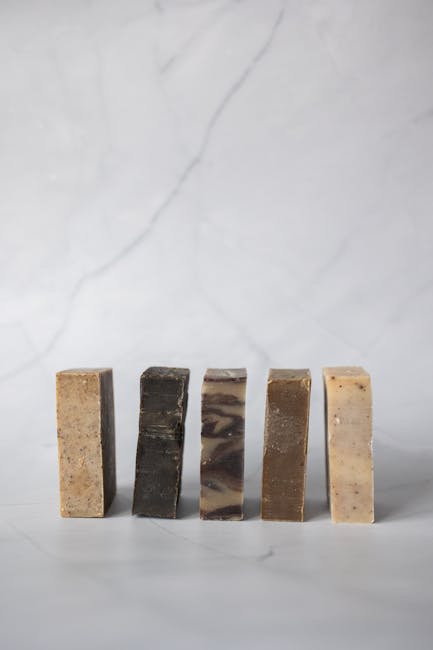
- Cut into bars
- Cure for 4-6 weeks before use
Common Beginner Mistakes
1. Not Using a Calculator
Eyeballing measurements leads to lye-heavy (caustic) or oil-heavy (soft, rancid) soap. Always use a soap calculator for safety.
2. Adding Water to Lye
Always add lye TO water, slowly. The reverse can cause a violent reaction.
3. Not Reaching Trace
If you pour too early, oils and lye may separate. Be patient and blend until you see trace.
4. Skipping the Cure
Fresh soap is harsh and soft. The 4-6 week cure allows water to evaporate and the bar to harden.
Understanding Superfat
Superfat is the percentage of oils that remain unsaponified (not converted to soap). A 5% superfat means 5% of your oils stay as free oils, making the soap more moisturizing.
- 0-3% - Very cleansing, can be drying
- 5% - Standard, good balance
- 7-8% - Extra moisturizing (may reduce lather)
Next Steps
Ready to calculate your first recipe? Try our free Soaply calculator to get exact measurements for any combination of oils.
Once you've mastered the basics, explore:
- Different oil combinations - Learn which oils create the best bars
- Natural colorants (clays, botanicals)
- Essential oils vs fragrance oils - Which is right for your soap?
- Understanding superfat - Fine-tune your recipe's moisturizing properties
- Advanced techniques like swirls and layers
Recommended Beginner Supplies
Here are the essential supplies to get started. All links go to Amazon where you can compare options:
- Digital Kitchen Scale (0.1g accuracy) - Most important tool you'll buy
- Immersion/Stick Blender - Don't try to hand-stir to trace
- Sodium Hydroxide (Lye) - Food-grade NaOH
- Silicone Loaf Mold - Easy unmolding, reusable
- Safety Goggles + Gloves Kit - Protect yourself
- Infrared Thermometer - Quick temperature checks
💬 Frequently Asked Questions
Is cold process soap safe to use on skin?
Yes! Once fully cured (4-6 weeks), cold process soap contains no free lye. The saponification reaction converts all the lye into soap and glycerin, making it completely safe for skin.
How long does it take to make cold process soap?
The active soap making process takes about 1-2 hours, including prep and cleanup. However, bars need 4-6 weeks of curing time before they're ready to use.
Can you make cold process soap without lye?
No. Lye (sodium hydroxide) is essential for saponification, the chemical reaction that turns oils into soap. If you want to skip lye handling, try melt and pour soap making instead.
What temperature should oils and lye be for cold process soap?
Both your lye solution and oils should be around 100-110°F (38-43°C) when you combine them. Use an infrared thermometer for quick, accurate readings.
Why does cold process soap need to cure for so long?
Curing allows water to evaporate from the bar, making it harder and longer-lasting. It also lets the crystal structure develop, which improves lather quality and mildness. Learn more in our curing guide.
Happy soaping! 🧼
Ready to Try It?
Use our free soap calculator to create your perfect recipe with real-time property predictions.
Open Calculator