How to Make Soap on a Rope (3 Easy Methods and a Recipe)
Learn how to make soap on a rope with 3 easy methods: cold process, melt and pour, and drilling a cured bar. Get a recipe, rope tips, and gift ideas.
How to Make Soap on a Rope (3 Easy Methods and a Recipe)
Soap on a rope is just a bar of soap with a loop of cord running through it so you can hang it in the shower instead of fishing for it off the floor. To make it, you embed a knotted loop of cotton rope into the bar while the soap is still soft, whether that's a fresh cold process batch, a melt and pour pour, or a cured bar you drill a hole through. This guide walks you through all three methods, gives you a beginner-friendly recipe, and shows you how to set the rope so it never pulls out.
- What Is Soap on a Rope?
- Why Make Soap on a Rope?
- What Kind of Rope Should You Use?
- The 3 Ways to Add a Rope to Soap
- Cold Process Soap on a Rope Recipe
- How to Set the Rope So It Won't Pull Out
- Melt and Pour Method for Beginners
- Frequently Asked Questions
What Is Soap on a Rope?
Soap on a rope is a soap bar with a loop of cord embedded in it so you can hang the bar from a shower hook, a faucet, or a towel bar. The rope does two jobs at once. It keeps the bar off wet surfaces where it would sit in a puddle and turn to mush, and it gives you something to grab so the bar doesn't shoot out of your hands mid-lather.
The style has been around since the 1950s, when it was sold as a tidy, masculine gift, which is why it still shows up in men's grooming sets and stocking stuffers. The idea is simple, but it solves a real problem: a hung bar drains and dries between uses, so it lasts noticeably longer than one that sits flat in a dish.
You can make soap on a rope with any soap-making method. The only extra step is anchoring a loop of cord into the bar at the right moment, and that moment depends on which method you use.
Why Make Soap on a Rope?
The biggest practical reason is that a hanging bar lasts longer. Soap dissolves fastest when it stays wet, so a bar that drips dry between showers can outlast a flat-stored bar by a week or more. If you've ever watched a fresh bar go gummy in a dish, you already know the problem the rope fixes.
It also keeps the bar clean and within reach. No dropping it in the tub, no setting it on the edge where it slides off, and no slimy soap dish to scrub. For anyone with limited grip or a slippery shower, that loop is genuinely useful, not just decorative.
For soapmakers, there's a sales angle too. Soap on a rope photographs well, reads as a finished gift without extra packaging, and lets you charge a little more for the same bar. If you sell at markets, it's an easy way to stand out, and our guide to selling handmade soap covers how to price the upgrade.
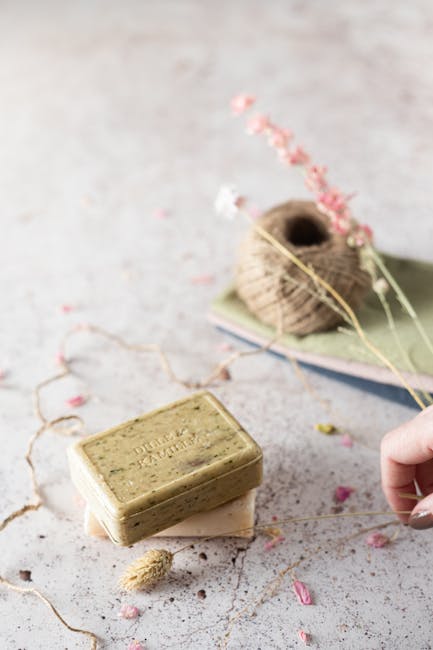
What Kind of Rope Should You Use?
Use a natural fiber rope, and cotton is the easiest to find. Look for 100% cotton cord or piping rope in the 1/4 inch to 3/8 inch range. Cotton is soft, holds a knot well, and won't shed plastic into your shower. Hemp and jute work too, though they're stiffer and a little scratchy.
Avoid synthetic rope like nylon or polypropylene. It looks fine, but it can feel slick and harsh against skin, and it doesn't soak into the soap the way a porous natural fiber does. The whole trick to a rope that stays put is that the fibers grip the soap, and synthetic rope grips poorly.
Cut your rope to about 8 to 10 inches before knotting, which gives you a comfortable loop once it's tied and embedded. Seal the cut ends with a quick wrap of tape or a dab of glue before you start so they don't fray while you work. A frayed end is harder to push into soap cleanly.
The 3 Ways to Add a Rope to Soap
There's no single right way to make soap on a rope. Pick the method that matches how you already make soap.
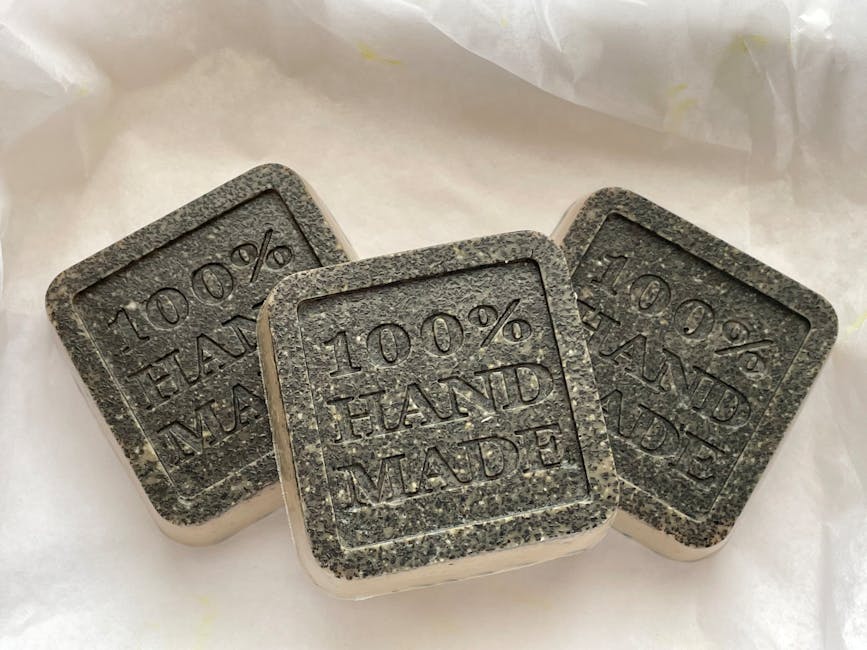
Method 1: Embed into cold process soap. Tie your rope into a loop, then press the knotted end down into the soap once it reaches a thick trace or right after you unmold and before it's fully hard. This is the most durable option because the soap saponifies around the fibers and locks them in. It takes the most planning since you're working with raw soap batter and lye.
Method 2: Pour around the rope in melt and pour. Suspend the knot in an empty mold, then pour melted soap base over it. The base sets in minutes and grips the cord. This is the fastest, most beginner-safe route because there's no lye to handle.
Method 3: Drill or thread a cured bar. Take a finished, fully cured bar, drill a hole near one edge with a clean bit, thread the rope through, and tie a stopper knot on the inside. This works for bars you already have, but it's the weakest hold since nothing saponified around the fibers.
For most people, the embed method gives the best, longest-lasting result. The rest of this guide focuses on it, with the melt and pour shortcut covered further down.
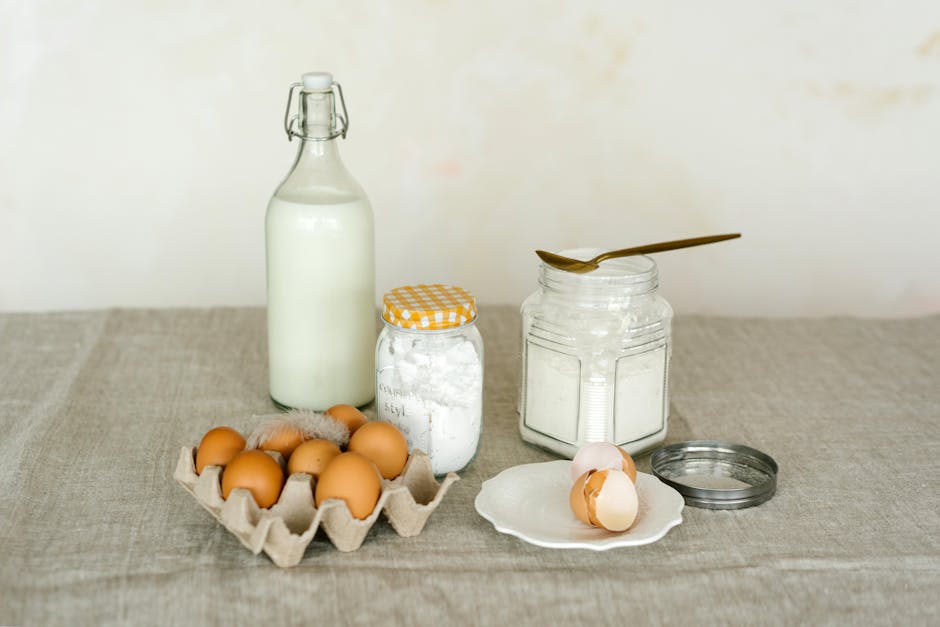
Cold Process Soap on a Rope Recipe
This is a balanced, beginner-friendly recipe that makes a hard, long-lasting bar, which matters because a soft bar won't hold a rope well. It yields about a 2-pound batch, enough for four to six bars depending on your mold.
| Oil | Percentage | Why it's here |
| ----- | ------------ | --------------- |
| Olive oil | 40% | Gentle, conditioning base |
| Coconut oil | 28% | Hard bar and big bubbles |
| Palm oil (or tallow) | 25% | Hardness and stable lather |
| Castor oil | 7% | Boosts and stabilizes lather |
Set your superfat to 5% and a water amount that gives you a workable trace. Here's the part you should never guess at: the exact amount of lye and water depends on your total oil weight, so run these percentages through the free Soaply soap calculator to get your precise sodium hydroxide and water amounts before you start. Mixing soap with the wrong lye amount is how batches fail.
If you want to swap the palm oil, our best oils for soap making guide shows which hard oils trade in cleanly. New to the cold process method entirely? Start with our beginner's guide to cold process soap and read the soap making safety guide first, since you'll be handling lye.
Step-by-Step
- Prep your rope. Cut four to six 8-inch lengths of cotton cord, fold each into a loop, and tie an overhand knot to leave a big knot of fiber at the bottom. The bigger that knot, the better it anchors.
- Make the soap. Mix your lye solution, combine it with your warmed oils, add fragrance, and blend to a medium to thick trace. You want it thick enough to hold the rope upright, like soft pudding.
- Pour and add the rope. Pour the batter into individual cavity molds or a loaf mold. Press the knotted end of each rope down into the soap so the knot is buried and only the loop sticks out.
- Insulate and wait. Cover lightly and let the soap sit 24 to 48 hours until firm. Unmold, and if you used a loaf, cut between the ropes so each bar keeps its loop.
- Cure. Hang or stand the bars to cure for 4 to 6 weeks. A long cure makes a harder bar that grips the rope tightly and lasts longer in the shower.
How to Set the Rope So It Won't Pull Out
The number one complaint with homemade soap on a rope is the rope tearing free after a few uses. Three things prevent it.
First, bury a fat knot. The knot is the anchor, so make it as bulky as your rope allows and push it at least halfway into the bar. A thin tail with a small knot has nothing to grab.
Second, embed at the right firmness. In cold process, press the rope in at thick trace or just after pouring, while the batter can still flow around the fibers but is firm enough to hold the loop in place. Too thin and the rope sinks or tilts; too firm and the soap won't seal around it.
Third, cure the bar fully. A soft, under-cured bar crumbles around the knot under shower use. A bar that's cured a full 4 to 6 weeks is hard and dense, and that density is what holds the fibers. If you drilled a cured bar instead of embedding, tie a large stopper knot flush against the inside face so it can't slip back through the hole.
Melt and Pour Method for Beginners
If you'd rather skip lye entirely, melt and pour is the fastest way to make soap on a rope, and it's a great project to do with kids. You'll need a melt and pour soap base, a mold, and your prepped rope loops.
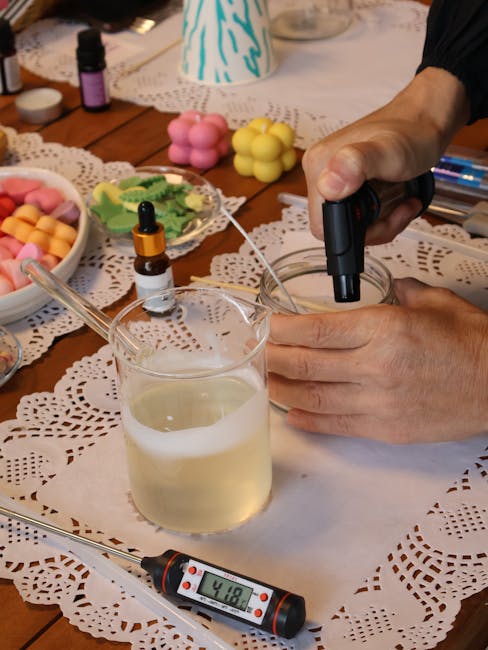
Cut the base into cubes and melt it gently in the microwave in 30-second bursts or in a double boiler until just liquid. Stir in color and a skin-safe fragrance, using our fragrance load calculator to keep the scent in a safe range. Let the base cool slightly so it starts to thicken, which helps it grip the cord.
Suspend the knotted end of the rope in the mold cavity, either by laying the loop over the rim or clipping it to a skewer laid across the top, so the knot hangs where the soap will be. Pour the base around it, then let it set for an hour until fully hard before unmolding. For a stronger hold, pour a shallow layer first, let it skin over, set the knot on top, then pour the rest so the rope ends up sandwiched in the middle. Our full melt and pour soap guide covers base types and coloring in more detail.
💬 Frequently Asked Questions
What is the point of soap on a rope?
The rope lets you hang the bar so it drains and dries between uses, which makes it last longer than a bar sitting in a dish. It also keeps the soap off dirty surfaces and gives you a grip so it doesn't slip out of your hands in the shower.
What kind of rope do you use for soap on a rope?
Use natural fiber rope, ideally 100% cotton cord around 1/4 to 3/8 inch thick. Cotton is soft, knots well, and its porous fibers grip the soap. Avoid nylon or other synthetics, which feel harsh and don't anchor into the bar reliably.
How do you keep the rope from falling out of the soap?
Tie a large knot and bury it at least halfway into the bar, embed the rope while the soap is still soft, and cure the bar fully so it hardens around the fibers. For a drilled cured bar, tie a big stopper knot against the inside face so it can't pull back through the hole.
Can you make soap on a rope without lye?
Yes. Use a premade melt and pour soap base, which is already saponified, so there's no lye handling. Melt the base, suspend your knotted rope in the mold, pour the soap around it, and let it set. It's the safest method and a good first project.
How long does soap on a rope last?
Because a hung bar drains and dries between showers, soap on a rope often lasts a week or more longer than a flat-stored bar of the same size. A fully cured, hard bar lasts longest, since dense soap dissolves more slowly.
Ready to Make Your First Batch?
Soap on a rope is one of the easiest upgrades you can add to a bar, and it turns an everyday soap into a gift-ready product. Whether you're embedding cord in a cold process loaf or pouring melt and pour around a loop, get your recipe right first: run your oils through the free Soaply soap calculator to nail your lye, water, and superfat before you pour. Then hang your bars to cure and enjoy soap that stays put and lasts longer.
Ready to Try It?
Use our free soap calculator to create your perfect recipe with real-time property predictions.
Open Calculator