How to Make Melt and Pour Soap: The Easiest Way to Start
Learn how to make beautiful melt and pour soap at home. No lye handling required! Covers bases, additives, techniques, troubleshooting, and creative ideas.

How to Make Melt and Pour Soap: The Easiest Way to Start
If the idea of handling lye makes you nervous, melt and pour (M&P) soap making is the perfect entry point. You start with a pre-made soap base that's already been saponified. All you do is melt it, add your colors and fragrances, pour it into a mold, and wait for it to harden.
No lye. No curing time. Gorgeous soap in under an hour.
- Melt and Pour vs. Cold Process
- Choosing a Soap Base
- Essential Equipment and Supplies
- Step-by-Step Instructions
- Colors and Fragrances
- Creative Techniques
- Troubleshooting Common Problems
Melt and Pour vs. Cold Process
Before we dive in, it helps to understand what makes M&P different from cold process soap making:
| Feature | Melt and Pour | Cold Process |
| --------- | -------------- | -------------- |
| Lye handling | None required | Required |
| Time to use | 1-4 hours | 4-6 weeks cure |
| Customization | Moderate | Full control |
| Transparency | Possible (clear bases) | Not possible |
| Difficulty | Easy | Moderate |
| Equipment | Minimal | More involved |
Cold process gives you complete control over every ingredient. Melt and pour gives you speed, safety, and simplicity. Many soap makers do both!
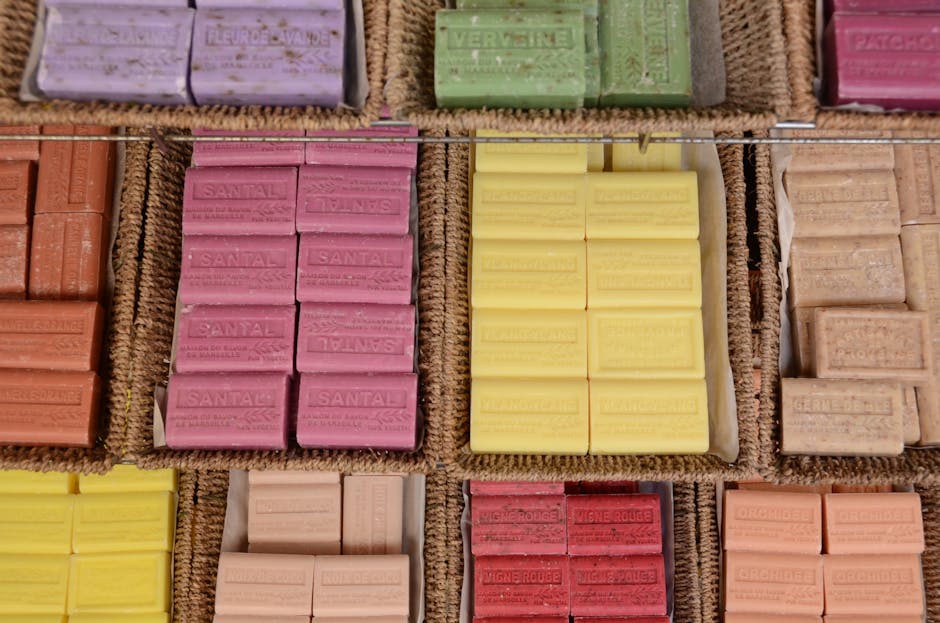
Choosing a Soap Base
The base you choose determines your soap's feel, look, and skin properties. Here are the most popular options:
Common Bases
- Shea Butter Base: Moisturizing and creamy, great all-around choice for beginners
- Goat's Milk Base: Extra gentle, slightly creamy color, excellent for sensitive skin
- Clear Glycerin Base: Transparent, perfect for embedding objects or layered designs
- Coconut Oil Base: Good lather, slightly firmer bar
- Olive Oil Base: Very gentle, lower lather, good for facial bars
- Honey Base: Naturally warm-toned, moisturizing
What to Look For
Buy bases from reputable soap supply companies. A good base should:
- List ingredients clearly
- Be free of detergents (SLS/SLES) if you want a natural product
- Melt smoothly without burning
- Accept colorants and fragrances well
You can find quality soap bases from specialty suppliers or on Amazon.
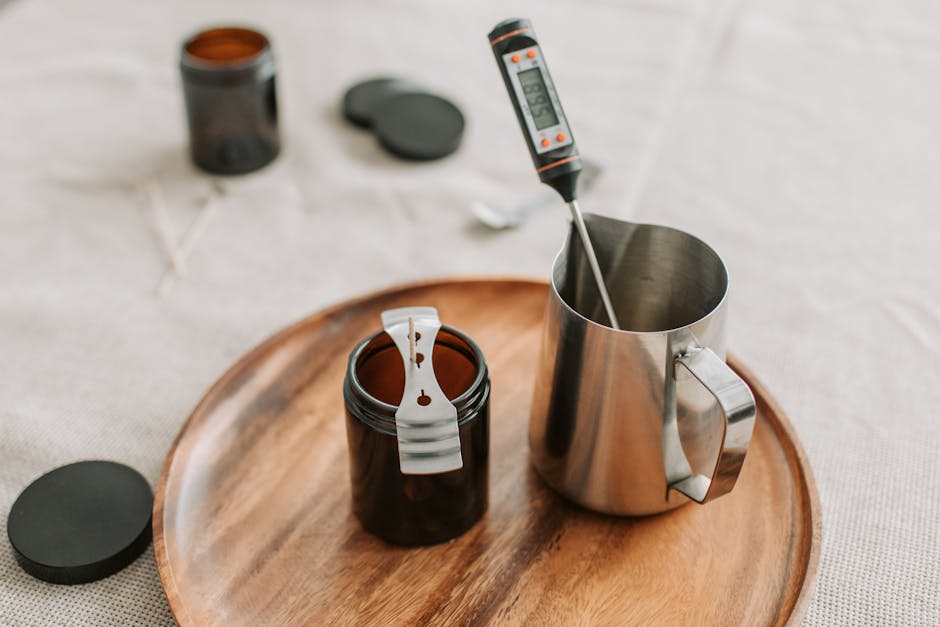
Equipment You'll Need
One of the best things about M&P soap is you probably own most of this already:
- Microwave-safe container or double boiler (a Pyrex measuring cup works great)
- Silicone soap molds : individual cavity molds are easiest for beginners
- Digital kitchen scale : for measuring fragrance and additives
- Rubbing alcohol in a spray bottle : essential for removing bubbles and bonding layers
- Knife or soap cutter : to cut your base into chunks
- Spoon or silicone spatula : for stirring
- Soap colorants : liquid dyes or micas
- Fragrance oils or essential oils
Step-by-Step: Your First Melt and Pour Soap
Step 1: Cut the Base
Cut your soap base into small, uniform cubes (roughly 1-inch). Smaller pieces melt faster and more evenly. Weigh the amount you need for your mold.
Tip: Most individual bar molds hold 3.5–5 oz of soap. Weigh water in the mold first to estimate capacity (soap base and water weigh roughly the same by volume).
Step 2: Melt the Base
Microwave method (recommended):
- Place cubes in a microwave-safe container
- Heat in 30-second bursts
- Stir between each burst
- Stop as soon as the last chunks dissolve with stirring
Double boiler method:
- Place cubes in the top pot over simmering water
- Stir occasionally until fully melted
- Remove from heat immediately
⚠️ Never boil your soap base. Overheating causes bubbles, burning, and a rubbery texture. Aim for around 130-140°F : just hot enough to be fully liquid.
Step 3: Add Fragrance
Once melted, add your fragrance oil or essential oil. The standard usage rate for melt and pour soap is:
- Fragrance oils: 0.3 oz per pound of base (about 2%)
- Essential oils: varies by oil : check supplier guidelines
Stir gently to combine. Vigorous stirring creates unwanted bubbles.
Use our fragrance calculator to get precise measurements for your batch size.
Step 4: Add Color
Add colorant a little at a time. For M&P soap:
- Liquid dyes: 1-3 drops per pound of base (they're concentrated!)
- Micas: ¼ to ½ teaspoon per pound, pre-dispersed in a tiny bit of rubbing alcohol
- Natural colorants: Turmeric, spirulina, activated charcoal, clays
For clear bases, liquid dyes give the most vibrant, transparent colors. For opaque bases, micas and pigments work beautifully.
Step 5: Pour Into Molds
Pour steadily into your mold. Work at a moderate pace : if the base starts thickening, it's cooling too fast (you can briefly reheat).
Immediately spray the surface with rubbing alcohol. This pops any air bubbles on top and gives you a smooth finish. This is the single most important M&P technique.
Step 6: Wait and Unmold
Let your soap cool completely at room temperature. This usually takes 1-4 hours depending on the size of your bars.
Don't put soap in the freezer to speed things up : it can cause sweating and condensation. A cool room is fine.
Once firm, gently flex the mold and pop out your bars. They're ready to use immediately!
Creative Techniques
Once you've mastered the basics, try these popular M&P techniques:
Layered Soap
- Pour first color layer, spray with alcohol
- Let it form a skin (5-10 minutes)
- Spray the surface with alcohol again (this helps layers bond!)
- Pour second color at 130-135°F
- Repeat for as many layers as you want
Embedded Objects
- Place dried flowers, small toys, or soap shapes in the mold
- Pour clear base over them
- Great for making soaps with visible botanicals
Swirled Soap
- Pour base color into the mold
- Drizzle a contrasting color on top
- Use a skewer or chopstick to swirl through
- Work quickly before the base sets
Confetti Soap
- Cut colored soap scraps into small cubes or shapes
- Place them in the mold
- Pour clear or white base over them
- Each piece shows through!
Troubleshooting Common Problems
Bubbles on the Surface
Cause: Air introduced while stirring or pouring.
Fix: Spray with rubbing alcohol immediately after pouring. Always spray : it's not optional with M&P.
Layers Separating
Cause: Bottom layer cooled too much before pouring the next layer, or you forgot to spray alcohol between layers.
Fix: Always spray alcohol on the previous layer right before pouring the next. Pour the new layer at 130-135°F (not too hot or it'll melt through).
Sweating (Beads of Moisture)
Cause: Glycerin in the base attracts moisture from the air. This is cosmetic, not a quality issue.
Fix: Wrap finished bars tightly in plastic wrap. Don't store unwrapped in humid environments.
Fragrance Fading
Cause: Adding fragrance when the base is too hot, or using a low-quality fragrance oil.
Fix: Let the base cool to 130-135°F before adding fragrance. Use fragrances rated for M&P soap.
Base Won't Set
Cause: Too much liquid additive (milks, aloe, etc.) diluted the base.
Fix: Keep liquid additives under 1 tablespoon per pound of base.
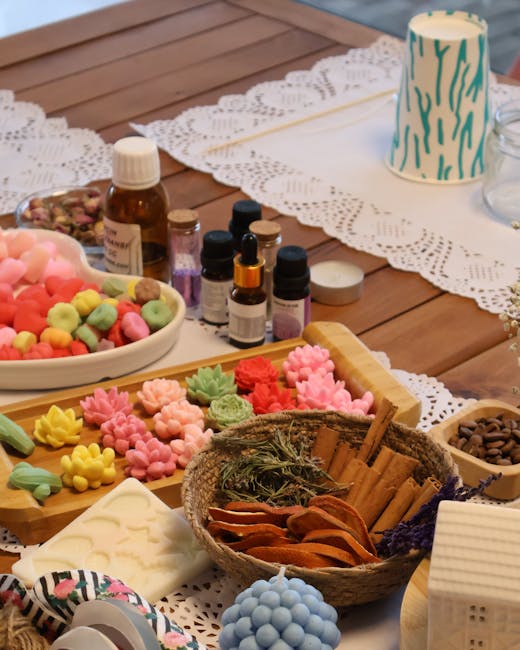
Adding Exfoliants and Extras
M&P soap accepts many additives. Here are some favorites:
- Oatmeal (colloidal or whole) : soothing, gentle exfoliant
- Coffee grounds : stronger exfoliant, natural brown color
- Poppy seeds : visual interest and light exfoliation
- Sea salt : detoxifying, mineral-rich
- Honey : humectant, add 1 tsp per pound (too much prevents setting)
- Aloe vera gel : soothing, add 1 tbsp per pound max
- Clays (bentonite, kaolin) : cleansing, natural color
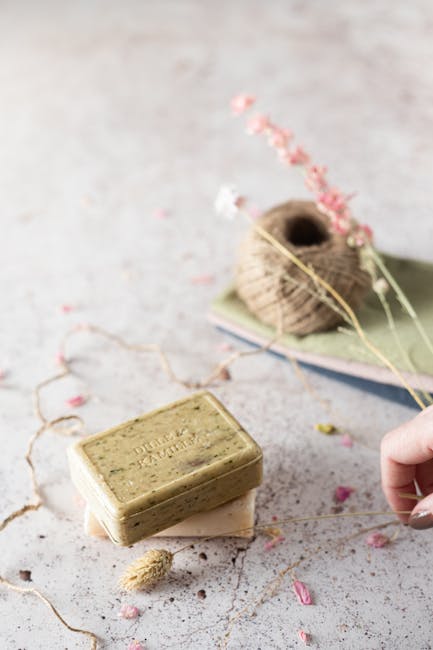
- Dried herbs (lavender buds, calendula petals) : visual appeal
Warning: Fresh ingredients (fruit, vegetables, fresh flowers) will rot in soap. Stick to dried botanicals.
Tips for Success
- Less is more with additives. Start with small amounts and increase next batch if needed.
- Work in small batches until you're confident. 1-2 pounds of base is plenty for learning.
- Keep notes. Record what base, fragrance, colors, and amounts you used. You'll want to recreate your favorites.
- Buy quality bases. Cheap bases can be difficult to work with and produce inferior bars.
- Spray alcohol liberally. Between layers, after pouring, whenever in doubt : spray.
- Don't stir too vigorously. Gentle folding motions prevent bubbles.
- Temperature matters. Too hot destroys fragrance and creates bubbles. Too cool and the base won't pour smoothly.
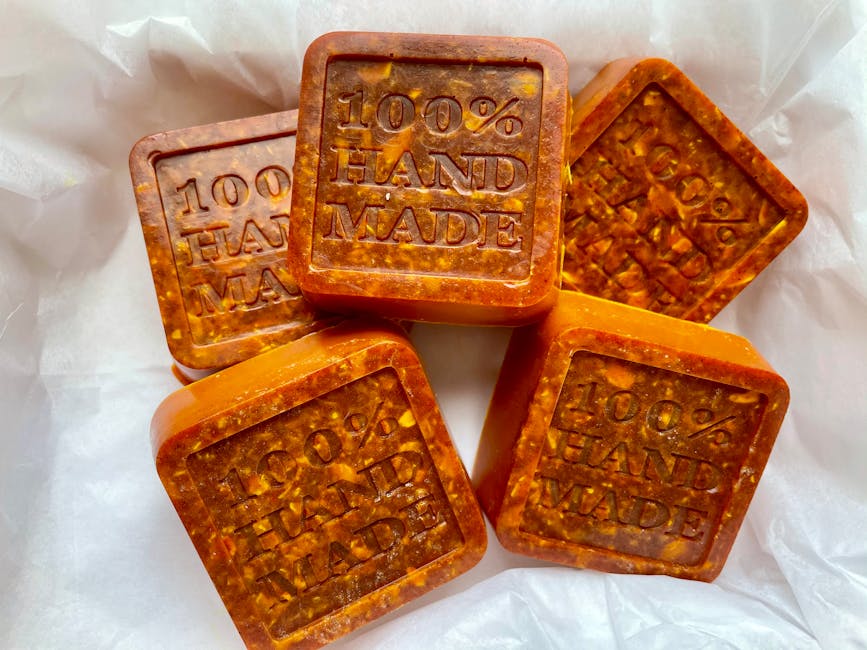
Is Melt and Pour "Real" Soap Making?
This question comes up a lot in soap making communities. Yes : it absolutely counts. You're creating a custom product with your choice of scents, colors, shapes, and additives. The base is real soap made through saponification.
Many successful soap businesses sell exclusively melt and pour products. It's also a natural stepping stone to cold process or hot process soap making when you're ready for more control.
What's Next?
Once you've made a few batches of M&P soap:
- Experiment with different bases to find your favorite
- Try advanced techniques like embeds and layers
- Learn about soap bar properties to understand what makes a great bar
- Consider trying cold process soap making for full ingredient control
- Use our calculator to explore different oil combinations and see how they affect bar properties
- Read about essential oils vs. fragrance oils to make informed scent choices
💬 Frequently Asked Questions
Can I use a crock pot to melt melt and pour soap base?
Yes! A crock pot on warm or low setting works great for melting large amounts of base. Just be careful not to overheat it, as this can cause bubbles and a rubbery texture.
Why does my melt and pour soap sweat?
Sweating happens when soap absorbs moisture from the air. This is common with glycerin-rich bases. Store finished bars in airtight containers or wrap in plastic wrap to prevent sweating.
How much fragrance oil can I add to melt and pour soap?
Most bases can handle up to 3% fragrance oil by weight. Adding too much can prevent the soap from hardening properly or cause separation.
Do I need to cure melt and pour soap like cold process?
No! Melt and pour soap is ready to use as soon as it's hard, usually within 1-4 hours. There's no need for the 4-6 week cure time required by cold process soap.
Can I add fresh ingredients like milk or fruit to melt and pour?
Fresh ingredients can introduce bacteria and cause spoilage. Stick to dried additives, essential oils, colorants, and clays for best results and longer shelf life.
Happy soap making! 🧼
Ready to Try It?
Use our free soap calculator to create your perfect recipe with real-time property predictions.
Open Calculator