How to Make Pine Tar Soap (Cold Process Recipe and Tips)
Learn how to make pine tar soap with this cold process recipe. Covers pine tar usage rates, how to prevent seizing, curing tips, and a tested oil formula for a gentle bar.
How to Make Pine Tar Soap (Cold Process Recipe and Tips)
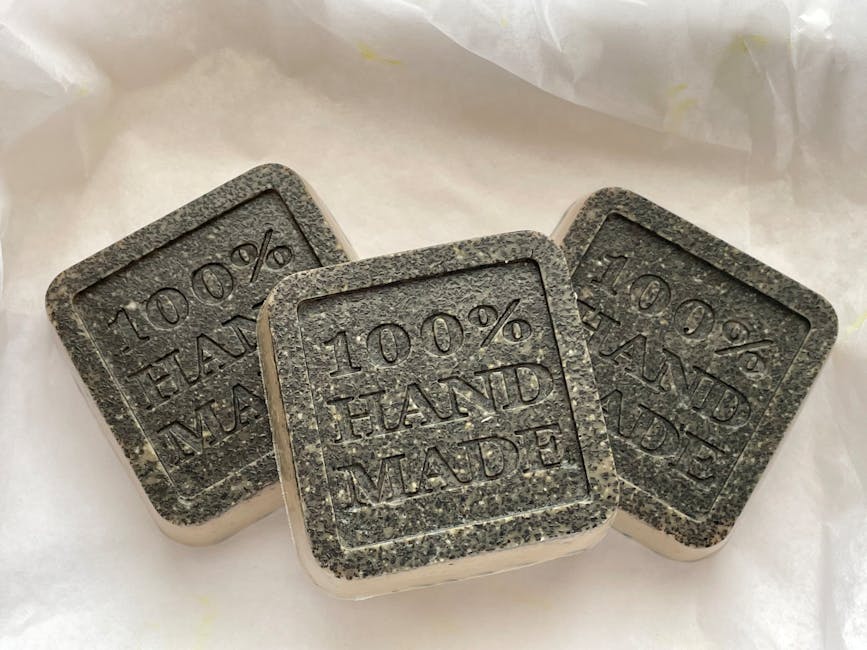
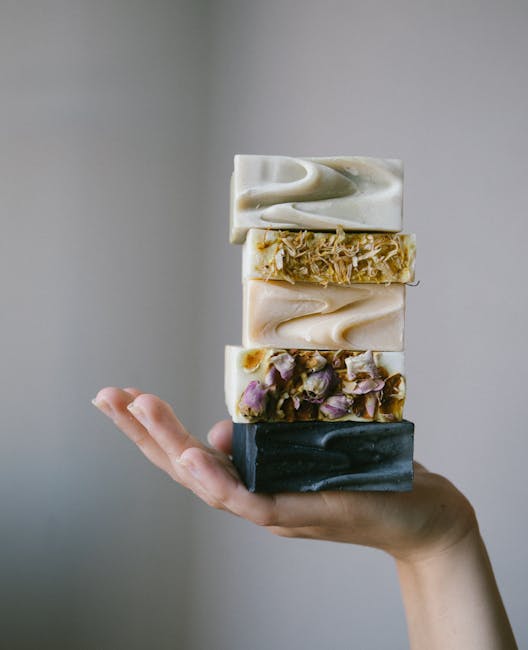
Pine tar soap has been used for over a century as a go-to bar for dry, irritated skin. The dark, smoky-scented bars get their distinctive look and properties from pine tar, a thick liquid produced by slow-burning pine wood. Making pine tar soap at home requires a few adjustments to your normal cold process routine, but the results are worth the extra care.
- What Is Pine Tar?
- Why People Use Pine Tar Soap
- Pine Tar Soap Recipe
- Equipment You'll Need
- Step-by-Step Instructions
- How to Prevent Seizing
- Curing and Storage
- Pine Tar Usage Rates
- Frequently Asked Questions
What Is Pine Tar?
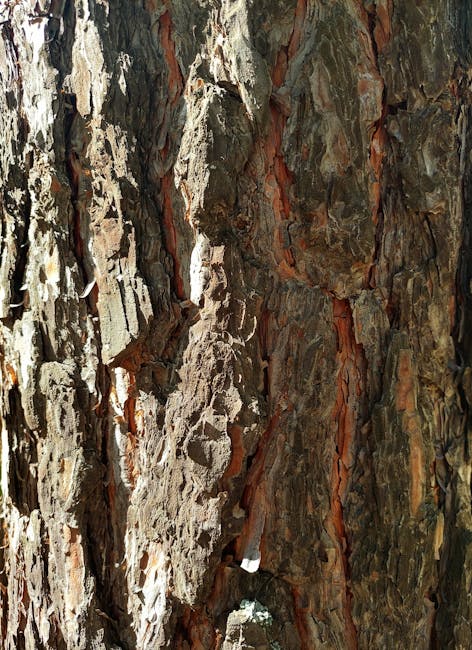
Pine tar is a dark, viscous substance produced by the destructive distillation of pine wood. Historically it was used to waterproof ships and preserve wood, but it has a long history in skin care products as well.
For soap making, you want kiln-burned pine tar (sometimes labeled "wood tar" or "Stockholm tar"). Avoid pine tar products meant for horses' hooves or industrial use, as these may contain additives. Food-grade or cosmetic-grade pine tar from soap supply vendors is the safest choice.
Pine tar has a SAP value similar to castor oil. When adding it to a cold process recipe, include it with your oils so the lye calculator accounts for it properly. The Soaply calculator lets you enter pine tar as a custom oil with its SAP value for precise calculations.
Why People Use Pine Tar Soap
Pine tar soap has a loyal following, especially among people dealing with dry or itchy skin conditions. While we can not make medical claims about soap, pine tar has been used in folk remedies and over-the-counter preparations for generations.
Qualities that attract people to pine tar soap:
- Strong, woodsy scent that many find pleasant and grounding
- Dark, rustic appearance that stands out from typical handmade bars
- Traditional remedy with a long history of use for skin comfort
- Gentle cleansing when paired with a high superfat and mild oil blend
- Popular seller at farmers markets and craft fairs for its novelty and reputation
If you sell handmade soap, pine tar bars are consistently strong sellers. Check our guide to selling handmade soap for tips on bringing specialty bars to market.
Pine Tar Soap Recipe
This recipe uses a mild oil blend with enough hard oils for a firm bar, plus pine tar at 5% of the total oil weight. Run these exact weights through the Soaply lye calculator for your lye and water amounts.
Oil Formula (makes about 2 lbs)
| Oil | Weight | Percentage |
| ----- | -------- | ----------- |
| Olive Oil | 10 oz | 35% |
| Coconut Oil (76 degree) | 7.1 oz | 25% |
| Palm Oil | 5.7 oz | 20% |
| Shea Butter | 2.9 oz | 10% |
| Castor Oil | 1.4 oz | 5% |
| Pine Tar | 1.4 oz | 5% |
- Superfat: 6-8% (higher superfat helps offset pine tar's drying potential)
- Water as % of oils: 33%
- No added fragrance needed (pine tar has a strong natural scent)
The olive oil and shea butter keep this recipe gentle, while coconut and palm provide hardness and lather. Castor oil boosts bubbles. The 5% pine tar rate gives good color and scent without overwhelming the bar.
Equipment You'll Need
Standard cold process equipment plus a few extras:
- Digital kitchen scale
- Stainless steel pot for melting oils
- Heat-safe containers for lye solution
- Stick blender
- Thermometer (infrared or candy)
- Soap molds (individual cavity molds work best for pine tar soap)
- Safety gear: goggles, gloves, long sleeves
- Dedicated spoon or spatula for pine tar (it stains everything)
- Newspaper or plastic sheeting to protect your workspace
Pine tar is extremely sticky and stains surfaces, clothing, and skin. Lay down protection before you start, and wear old clothes. Rubbing alcohol helps clean pine tar off tools.
Step-by-Step Instructions
Step 1: Prepare Your Lye Solution
Weigh your water and lye using the Soaply calculator amounts. Add lye to water slowly in a ventilated area, stir until dissolved, and set aside to cool. For detailed safety information, read our lye handling guide.
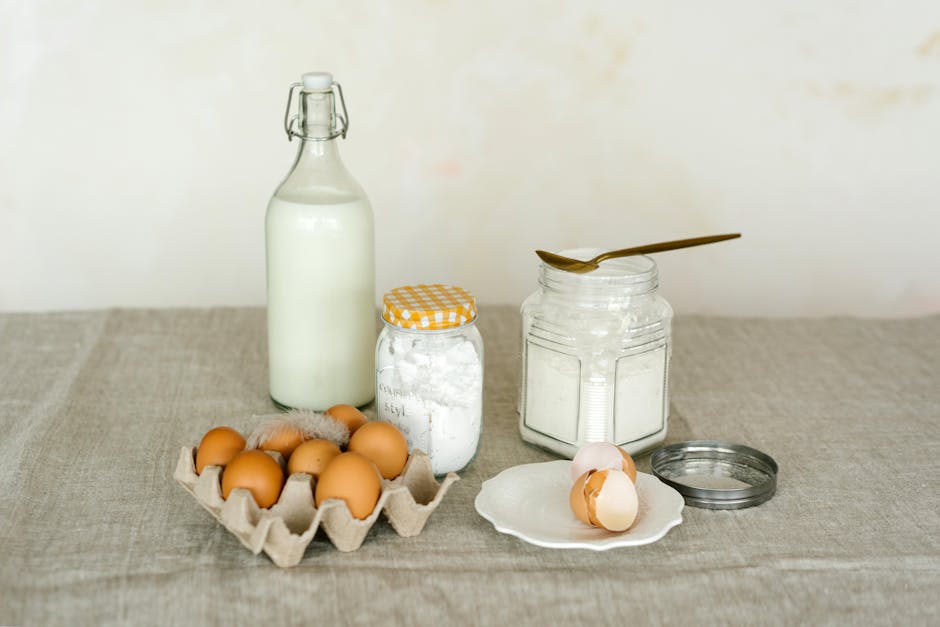
Step 2: Melt and Combine Oils
Melt the coconut oil, palm oil, and shea butter together. Remove from heat and add the olive oil and castor oil. Do not add the pine tar yet.
Step 3: Cool to Low Temperatures
This is the most important step for pine tar soap. Cool both your lye solution and oil mixture to 90-100 F (32-38 C). Some soap makers go as low as 80 F. Pine tar accelerates trace aggressively, so lower temperatures give you more working time.
Step 4: Add Pine Tar to Oils
Warm your pine tar slightly (set the container in warm water for a few minutes) to make it easier to pour. Stir it into the oil mixture thoroughly before adding the lye solution. Pine tar is thick and does not blend easily when cold.
Step 5: Combine Lye and Oils
Pour the lye solution into the oils slowly. Use your stick blender in very short bursts (1-2 seconds at a time, then stir by hand). Pine tar can bring a batch to trace in seconds if you over-blend. You are aiming for a very light trace, just barely emulsified.
Step 6: Pour Immediately
As soon as you reach light trace, pour into molds. Do not try to add swirls or additional design elements. Pine tar soap thickens fast and you will not have time for decoration. The natural dark brown color is the design.
Step 7: Do Not Insulate
Place molds in a cool spot and do not cover or insulate. Pine tar generates extra heat during saponification, and overheating can cause the soap to crack or develop air pockets. If your house is warm, some soap makers put pine tar soap in the refrigerator (not freezer) for the first 24 hours.
Step 8: Unmold and Cure
Unmold after 48-72 hours (pine tar soap takes longer to firm up than standard recipes). Cut if needed and cure for 6-8 weeks. The longer cure time allows the pine tar scent to mellow and the bar to harden properly.
How to Prevent Seizing
Seizing (when soap batter suddenly becomes solid and unworkable) is the biggest challenge with pine tar soap. Here is how to avoid it:
Work cold. Keep both lye solution and oils at 90 F or below. Hot temperatures and pine tar do not mix well.
Minimize stick blending. Use the stick blender only to get past the initial emulsion. Once the oils and lye water stay mixed when you stop stirring, switch to hand stirring. Many experienced pine tar soap makers use hand stirring exclusively.
Skip fragrance oil. Pine tar already has a strong scent. Adding fragrance oil increases the chance of seizing, especially with floral or spice fragrances that accelerate trace on their own. If you must add fragrance, use a slow-moving option like lavender essential oil.
Use a higher water ratio. This recipe uses 33% water as a percentage of oils, which is generous. More water slows trace. You can go up to 38% if seizing is a recurring problem, but the bars will need extra cure time.
Warm the pine tar first. Cold pine tar is thick and clumpy. Warming it to about 100 F makes it liquid enough to blend smoothly into oils before the lye goes in.
Curing and Storage
Pine tar soap benefits from a longer cure than most cold process recipes:
- Minimum 6 weeks for the bar to harden and the scent to settle
- 8-12 weeks produces a milder, harder bar
- Cure in open air with good ventilation. Pine tar has a strong smoky smell during the first few weeks that will bother you in a closed room
- Store separately from other soaps. Pine tar's scent transfers to nearby bars
- Expect color changes. Fresh pine tar soap is very dark brown to black. Over the cure period, the exterior may lighten slightly
Pine Tar Usage Rates
The amount of pine tar in your recipe affects both the bar's intensity and how tricky it is to make:
| Pine Tar % | Color | Scent | Difficulty |
| ----------- | ------- | ------- | ------------ |
| 1-3% | Light tan to brown | Mild woodsy | Easy, behaves like a normal batch |
| 5% | Medium brown | Noticeable smoky pine | Moderate, need to watch for fast trace |
| 8-10% | Dark brown | Strong, traditional pine tar | Challenging, seizes easily |
| 15%+ | Nearly black | Very strong | Expert only, extremely fast trace |
For your first batch, 5% is the sweet spot. It gives you the classic pine tar soap look and scent without making the process unmanageable.
The SAP value for pine tar varies by source. A commonly used NaOH SAP value is 0.0558. When using the Soaply calculator, you can add pine tar as a custom oil with this SAP value to get accurate lye amounts.
💬 Frequently Asked Questions
Is pine tar soap safe for skin?
Pine tar has been used in skin care products for well over a century and is generally recognized as safe for topical use. However, some people may be sensitive to it. Test a small area first, especially if you have reactive skin. Our sensitive skin soap guide covers gentle formulation principles.
What does pine tar soap smell like?
Pine tar soap has a distinctive smoky, campfire-like scent with woody undertones. Some people describe it as smelling like a wood stove or smoked meat. The scent mellows during the cure period but never fully disappears, which is part of the appeal.
Can I add essential oils to pine tar soap?
You can, but it increases the risk of the batch seizing. If you add essential oils, stick with slow-tracing options like lavender or cedarwood, and add them at very light trace before the pine tar accelerates things. Many pine tar soap makers skip additional fragrance entirely.
Why did my pine tar soap seize?
The most common causes: temperatures were too high, too much stick blending, or the pine tar was cold and lumpy when added. Review the prevention tips above and try again with cooler temperatures and minimal blending.
Where do I buy pine tar for soap making?
Look for cosmetic-grade or kiln-burned pine tar from soap supply vendors. It is also available on Amazon. Make sure the product is intended for personal care use, not industrial applications.
Make Your First Batch
Pine tar soap rewards patience and preparation. Keep your temperatures low, blend minimally, and pour fast. The dark, rustic bars with their woodsy scent are unlike anything else in the soap world.
Plug your oil weights into the Soaply calculator for exact lye and water amounts. For more specialty soap recipes, check out our activated charcoal soap guide, coffee soap recipe, or beer soap tutorial.
Ready to Try It?
Use our free soap calculator to create your perfect recipe with real-time property predictions.
Open Calculator