How to Make Honey Soap: Cold Process Recipe and Tips
Learn how to make honey soap with cold process. Get a tested recipe, tips for preventing overheating, and the best ways to add honey for skin-loving bars.
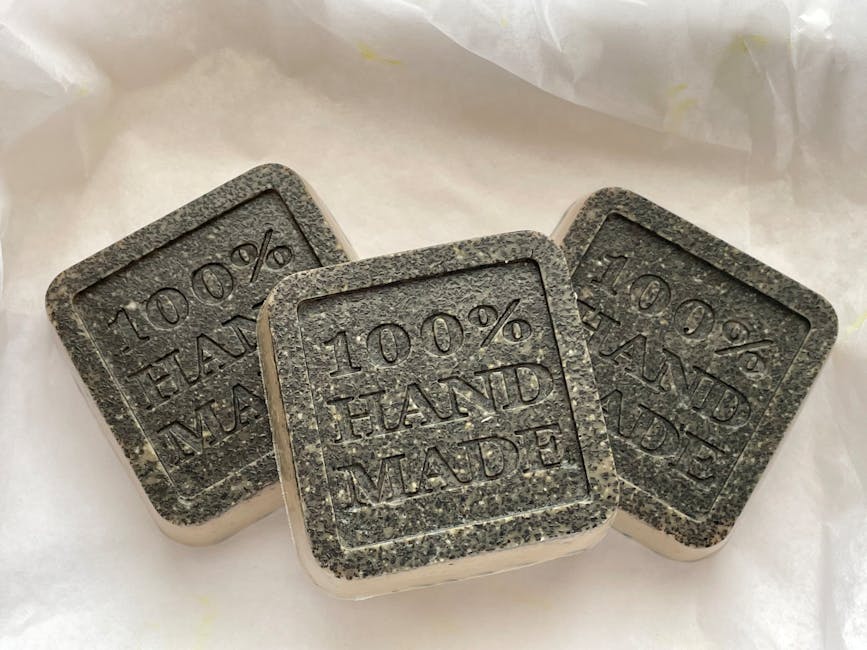
How to Make Honey Soap: Cold Process Recipe and Tips
Honey isn't just for tea and toast. It's one of the best natural additives you can put in cold process soap. It's a humectant (meaning it pulls moisture to your skin), it boosts lather, and it gives your bars a gorgeous warm golden color. But there's a catch: honey and lye generate extra heat, and if you're not prepared, your soap can overheat, crack, or even volcano out of the mold.
Don't worry. Once you know the tricks, honey soap is straightforward. Let's walk through everything you need to know.
- Why Add Honey to Soap?
- How Much Honey Should You Use?
- Best Types of Honey for Soap Making
- Honey Soap Recipe (Cold Process)
- Step-by-Step Instructions
- How to Prevent Overheating
- Troubleshooting Honey Soap Problems
- Frequently Asked Questions
Why Add Honey to Soap?
Honey brings a lot to the table as a soap additive. Here's what it actually does:
- Humectant properties. Honey attracts and holds moisture against your skin. This makes honey soap feel more moisturizing than a plain bar.
- Natural sugar boost. The sugars in honey create bigger, fluffier bubbles. If you've struggled to get good lather from olive oil heavy recipes, honey helps.
- Skin-soothing benefits. Honey has mild antibacterial and anti-inflammatory properties. It won't cure anything, but it's gentle on irritated or dry skin.
- Beautiful color. Even a small amount of honey turns your soap a warm amber or caramel shade, depending on how much you use and whether the soap gels.
People have used honey in skincare for thousands of years. Ancient Egyptians, Greeks, and Chinese herbalists all documented honey as a beauty treatment. Putting it in soap is a natural extension of that tradition.
How Much Honey Should You Use?
The standard recommendation is 1 tablespoon of honey per pound of oils in your recipe. That's roughly 1 teaspoon per 5 ounces of oils.
Here's a quick reference:
| Batch Size (oils) | Honey Amount | Effect |
| --- | --- | --- |
| 16 oz (1 lb) | 1 tablespoon | Standard, good lather boost |
| 32 oz (2 lb) | 2 tablespoons | Standard, good lather boost |
| 16 oz (1 lb) | 2 tablespoons | Stronger color, more lather, higher overheating risk |
You can go higher, but more honey means more heat during saponification. If you're new to honey soap, stick with 1 tablespoon per pound and work up from there.
Best Types of Honey for Soap Making
You don't need anything fancy. Here's what works:
- Regular grocery store honey works perfectly fine. It's already filtered and pours easily.
- Raw honey is thicker and may have small particulates. It works great but can be harder to mix evenly. Warm it slightly to thin it out.
- Manuka honey is expensive and its antibacterial properties won't survive saponification. Save your manuka for eating.
- Crystallized honey is totally fine. Just microwave it for 10-15 seconds until it's liquid again.
The bottom line: use whatever honey you have on hand. The saponification process breaks down most of the subtle differences between varieties, so spending $30 on artisan wildflower honey won't make your soap noticeably better than using the bear-shaped bottle from the grocery store.
Honey Soap Recipe (Cold Process)
This recipe makes about 2 pounds of soap (roughly 6 bars). It's designed to be moisturizing, produce good lather, and work well with honey.
| Ingredient | Percentage | Amount (for 32 oz oils) |
| --- | --- | --- |
| Olive Oil | 35% | 11.2 oz |
| Coconut Oil (76 degree) | 25% | 8 oz |
| Shea Butter | 20% | 6.4 oz |
| Sweet Almond Oil | 10% | 3.2 oz |
| Castor Oil | 10% | 3.2 oz |
| Superfat | 5% | — |
| Lye Concentration | 33% | — |
| Honey | — | 2 tablespoons |
Plug these oil percentages into the Soaply calculator to get your exact lye and water amounts. The calculator handles all the math so you don't have to worry about getting the ratios wrong.
Optional additions:
- 1 oz honey fragrance oil or oatmeal milk and honey fragrance
- 1 tablespoon colloidal oatmeal for an oatmeal honey bar
- 1 teaspoon ground cinnamon for a honey cinnamon soap (use sparingly, cinnamon can irritate skin)
Step-by-Step Instructions
What You'll Need
- Digital scale (measure everything by weight)
- Stick blender
- Two heat-safe mixing containers
- Silicone soap mold
- Safety goggles and gloves
- Infrared thermometer
- Spoon or spatula
Step 1: Prepare Your Honey
Measure out 2 tablespoons of honey. If it's thick or crystallized, warm it in the microwave for 10 seconds so it pours easily. Mix it with 1 tablespoon of warm distilled water to thin it out. This makes it much easier to incorporate into the soap batter.
Step 2: Make the Lye Solution
Weigh your lye and water using the amounts from the Soaply calculator. Add the lye to the water (never the other way around) and stir until dissolved. Set it aside to cool.
Important: Don't add honey directly to your lye solution. The lye will scorch the sugars and turn the mixture dark brown with a burnt smell. Always add honey at trace.
Step 3: Melt and Combine Oils
Melt your coconut oil and shea butter, then combine with your liquid oils (olive oil, sweet almond oil, castor oil). Let the oils cool to around 100-110°F.
Step 4: Combine and Reach Trace
When both your lye solution and oils are around 100-110°F (cooler is better for honey soap), pour the lye solution into the oils. Use your stick blender to reach a light trace. Light trace looks like thin pudding. You want it thin because honey can accelerate your batter.
Step 5: Add the Honey
Pour your diluted honey mixture into the soap batter at light trace. Stir it in with a spatula first, then give it a few short pulses with the stick blender. Don't over-blend. You just want it evenly distributed.
If you're adding fragrance oil, add it now too. Stir gently.
Step 6: Pour Into Mold
Pour the batter into your mold immediately. Honey soap thickens fast, so don't dawdle. Tap the mold on the counter a few times to release air bubbles.
Step 7: Prevent Overheating (Critical!)
This is the most important step for honey soap. Skip ahead to the overheating prevention section for the full breakdown, but the short version: put the mold in the freezer for 24 hours.
Step 8: Unmold and Cure
After 24 hours in the freezer, move the soap to the fridge for another 12 hours, then let it come to room temperature. Unmold, cut into bars, and cure for 4-6 weeks on a drying rack. Our guide on how long to cure soap explains why the wait is worth it.
How to Prevent Overheating
Overheating is the number one issue with honey soap. Honey contains natural sugars, and sugars react with lye to produce extra heat. This can cause:
- Partial gel phase (a dark ring in the center of your bar with lighter edges)
- Full overheating (cracks on the surface)
- Soap volcano (the soap expands out of the mold in extreme cases)
Here's how to prevent all three:
1. Soap cool. Keep your lye solution and oils at 100°F or below before combining. Some soapers go as low as 90°F for honey recipes.
2. Freeze it. Right after pouring, pop the mold directly into the freezer. Leave it for 24 hours. The freezer stops gel phase in its tracks and prevents the runaway heat cycle.
3. Don't insulate. With most cold process soap, you'd wrap the mold in a towel to encourage gel phase. With honey soap, do the opposite. You want it cold.
4. Use a single-cavity mold. Individual bar molds dissipate heat better than log molds. If you're using a log mold, the freezer method is especially important.
5. Reduce the honey. If you keep having overheating issues, cut back to 1/2 tablespoon per pound of oils. You'll still get the benefits with less risk.
6. Use a water discount. Running a higher lye concentration (lower water) in the Soaply calculator reduces the total liquid in the recipe and helps control heat. A 35-38% lye concentration works well.
Troubleshooting Honey Soap Problems
My soap turned dark brown
That's normal! Honey darkens during saponification, especially if the soap goes through gel phase. If you prevent gel phase (freezer method), you'll get a lighter, more golden color. If it fully gels, expect a deep amber to brown shade. Both are fine to use.
My soap has a burnt smell
You probably added honey to the lye solution instead of at trace, or the soap overheated. If it overheated, the burnt smell usually fades during the cure. If you added honey to lye, the batch might be fine to use but the honey's benefits are reduced.
My soap cracked on top
This is classic overheating. The soap got too hot inside the mold. Next time, use the freezer method and soap at cooler temperatures. The cracked soap is still safe to use; just trim the cracked bits off.
The batter got thick really fast
Honey accelerates trace, especially if your recipe already includes coconut oil or fragrance oils that accelerate. Work quickly at light trace and have your mold ready before adding honey. Avoid stick-blending too much after adding honey.
My soap has white spots or partial gel
Partial gel happens when the center of the soap gets hot enough to gel but the edges don't. It's cosmetic only and doesn't affect the soap. To avoid it, either force full gel (not recommended with honey) or prevent gel entirely (freezer method).
💬 Frequently Asked Questions
Does honey survive the saponification process?
Not entirely. The sugars in honey react with lye and break down during saponification, so you won't get all the same benefits as applying raw honey to your skin. But the humectant and lather-boosting properties do carry through to the finished bar.
Can I use honey in melt and pour soap?
Yes! Melt and pour is actually easier because there's no lye reaction to worry about. Add about 1 teaspoon of honey per pound of melt and pour base at around 135°F. Stir it in thoroughly before pouring.
Will honey soap go bad faster than regular soap?
No. The saponification process and the 4-6 week cure make honey soap just as shelf-stable as any other cold process bar. Honey itself is naturally antimicrobial, so it won't introduce mold or bacteria issues.
Can I add beeswax along with honey?
You can, but beeswax makes soap harder and can reduce lather. If you want a honey and beeswax bar, keep beeswax at 2-3% of your total oils and make sure to account for it in your lye calculations. Beeswax also raises the melting point of your oils, so you'll need to soap at a higher temperature.
Is raw honey better than processed honey for soap?
For soap making, there's no meaningful difference. The lye breaks down most of the compounds that make raw honey special. Save your raw honey for eating and use regular filtered honey for soap. Your bars will turn out the same.
Honey soap is one of those recipes that sells itself. The golden color, the natural story, and the skin-feel all make it a crowd favorite. Run the numbers through the Soaply calculator, grab a bottle of honey from your kitchen, and give it a try. Once you nail the temperature control, you'll probably find yourself adding honey to every batch.
For more recipe inspiration, check out our oatmeal soap recipe (oatmeal and honey are a classic combo), our goat milk soap guide, or our guide to the best oils for soap making.
Ready to Try It?
Use our free soap calculator to create your perfect recipe with real-time property predictions.
Open Calculator