How to Make Bath Bombs That Actually Fizz (Beginner Recipe)
Learn how to make bath bombs with a 4-ingredient recipe, exact ratios, and fixes for bombs that crumble, crack, or fizz early. No special equipment needed.
Bath bombs are dry-pressed balls of baking soda and citric acid that fizz when they hit water. You only need four core ingredients, a mixing bowl, and a mold, and a batch of six takes about 20 minutes of hands-on work. The part that trips people up isn't the recipe, it's moisture control: add too much liquid and your bombs fizz in the bowl, add too little and they crumble the second you unmold them. This guide gives you the ratio that works, the exact technique for binding the mix, and fixes for every way a batch can go wrong.
- What Bath Bombs Are Made Of
- The Basic Bath Bomb Recipe
- Step-by-Step Instructions
- What Makes Bath Bombs Fizz
- How Much Essential Oil to Add
- Coloring Bath Bombs Without Staining the Tub
- Choosing Bath Bomb Molds
- Why Bath Bombs Crack, Crumble, or Fizz Early
- Drying, Storing, and Packaging
- Frequently Asked Questions
What Bath Bombs Are Made Of
Every bath bomb is built from four categories of ingredient. Get these right and the rest is decoration.
| Ingredient | Role | Typical share of dry mix |
| --- | --- | --- |
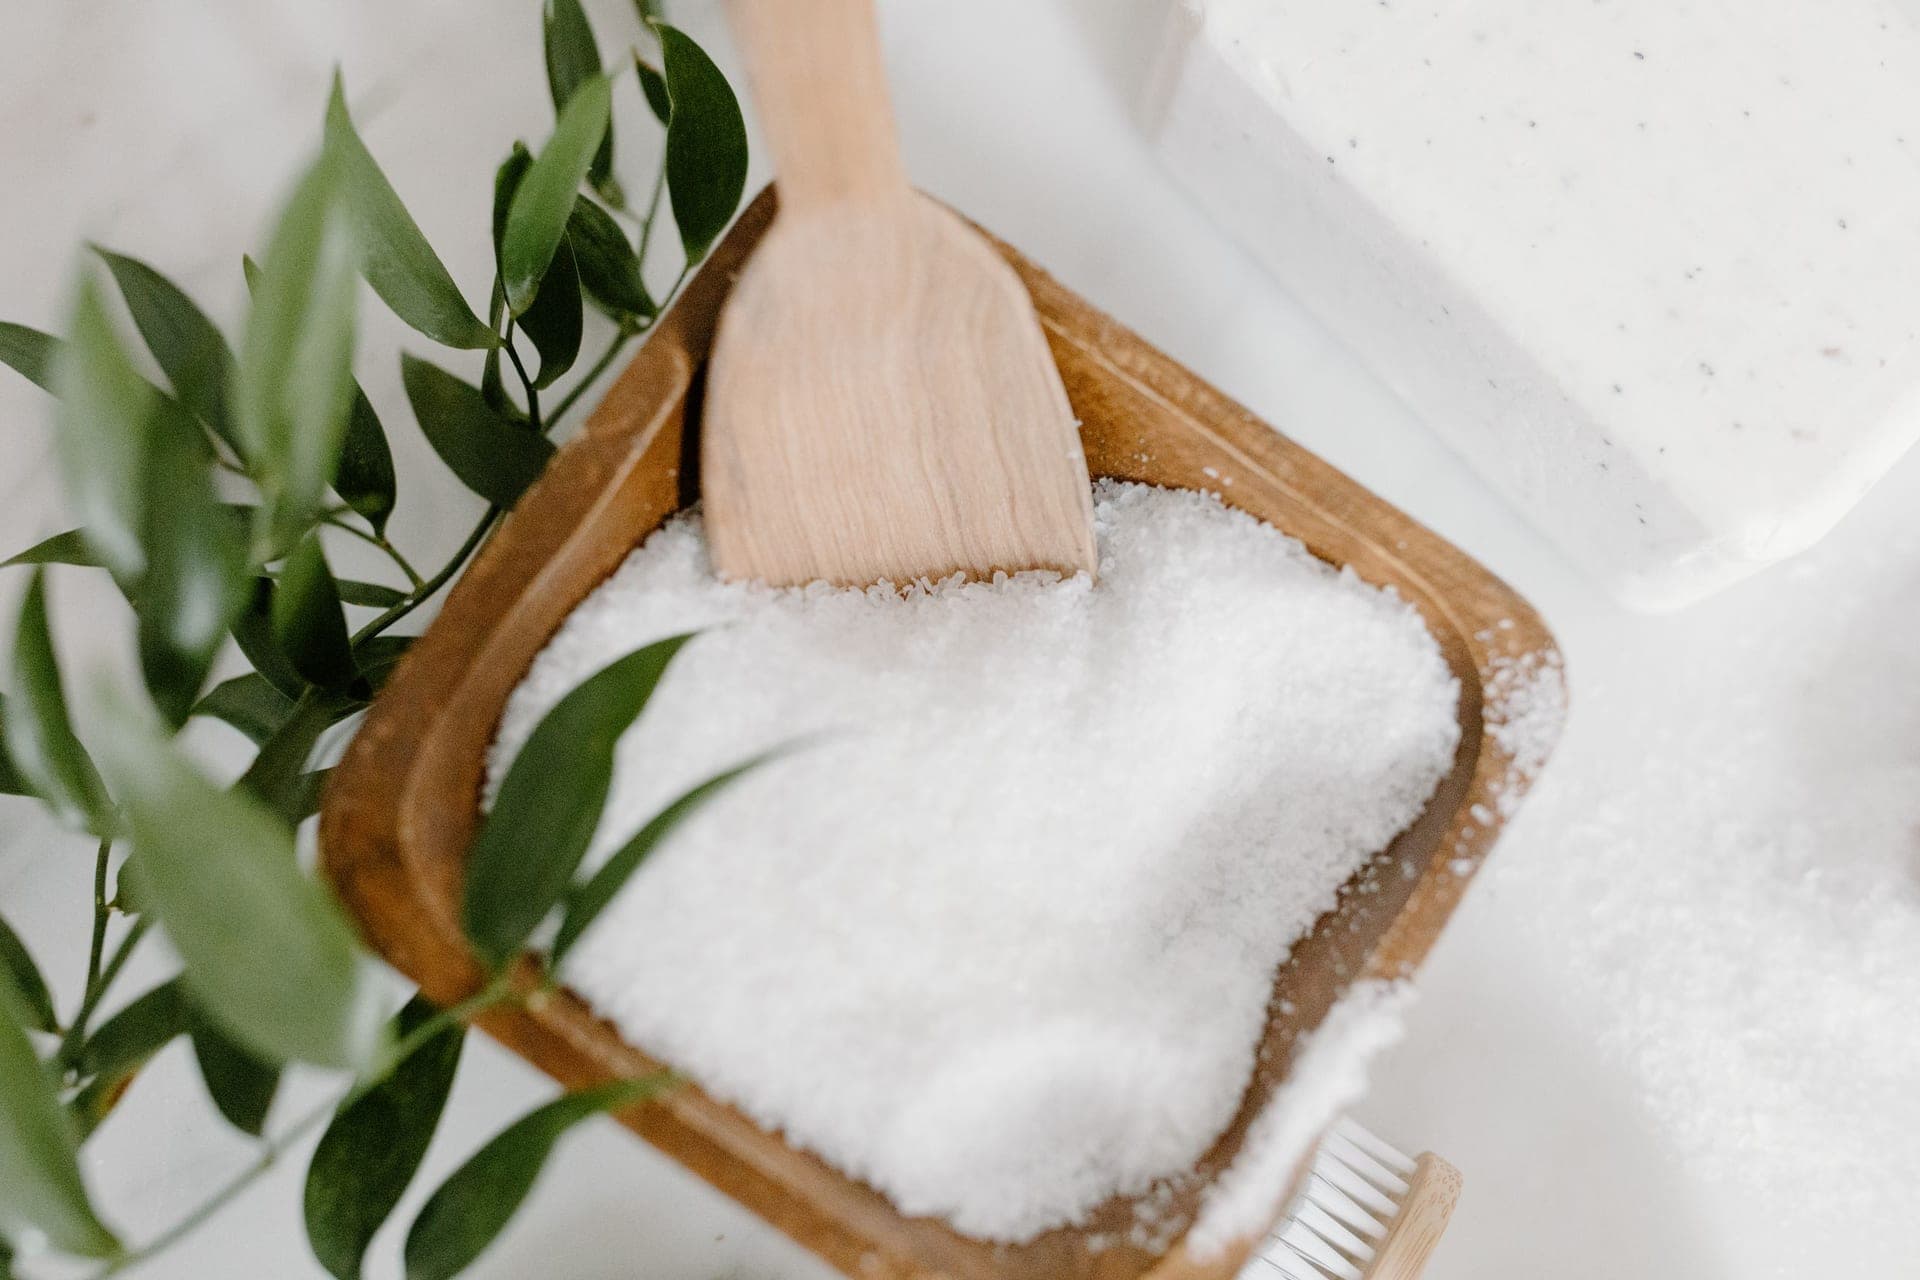
| Baking soda (sodium bicarbonate) | The base half of the fizz reaction | About 50% |
| Citric acid | The acid half of the fizz reaction | About 25% |
| A filler (cornstarch, arrowroot, kaolin clay) | Slows the fizz, hardens the bomb | About 12% |
| A salt (Epsom, sea salt, dead sea salt) | Adds bulk, minerals, and texture | About 13% |
On top of the dry mix you add a small amount of liquid oil to condition skin and help the powder pack, plus a wetting agent (witch hazel or plain water in a spray bottle) that binds the mixture without setting off the reaction early.
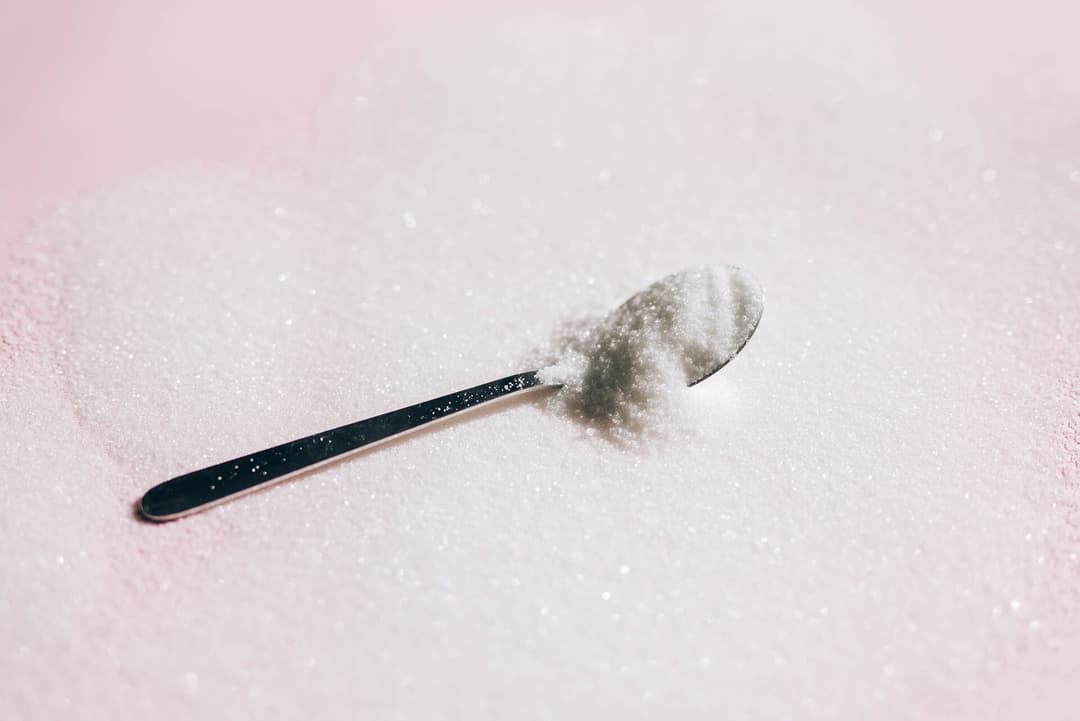
Citric acid is the one ingredient you can't fake. Lemon juice won't work, because it's mostly water and will start the reaction immediately. Buy food-grade citric acid in powder form, which is sold in canning sections, brewing shops, and by most soap and bath suppliers. A finer grain packs tighter than a coarse one, so if your bombs keep coming out pitted, run the citric acid through a spice grinder or sieve first.
The Basic Bath Bomb Recipe
This makes roughly six bombs in a standard 2.5 inch sphere mold. Measuring by weight is more reliable than measuring by volume, since baking soda compacts in the box, but volume measurements are included because most people start there.
Dry ingredients
- 8 oz (about 1 cup) baking soda
- 4 oz (about 1/2 cup) citric acid
- 2 oz (about 1/4 cup) cornstarch
- 2 oz (about 1/4 cup) fine Epsom salt
Wet ingredients
- 1 tbsp liquid oil (sweet almond, fractionated coconut, or sunflower)
- 1 to 2 tsp essential oil or skin-safe fragrance oil
- Colorant to taste (see below)
- Witch hazel in a spray bottle, used a spritz at a time
The ratio that matters most is 2 parts baking soda to 1 part citric acid. That's the standard for a bomb that fizzes hard without dissolving in ten seconds. Some makers push toward 3:1 for a slower, gentler fizz, which also gives you more forgiveness on humid days since there's less acid available to react.
Step-by-Step Instructions
1. Whisk the dry ingredients together. Combine baking soda, citric acid, cornstarch, and salt in a large bowl and whisk for a full minute. Break up every clump. A clump of citric acid that didn't get distributed becomes a soft spot in the finished bomb.
2. Mix the wet ingredients separately. Stir your oil, fragrance, and any liquid colorant together in a small cup. Combining them first keeps the fragrance from landing in one concentrated spot in the powder.
3. Add the wet to the dry very slowly. Drizzle it in while whisking constantly with your other hand. If you dump it in, you'll get fizzing where it lands. A little quiet crackling is normal. Active foaming means you went too fast.
4. Test the squeeze. Grab a handful and squeeze. It should hold its shape like damp sand at the beach, with no crumbling when you open your hand. If it falls apart, spritz once or twice with witch hazel, mix, and test again. Two spritzes at a time, never more, because the difference between too dry and too wet is about three seconds of spraying.
5. Pack the molds. Overfill both halves so the mix mounds above the rim, then press the halves together firmly and twist slightly. Don't scrape the excess off flat first, since the overfill is what makes the two halves fuse into a solid sphere.
6. Unmold quickly or slowly, your choice. Tap the mold gently all over with the back of a spoon, then lift one half straight off. If the bomb looks fragile, leave it in the mold for a few minutes to firm up before removing the second half. Set finished bombs on a soft towel, not a hard tray, because a hard surface flattens the bottom.
7. Cure for 24 to 48 hours. Leave them uncovered in a dry room. They harden considerably as the residual moisture evaporates.
What Makes Bath Bombs Fizz
The fizz is an acid-base reaction. Baking soda is a base, citric acid is an acid, and when water dissolves them both they react to form sodium citrate and carbon dioxide gas. Those CO2 bubbles are what you see foaming up around the bomb.
The key detail for anyone making bath bombs at home: this reaction needs water to happen. In dry powder form, baking soda and citric acid sit next to each other indefinitely without reacting. That's why your enemy the whole time is moisture, whether it comes from over-spritzing, humid air, or wet hands.
It's the same reason soapmakers care so much about their water phase. If you make cold process soap too, the water discount you choose governs how fast the batter behaves, and the same principle of controlling exactly how much liquid enters a mix applies here.
The filler ingredient plays a quiet but important role. Cornstarch coats the particles and slows the rate at which water reaches the acid, which stretches the fizz from a violent 15 second burst into a satisfying minute or two. Skip the cornstarch and your bomb will be gone before you've stepped in the tub.
How Much Essential Oil to Add
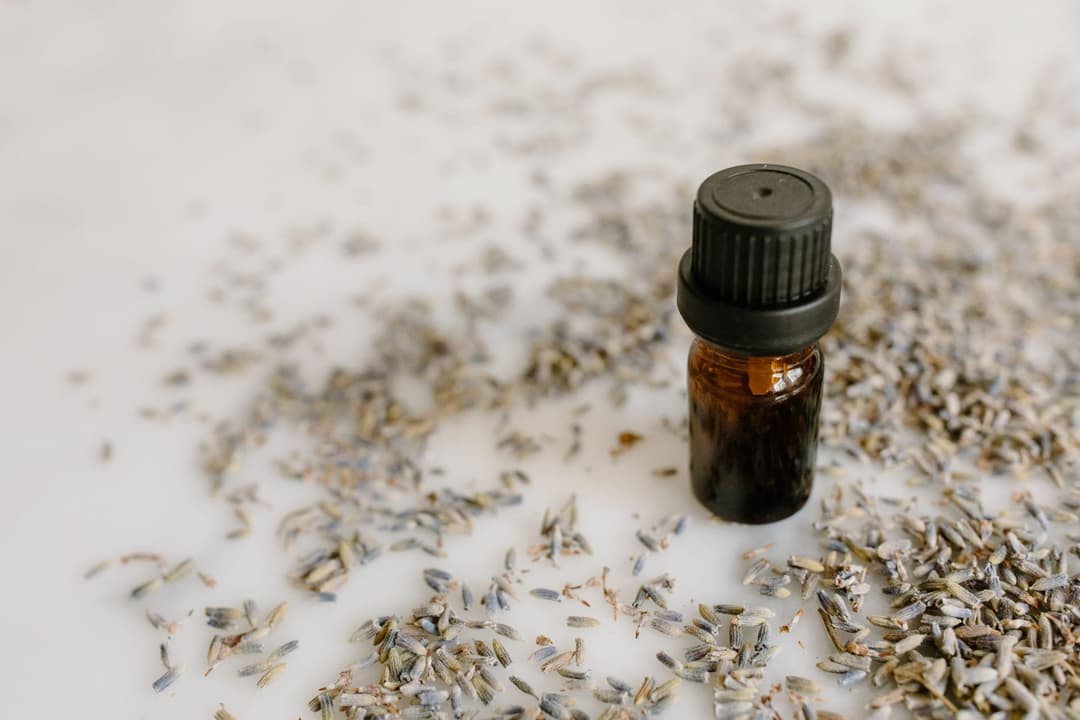
For bath bombs, 1 to 2 teaspoons of essential oil per pound of dry mix is the common range, which works out to roughly 1 to 2 percent of the batch weight. That's enough to scent the bathroom without irritating skin once the bomb has dispersed in a full tub of water.
A few scent-specific cautions worth knowing:
- Citrus oils (lemon, sweet orange, grapefruit) smell fantastic but fade fastest. Anchor them with a base note like cedarwood or patchouli if you want the scent to last through curing and storage.
- Peppermint and cinnamon can cause a cooling or burning sensation on sensitive skin at bath concentrations. Use them at the low end, or skip them for kids and anyone with reactive skin.
- Vanilla-type fragrance oils may discolor your bombs to tan or brown over a few weeks. That's harmless, but plan your colors around it.
If you're deciding between natural and synthetic scent, the tradeoffs are the same ones covered in our guide to essential oils vs fragrance oils. Fragrance oils are cheaper and hold up better, essential oils are naturally derived and more limited in range. For dosing precision, the Soaply bath bomb calculator scales the whole recipe, fragrance included, from the batch size you want.
Coloring Bath Bombs Without Staining the Tub
The number one complaint about homemade bath bombs is a ring of color left behind on the tub. It's almost always from using too much colorant, not from the type of colorant.
Mica is the easiest option. It disperses well, comes in every shade, and a quarter teaspoon per batch is usually plenty. It can leave a faint shimmer on the tub surface, which rinses away with a quick wipe. The same handling rules from our guide to using mica in soap apply here: pre-mix it into your liquid oil rather than dumping powder into the dry mix, or you'll get speckles.
Lab colors and liquid dyes give the most vivid results but are the easiest to overdose. Start with two or three drops per batch. If the wet mix looks the color you want the bath water to be, you've used far too much.
Natural colorants like clays, madder root, or spirulina give muted earth tones and no staining risk. Kaolin clay does double duty as filler and pale colorant. If you'd rather stay away from synthetics entirely, our roundup of natural colorants for soap covers which plant and mineral powders survive contact with water and which ones turn an unpleasant grey.
One practical rule regardless of colorant: a bath bomb should color the water lightly, not opaquely. If you can't see your feet, cut the colorant in half next batch.
Choosing Bath Bomb Molds
You have three real options, and the metal ones are worth the small extra cost.
| Mold type | Cost | Result | Best for |
| --- | --- | --- | --- |
| Stainless steel spheres | $8 to $15 for a set | Crisp seams, easy release, lasts forever | Anyone making more than one batch |
| Plastic spheres | $5 to $10 | Fine results, but they crack over time | Testing whether you like the hobby |
| Silicone molds (shapes) | $6 to $12 | Flat-backed shapes, no packing pressure needed | Kids' shapes, gift sets, beginners |
Silicone deserves a note. You can't pack a bomb tightly in silicone the way you can in a rigid mold, so silicone bombs come out softer and more fragile, but they also never crack from over-packing and they release cleanly. If you already own silicone molds from soap making, try them before buying anything new. Small cavity molds work better than large ones since there's less mass to hold together.
A muffin tin lined with plastic wrap works in a pinch. Pack hard, let it sit overnight, and you'll get a solid puck.
Why Bath Bombs Crack, Crumble, or Fizz Early
Almost every bath bomb failure traces back to moisture or packing pressure. Here's how to read the symptom.
They crumble when you unmold them. Not enough liquid. Add witch hazel two spritzes at a time until a squeezed handful holds together cleanly. Also check that you packed hard enough, since the mix needs real pressure to bind.
They fizzed and foamed in the bowl. Too much liquid added too fast, or you used a water-based colorant with a heavy hand. The batch isn't ruined. Press it into molds right away and accept a weaker fizz, because some of your reaction has already been spent.
They developed warts or bumps overnight. This is expansion from residual moisture, and it's the most common problem in humid climates. Reduce liquid on the next batch, run a dehumidifier or air conditioner in the room while they cure, and try adding a tablespoon of kaolin clay to absorb stray moisture.
They cracked down the middle. Usually over-packing with a slightly wet mix, or unmolding too soon. Let them rest in the mold for five minutes before releasing.
They fizz for ten seconds and vanish. Too much citric acid or not enough filler. Move toward a 2.5:1 or 3:1 baking soda to citric acid ratio and make sure cornstarch is in the mix.
The bottoms are flat. They were sitting on a hard surface while still soft. Cure them on a folded towel or a bed of bubble wrap.
Drying, Storing, and Packaging
Bath bombs are hygroscopic, meaning they pull moisture straight out of the air, and that moisture slowly eats the fizz. A bomb that's been sitting open on a bathroom shelf for two months will barely react.
Cure them uncovered for 24 to 48 hours in a dry room, then wrap each one individually. Shrink wrap is the most effective barrier and it's what commercial makers use. Cellophane bags twisted shut work nearly as well. Stored airtight and away from the bathroom, bath bombs stay fully active for about six months and remain usable well past that with a weaker fizz.
Never store them in the bathroom itself, since shower steam is the fastest way to kill a batch.
If you're planning to sell them, the same presentation and labeling logic from packaging handmade soap applies, with one addition: bath bombs are fragile in transit, so they need a rigid box or heavy padding rather than the simple paper wrap a soap bar tolerates.
💬 Frequently Asked Questions
What ingredients do you need to make bath bombs?
The four essentials are baking soda, citric acid, a filler like cornstarch, and a salt such as Epsom salt. You also need a small amount of liquid oil and a wetting agent like witch hazel to bind the mixture. Everything else, including fragrance and color, is optional.
Why are my bath bombs not fizzing?
Either the ratio is off or the mix absorbed moisture before use. Check that you're using roughly 2 parts baking soda to 1 part citric acid, and that the bombs were wrapped airtight after curing. Bath bombs left exposed to humid air lose their fizz within weeks because the reaction slowly happens in storage.
Can I make bath bombs without citric acid?
Not with a real fizz. Citric acid is the acid half of the reaction that produces the bubbles, and there's no common household substitute that works dry. Cream of tartar can produce a very mild fizz, and some makers use it as a partial replacement, but the result is much weaker. For the full set of swaps, a cream of tartar recipe, and what to make instead, see our guide to bath bombs without citric acid.
How long do homemade bath bombs last?
About six months at full strength when wrapped airtight and stored somewhere dry. They stay safe to use well beyond that, but the fizz gets progressively weaker as the baking soda and citric acid slowly react with ambient moisture. Scent fades on a similar timeline.
Are bath bombs safe for sensitive skin?
They can be if you keep fragrance low and skip known irritants. Use essential oils at 1 percent or less, avoid cinnamon, clove, and peppermint, and go easy on colorant. Anyone prone to yeast infections or irritation should be cautious with heavily fragranced bath products in general. The same gentle-formulation thinking behind soap for sensitive skin applies here.
Do bath bombs stain the bathtub?
Only when overdosed with colorant. Used at proper rates, mica leaves a faint shimmer that wipes away and lab colors rinse clean. If you're getting a stubborn ring, cut your colorant amount by half and rinse the tub right after draining.
Make Your Next Batch Better
Bath bombs are one of the few bath and body projects where the recipe is simple and the technique is everything. Nail the 2:1 ratio, add liquid a spritz at a time, pack hard, and cure dry, and you'll get bombs that hold together on the shelf and fizz properly in the tub.
When you want to scale past six bombs, or size a batch to a specific mold, the free Soaply bath bomb calculator works out every ingredient weight and the per-bomb cost for you. And if bath bombs are your gateway into the rest of your bath products, cold process soap is the natural next step. Start with our beginner's guide to cold process soap, then run your oils through the Soaply bath bomb calculator to get your lye, water, and superfat right before you mix anything.
Ready to Try It?
Use the free Soaply bath bomb calculator to size your batch and get every ingredient in grams and percent.
Open Calculator