How to Use Mica in Soap: Colors, Techniques, and Pro Tips
Learn how to use mica powder in cold process and melt and pour soap. Covers usage rates, dispersion methods, color stability, swirl techniques, and buying tips.
How to Use Mica in Soap: Colors, Techniques, and Pro Tips
Mica powder is one of the most popular colorants in soap making, and for good reason. It creates vibrant, shimmery colors that natural colorants just can't match. But using mica well takes a bit of know-how. Some colors morph in cold process, others clump, and the wrong technique can leave you with speckled, streaky bars instead of smooth, vivid ones.
- What Is Mica Powder?
- Mica in Cold Process vs Melt and Pour
- How Much Mica to Use
- How to Disperse Mica Properly
- Which Micas Morph in Cold Process?
- Swirl and Design Techniques with Mica
- Mica Lines (Pencil Lines)
- Mica on Top of Soap
- Buying Mica: What to Look For
- Mica vs Other Colorants
- Frequently Asked Questions
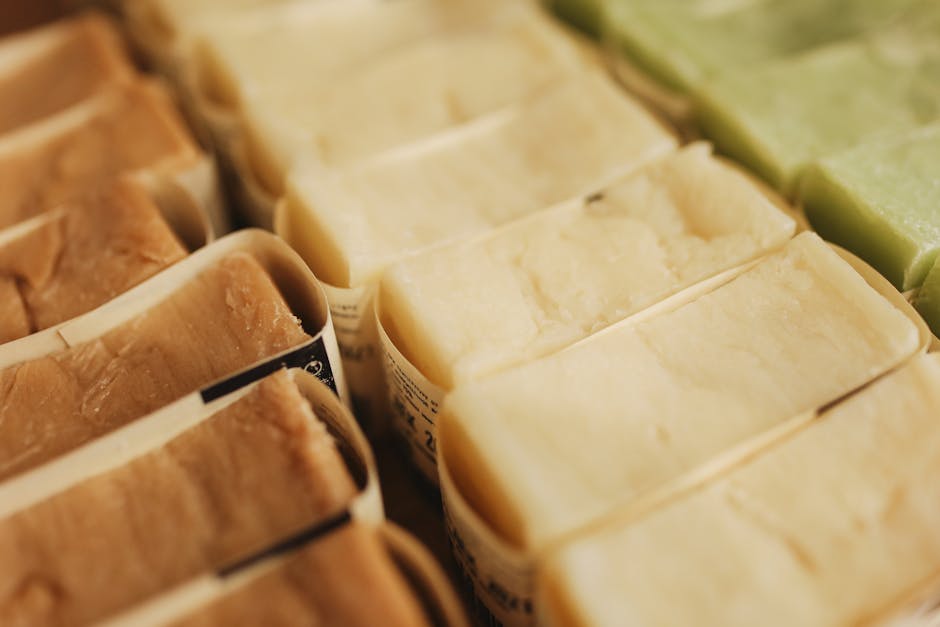
What Is Mica Powder?
Mica is a naturally occurring mineral that's mined, purified, and ground into a fine powder. On its own, natural mica is a silvery, pearlescent shimmer. The vibrant colors you see in soap making come from coating the mica particles with iron oxides, titanium dioxide, or other pigments.
That layered mineral structure is what gives mica its signature shimmer. Light bounces between the thin layers of the particle, creating a pearlescent or metallic effect that you can't get from dyes or oxides alone.
Key facts:
- Cosmetic-grade mica is skin safe when properly sourced
- Colors come from pigment coatings, not the mica itself
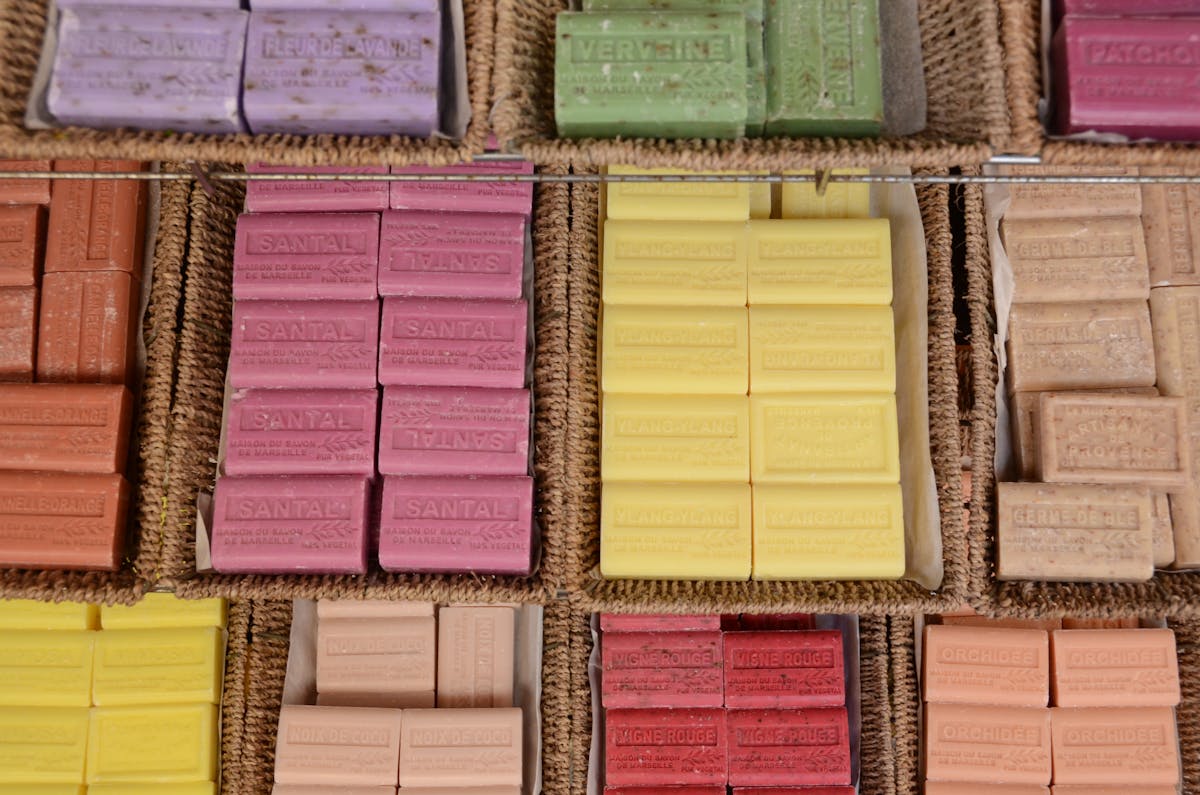
- Available in hundreds of shades from subtle pastels to bold metallics
- Works in cold process, hot process, and melt and pour soap
Mica in Cold Process vs Melt and Pour
Mica behaves differently depending on your soap making method, and this catches a lot of beginners off guard.
Melt and Pour Soap
Mica shines brightest (literally) in transparent melt and pour bases. The clear base lets light pass through and bounce off the mica particles, giving you that gorgeous shimmer effect. You'll get true color and maximum sparkle.
Tips for M&P:
- Add mica when the base cools to about 130-135 degrees F
- If the base is too hot and thin, mica sinks to the bottom
- Stir well or use a mini whisk to distribute evenly
Cold Process Soap
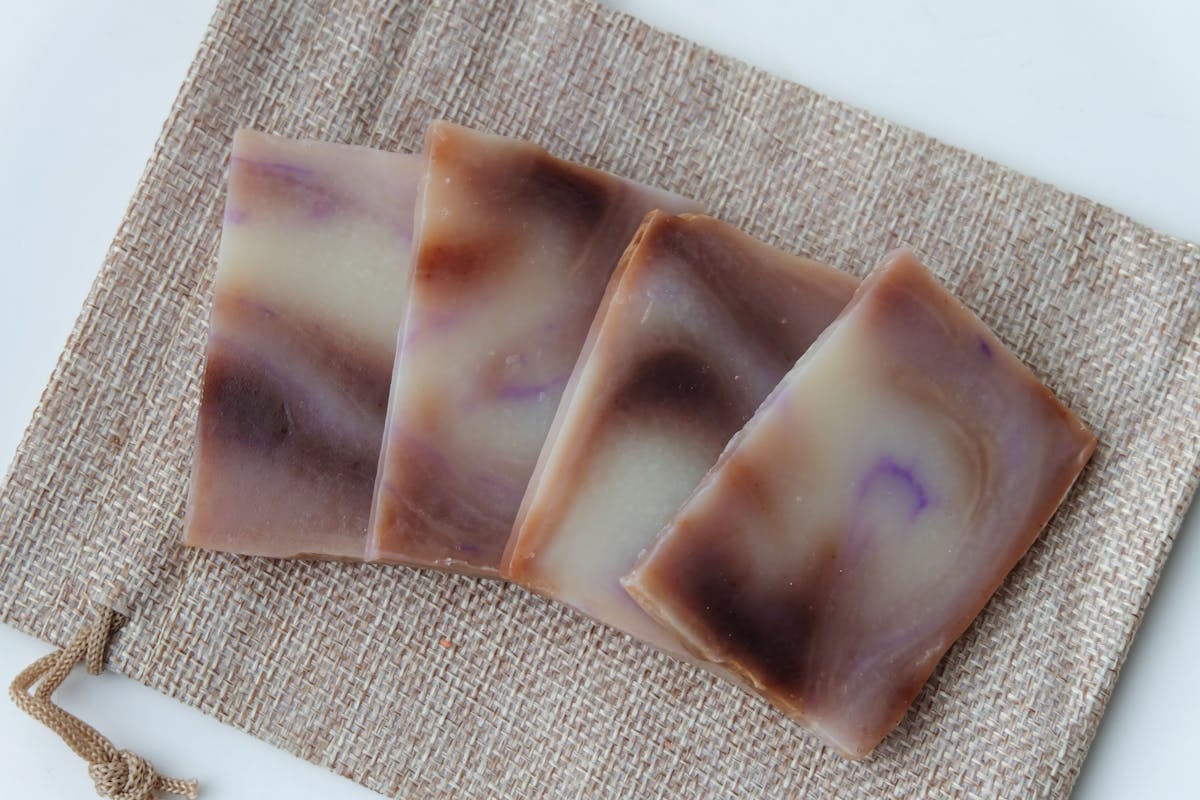
CP soap is opaque, so mica won't shimmer the same way it does in clear bases. Instead, you'll get rich, vivid matte-to-satin colors. The shimmer shows up mainly on the surface and cut edges.
The bigger issue with CP is color morphing. The high pH environment of saponification can change certain mica colors (more on that below).

How Much Mica to Use
Getting the right amount matters. Too little and you get a faint, washed-out tint. Too much and the color bleeds in the shower, streaks on washcloths, or creates a gritty texture.
Usage Rates
| Effect | Amount per Pound of Oils |
| -------- | -------------------------- |
| Light tint / pastel | 1/4 - 1/2 tsp |
| Medium color | 1/2 - 1 tsp |
| Bold / vivid color | 1 - 1.5 tsp |
| Mica line accent | Pinch (dry, undispersed) |
| Top decoration | Light dusting |
General rule: Start at 1/2 teaspoon per pound of oils and adjust from there. You can always add more, but you can't take it out.
Maximum: Stay under 1 tablespoon per pound of oils. Beyond that, you risk color bleeding (mica washing off onto skin or washcloths) and a gritty feel.
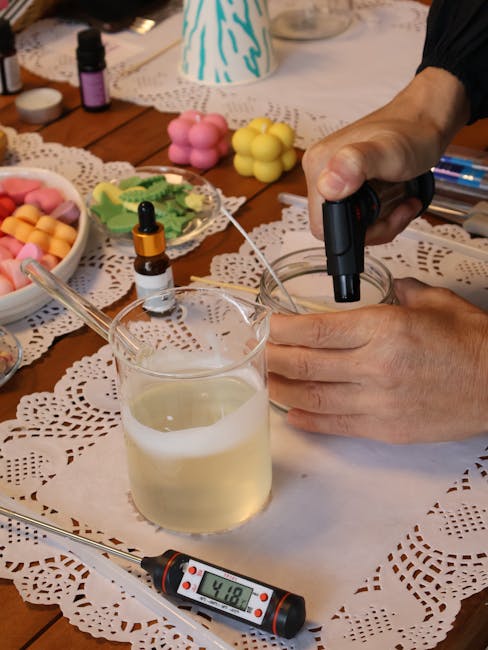
How to Disperse Mica Properly
This is the step most beginners skip, and it's the #1 cause of speckled, clumpy color. Mica powder clumps easily. If you dump dry mica into soap batter, you'll get tiny colored dots instead of smooth, even color.
Method 1: Oil Dispersion (Recommended for CP)
- Measure your mica into a small cup
- Add a small amount of lightweight oil (sweet almond, fractionated coconut, or olive)
- Use about 1 tablespoon of oil per teaspoon of mica
- Stir or whisk until completely smooth with no clumps
- Add to soap batter at light trace
Tip: Use oil from your recipe so you don't throw off your measurements. Measure it out of your batch oils before you start.
Method 2: Glycerin Dispersion (Great for M&P)
- Mix mica with liquid glycerin at a 1:1 ratio
- Stir until smooth
- Add to melted soap base
Method 3: Alcohol Dispersion
- Mix mica with 91% or 99% isopropyl alcohol
- The alcohol evaporates, leaving dispersed color
- Works well for painting onto molds or creating mica sprays
Method 4: Dry Addition (For Specific Effects)
Sometimes you WANT speckles. For a confetti look or when making mica lines between layers, add dry mica directly. Just know that it won't blend smoothly, and that's the point.
Which Micas Morph in Cold Process?
This is the biggest frustration with mica in CP soap. Some colors shift dramatically during saponification because the pigments coating the mica aren't stable at high pH.
Colors That Typically Morph
| Original Color | Morphs To | Why |
| ---------------- | ----------- | ----- |
| Bright pink / neon pink | Dull mauve or brown | FD&C dyes aren't pH stable |
| Purple (many shades) | Blue or gray | Red component fades, blue remains |
| Bright green (some) | Olive or brown | Dye-based greens aren't stable |
| Neon / fluorescent anything | Fades or turns brown | Fluorescent dyes can't survive pH 14 |
Colors That Stay True
| Color | Why It's Stable |
| ------- | ---------------- |
| Titanium dioxide white | Mineral pigment, pH stable |
| Iron oxide red / brown / yellow / black | Mineral pigments, extremely stable |
| Ultramarine blue / violet / pink | Synthetic mineral, pH stable |
| Chromium oxide green | Mineral pigment, very stable |
| Micas labeled "CP stable" or "non-morphing" | Coated with stable pigments |
Pro tip: When buying micas for CP soap, always check whether the supplier labels them as "CP safe" or "non-morphing." Reputable suppliers like Nurture Soap, Mad Micas, and Bramble Berry clearly mark which colors hold up in cold process.
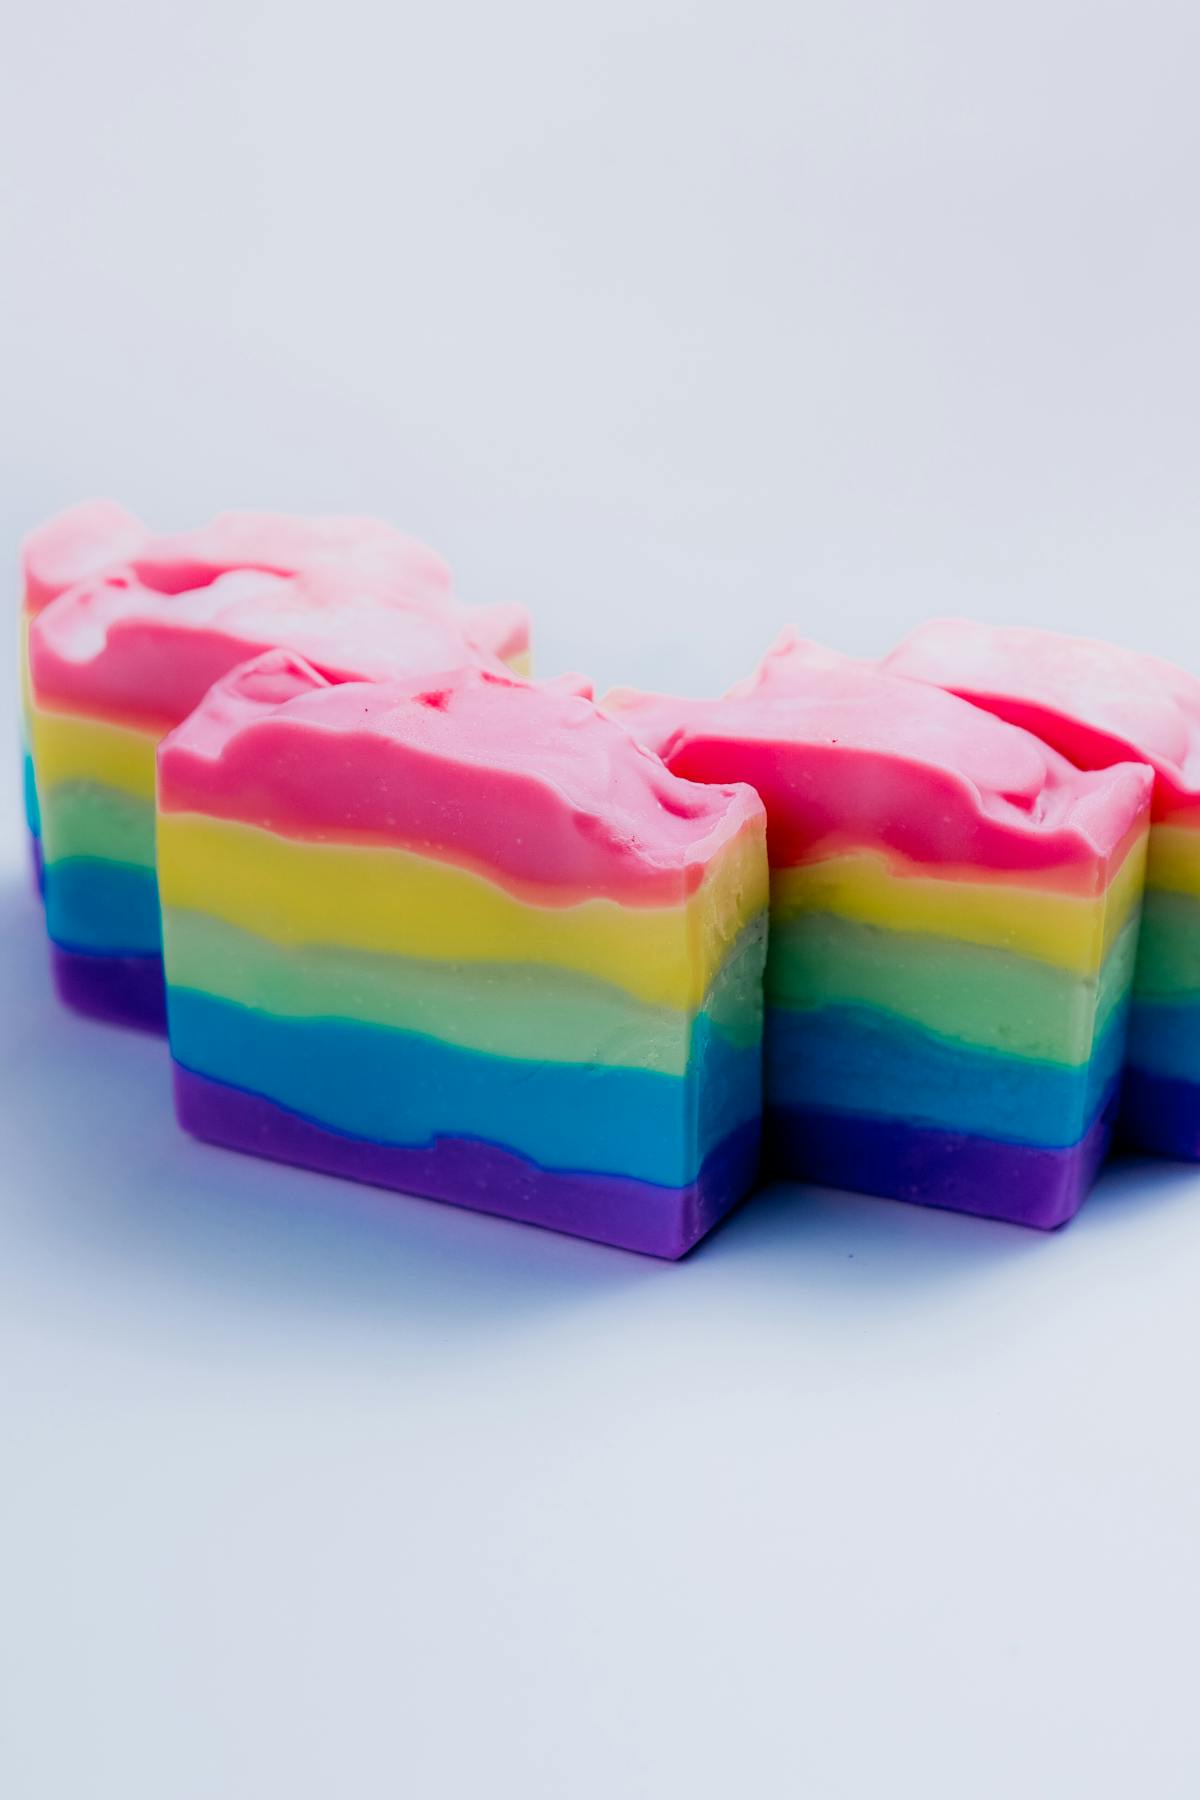
Swirl and Design Techniques with Mica
Mica's versatility makes it perfect for creative soap designs. Here are the most popular techniques:
In-the-Pot Swirl
- Divide your batter into portions at light trace
- Add a different dispersed mica color to each portion
- Pour all colors back into the main pot without stirring
- Pour the mixed batter into your mold
The colors swirl naturally as they flow. Simple and produces beautiful results every time.
Hanger Swirl
- Pour colored batters into the mold in layers or sections
- Insert a wire hanger or dowel rod
- Move it through the soap in a figure-eight or S-pattern
- Each pass creates more intricate swirls
Drop Swirl
- Pour your main (uncolored or lightly colored) batter into the mold
- Drop spoonfuls of contrasting mica-colored batter from height
- Each drop pushes through the base batter, creating layered circles
- When you cut the loaf, you'll see bullseye patterns
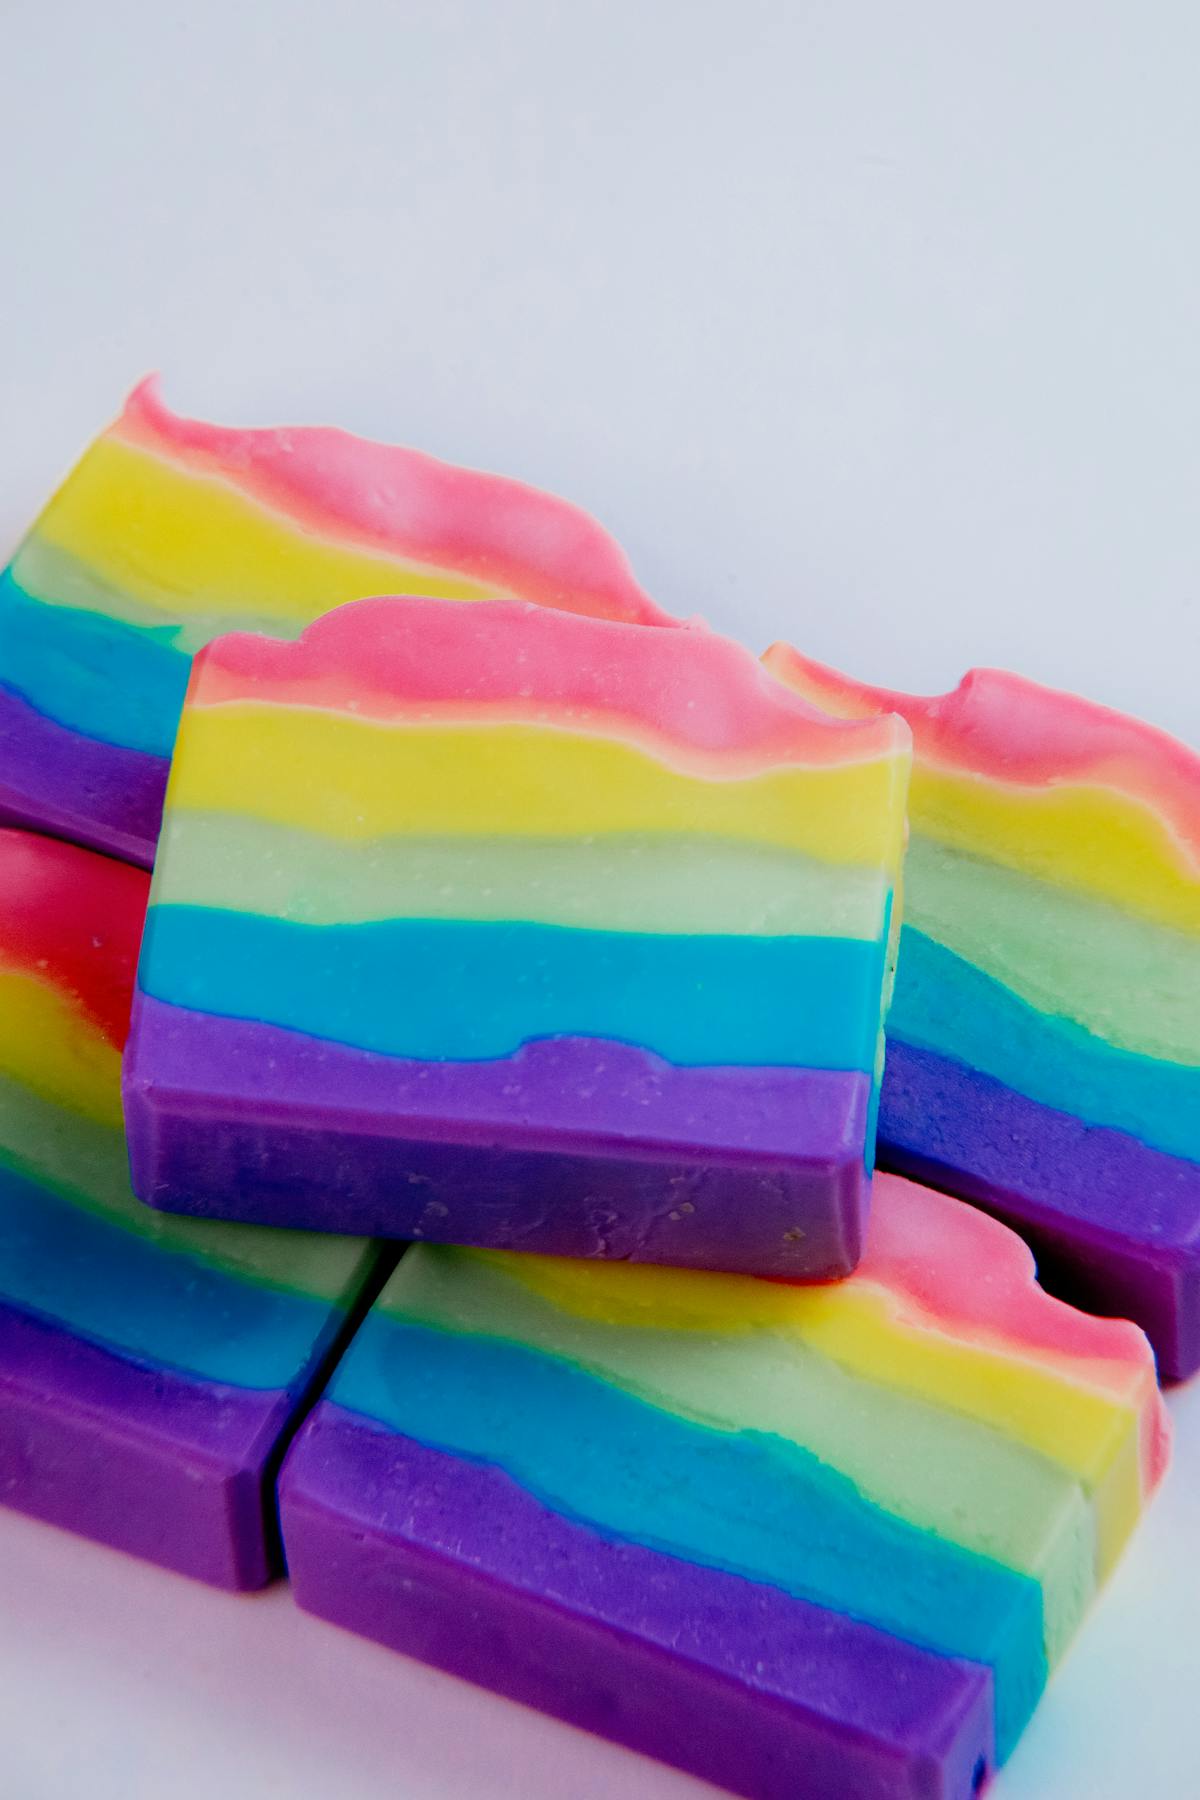
Taiwan Swirl
- Separate batter into 3-4 colors
- Pour thin alternating layers across the mold
- Insert a chopstick and pull through the layers
- Creates dramatic, professional-looking designs
Mica Painting on the Mold
- Mix mica with isopropyl alcohol to create a paint
- Brush the mixture onto the inside of your mold
- Let the alcohol evaporate
- Pour soap batter carefully on top
- When you unmold, the mica design transfers to the soap surface
Mica Lines (Pencil Lines)
Mica pencil lines are thin, sparkly lines between layers of soap. They're a small touch that makes your bars look incredibly professional.
How to do it:
- Pour your first layer of soap batter into the mold
- Let it set up until firm but not fully hardened (about 1-3 hours depending on recipe)
- Sprinkle dry mica powder over the surface. Gold and bronze look stunning.
- Use a soft brush to spread it evenly
- Pour your next layer gently on top
Tips:
- Use a contrasting color (gold mica between dark layers looks amazing)
- The layer underneath needs to be firm enough that the next pour doesn't break through
- You can do multiple pencil lines for a striped effect
Mica on Top of Soap
Decorating the top of your soap with mica is one of the easiest ways to make bars look polished and professional.
Dusting
Sprinkle dry mica over the top of freshly poured soap. Use your finger, a soft brush, or a small sieve for even coverage. Works best right after pouring while the surface is still sticky.
Drizzle
Mix mica with a small amount of melted cocoa butter, coconut oil, or glycerin. Drizzle it over the top using a spoon or squeeze bottle. Creates elegant lines and patterns.
Stamping
After your soap has set but before it fully hardens, press a soap stamp into the surface. Brush mica powder into the stamped impression, then wipe the surface clean. The mica stays in the recessed design, making it pop.
Buying Mica: What to Look For
Not all mica is created equal. Here's what to check before you buy:
Cosmetic Grade vs Craft Grade
Always use cosmetic-grade (also called "soap safe" or "skin safe") mica. Craft-grade micas may contain heavy metals or pigments that aren't approved for skin contact.
Look for:
- "Cosmetic grade" or "skin safe" on the label
- FDA-approved colorants in the coating
- Supplier provides safety data sheets (SDS)
Batch Tested for CP
If you're making cold process soap, look for:
- "CP tested" or "CP safe"
- "Non-morphing in CP"
- Lab-tested batch notes from the supplier
Ethical Sourcing
Mica mining has been linked to child labor in some countries (particularly India and Madagascar). Look for suppliers who:
- Use synthetic fluorphlogopite (lab-created mica) as an alternative
- Source from ethical mines with audited supply chains
- Are transparent about sourcing
Where to Buy
- Mica Powder Variety Set on Amazon - Good for trying lots of colors
- Individual Mica Colors on Amazon - Stock up on favorites
- Nurture Soap - Excellent CP-tested micas with detailed notes
- Mad Micas - Wide variety, many labeled for CP stability
- Bramble Berry - Reliable, with usage notes for each color
Mica vs Other Colorants
How does mica stack up against other soap colorants?
| Feature | Mica | Oxides/Pigments | Natural Colorants | Lab Dyes |
| --------- | ------ | ----------------- | ------------------- | ---------- |
| Color range | Huge | Limited | Limited | Huge |
| Shimmer | Yes | No (matte) | No | No |
| CP stable | Most | All | Varies | Some |
| Cost | Medium | Low | Low-Medium | Low |
| Natural | Semi | Synthetic | Yes | No |
| Ease of use | Easy | Easy | Moderate | Easy |
Best combo: Many soap makers combine micas with oxides. Use an oxide for the base color (reliable, matte) and add a pinch of mica for shimmer and depth. For example, mix iron oxide red with a red mica for a rich, multidimensional cranberry color.
For more on natural alternatives, check out our guide to natural colorants for soap.
Build Your Mica Soap Recipe
Ready to create a colorful batch? Use the Soaply calculator to build your base recipe first. Get your oils, lye concentration, and superfat dialed in, then plan your mica design.
A few recipe tips for mica designs:
- Use a slower-moving recipe (more olive oil, lower lye concentration around 30-31%) so you have plenty of time for swirls
- Avoid fragrances that accelerate trace, or you won't have time to work with multiple colors
- Plan your color palette before you start. Three colors maximum for your first few swirl attempts.
💬 Frequently Asked Questions
Is mica powder safe to use in soap?
Yes, as long as you use cosmetic-grade mica that's approved for skin contact. Craft-grade or industrial mica may contain pigments that aren't safe for use on skin. Always buy from reputable soap making suppliers who list their micas as "skin safe" or "cosmetic grade."
How much mica powder should I add to soap?
Start with 1/2 teaspoon per pound of oils for a medium color. Use 1/4 teaspoon for pastels, and up to 1.5 teaspoons for bold, vivid shades. Don't exceed 1 tablespoon per pound or you risk color bleeding onto skin and a gritty texture in the bar.
Why did my mica change color in cold process soap?
Some mica colors morph because the pigment coatings aren't stable in the high pH environment of saponification. Pinks, purples, and neon colors are the most common offenders. Buy micas specifically labeled "CP stable" or "non-morphing" to avoid this.
Do I need to mix mica with oil before adding it to soap?
Yes, dispersing mica in a small amount of oil (about 1 tablespoon per teaspoon of mica) prevents clumping and gives you smooth, even color. Adding dry mica directly to soap batter usually results in colored speckles instead of uniform color.
Can you use mica in melt and pour soap?
Absolutely, and melt and pour is where mica really shines. The transparent base lets light reflect off the mica particles, creating gorgeous shimmer and sparkle. Mix mica with glycerin before adding to your melted base for best results.
Ready to Try It?
Use our free soap calculator to create your perfect recipe with real-time property predictions.
Open Calculator