Why Is My Candle Tunneling? How to Fix Tunneling, Sinkholes, and Weak Scent Throw
Why is my candle tunneling? Almost always wick size or a short first burn. Diagnose tunneling, sinkholes, frosting, and weak scent throw, with fixes for each.
This article contains Amazon links. As an Amazon Associate, Soaply earns from qualifying purchases at no extra cost to you.
A candle tunnels when the flame burns a narrow hole straight down the center and leaves a thick ring of unmelted wax stuck to the glass. Nine times out of ten the cause is one of two things: the wick is too small for the jar, or the candle got snuffed out before the top melted edge to edge on an early burn. Almost every other candle flaw traces back to the same short list, wick size, pour temperature, and how much fragrance the wax is holding, so once you learn to read the symptom you can usually name the cause on sight. This guide walks through each common problem, tells you what's really behind it, and gives you a fix for the candle in front of you plus the change to make on the next pour.
Quick diagnosis: Burning down the middle? Wick too small, or the first burn was too short. A dip or hole around the wick? It cooled too fast. Barely any scent? Too little fragrance or not enough cure time. Cloudy patches on the glass? Harmless. Each one is covered below.
- The Three Things Behind Almost Every Candle Problem
- Why Is My Candle Tunneling?
- Can You Fix a Candle That Already Tunneled?
- Sinkholes and Dips Around the Wick
- Why Your Candle Barely Smells
- Wet Spots: Wax Pulling Away From the Glass
- Frosting and White Patches on Soy
- Mushrooming Wicks, Soot, and Black Smoke
- Rough Tops, Bumps, and Cracks
- A Quick Candle Troubleshooting Table
- Frequently Asked Questions
The Three Things Behind Almost Every Candle Problem
Before you chase any single symptom, it helps to know that candle problems cluster around three variables. Fix your thinking around these and the rest gets easier.
Wick size. The wick sets how much heat the flame throws into the wax. Too small and it can't melt out to the glass, so you get tunneling and a weak scent. Too big and it burns hot and messy, which brings soot, mushrooming, and a flame that dances. Wick size is matched to the jar's diameter and the wax type, and it's the single thing beginners get wrong most often.
Pour and cool temperature. When and how fast the wax sets decides the surface. Pour too hot or cool in a cold room and you get sinkholes, cracks, and rough tops. Soy in particular is fussy about this.
Fragrance load and cure. How much fragrance oil you add, and how long the candle rests before its first burn, decide whether anyone across the room can smell it. Under-scent it or burn it the day you pour it and the throw falls flat.
If you make your own candles, getting these numbers right from the start saves you most of this list. The Soaply candle calculator works out your wax weight, fragrance percentage, and the amounts for a given jar so the batch starts balanced instead of guessed. Our full beginner candle recipe covers the method end to end.
Why Is My Candle Tunneling?
Tunneling is the classic. The flame sinks a shaft down the middle and a wall of wax sits untouched around the rim. It wastes a third or more of the candle and chokes the flame as it drops below the rim. Two causes account for nearly all of it.
The first is a wick that's too small for the jar. A small wick makes a small melt pool, and if that pool never reaches the glass the edge wax never gets a chance to liquefy. Every burn after that repeats the same narrow pool, so the tunnel only deepens.
The second is wax memory, and it's the one you control as the person burning the candle. Wax tends to melt out only as far as it did on its first proper burn. If you lit it for twenty minutes and blew it out, the candle learned a small pool, and it'll try to keep that pool every time. The fix is the first-burn rule: on the first light, leave it going until the melt pool reaches the glass all the way around. That usually takes roughly one hour per inch of jar diameter, so a three-inch jar wants about three hours.
To prevent tunneling on candles you pour yourself, size up the wick. Buy a wick sample pack in a few sizes and burn-test one of each in your usual jar before committing to a size. The right wick melts cleanly to the glass within that one-hour-per-inch window without a towering flame.
Can You Fix a Candle That Already Tunneled?
Sometimes. If the tunnel is shallow, give it a long burn and it may recover its full pool on its own. If the wall is thick, the common home rescue is the foil method: wrap aluminum foil around the top of the jar, leaving a gap over the flame, and let it burn an hour or two. The foil traps heat and reflects it down onto the stranded ring so the wax melts back level.
Treat that as a repair, not a habit. The foil trick works because it forces extra heat into the jar, and running a candle hotter than it was built for can crack glass or overheat the container, so stay in the room and watch it. The honest answer is that a badly tunneled candle with a wick that's genuinely too small will keep tunneling once the rescue wears off, because the underlying wick is still wrong. A reset buys back the wasted wax, it doesn't change the wick.
Sinkholes and Dips Around the Wick
A sinkhole is a cavity under the surface, sometimes hidden until you light the candle and the top caves in near the wick. It happens as wax cools and contracts. Hot wax takes up more room than cold wax, and as it solidifies it pulls inward, leaving pockets, usually right along the wick where the wax sets last.
Pouring too hot and cooling too fast both make it worse, because a fast, uneven set traps air before the wax can settle. Soy and other natural waxes shrink more than paraffin, so they sinkhole more readily.
The fix on a finished candle is a heat gun or a hair dryer: warm the top until a thin layer re-melts and flows level, and the dip fills itself. A second thin top-up pour does the same job if you kept a little wax back. To prevent them, pour at the lower end of your wax's recommended range (for most soy that's around 135 to 145°F), and let the candles cool slowly at room temperature instead of rushing them into a cold garage or the fridge. A warm, draft-free spot is your friend here.
Why Your Candle Barely Smells
A candle you can only smell with your nose in the jar has a cold-throw problem, and a candle that fills the room is what you're after. Weak hot throw, the scent while it's burning, almost always comes down to one of three things.
Not enough fragrance. Most waxes hold a maximum fragrance load, and under it the throw is thin. For soy, aim for at least 6 to 8 percent fragrance oil by weight of the wax, and many waxes take up to 10 percent. Below about 6 percent you're often just under the threshold where the scent carries.
Not enough cure time. Fragrance needs time to bind into the wax. Burn a soy candle the day you pour it and it'll smell flat. Give it a full one to two weeks of curing in a closed box before the first burn and the same candle throws noticeably better.
A wick that's too small. A small wick makes a small melt pool, and the melt pool is what releases scent. Even a well-dosed candle smells weak if the pool never spreads.
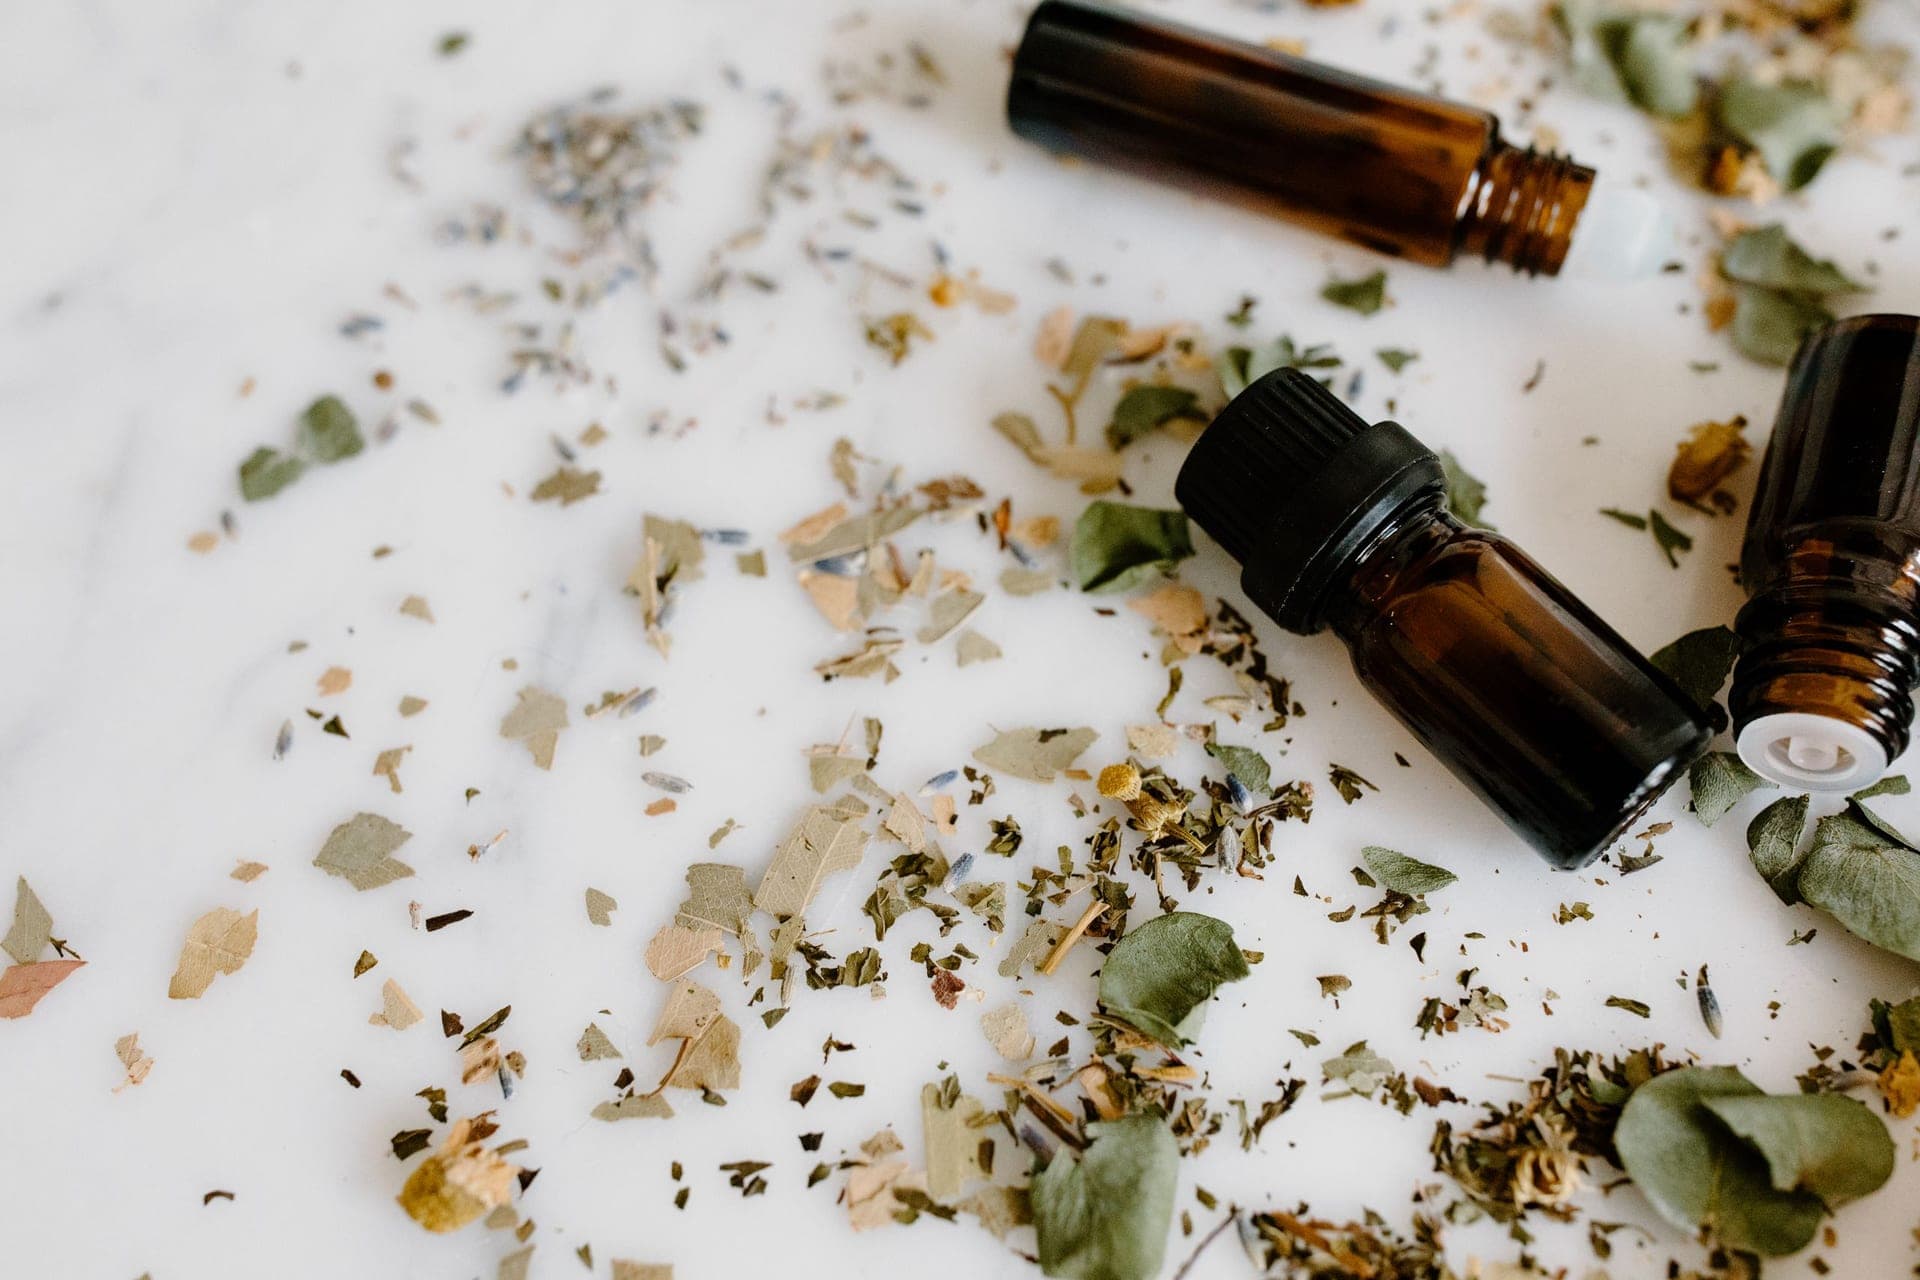
One more thing worth knowing before you spend on pure oils: fragrance oils made for candles throw better in wax than essential oils do, because many essential oils are volatile and burn off at candle temperatures. Our guide to fragrance oils versus essential oils explains the difference. If you're resizing a recipe and want the fragrance percentage to stay correct as the batch changes, the Soaply candle calculator locks the ratio while it scales. The same throw rules apply to wax melts, minus the wick, since the warmer does the melting.
Wet Spots: Wax Pulling Away From the Glass
Wet spots are the cloudy patches where the wax looks like it's lifted off the glass, and the name is misleading because there's no moisture involved. They're simply places where the wax lost contact with the container as it cooled and contracted. Light hits the tiny air gap and it reads as a wet shadow.
Here's the part that saves you a lot of worry: wet spots are cosmetic. They don't change how the candle burns, throws scent, or performs in any way. They're common in soy and nearly impossible to banish completely, which is why a lot of makers pour into tins or opaque jars where they don't show.
If you want to reduce them, the trick is adhesion. Warm your clean jars slightly before pouring, maybe 10 or 15 minutes in a low oven or with a heat gun, so the wax doesn't hit cold glass and seize. Pour at the right temperature, cool slowly and steadily, and don't move the candles while they set. Even then, expect some to show up when the weather or room temperature swings. It's the nature of a natural wax.
Frosting and White Patches on Soy
Frosting is the whitish, crystalline film that creeps across the top and sides of a soy candle, sometimes looking like frost on a window. New makers panic and think the candle spoiled. It didn't.
Frosting is soy being soy. Soy is a natural vegetable wax, and natural waxes are polymorphic, meaning they want to keep forming crystals as they settle and age. That crystal growth is what you see. It's harmless, it doesn't affect the burn or the scent, and no fully soy candle avoids it forever. Some makers even label it a sign the wax is genuinely soy rather than a blend.
You can slow it down, not stop it. Pour a touch cooler, pre-warm the jars so the first layer sets evenly, and use dye sparingly or skip it, because frosting shows up worst against color. If a flawless, frost-free look matters to you, a paraffin or a soy-paraffin blend holds a smoother face. With pure soy, the realistic goal is to reduce frosting and make peace with the rest.
Mushrooming Wicks, Soot, and Black Smoke
These three travel together because they share a cause: the wick is burning more fuel than it can cleanly consume.
Mushrooming is the little carbon ball that forms on the wick tip. A small amount is normal, but a big knob means the wick is pulling up more wax, fragrance, and dye than it can burn off, so the excess carbonizes at the tip. Fragrance oil and dye both feed it.
Soot and black smoke come from the same overfeed, often made worse by a wick that's too long or a draft tugging the flame. You'll see a sooty rim on the glass and a flame that flickers and smokes.
The immediate fix is the easiest habit in candle care: trim the wick to about a quarter inch before every single burn, once the candle has cooled and set. A wick trimmer makes a clean cut, though scissors or even your fingers on a cold wick work. Keep the candle out of drafts from vents, fans, and open windows. If trimming doesn't settle it, the wick is probably one size too big for your wax and fragrance load, so drop a size next batch and burn-test again.
Rough Tops, Bumps, and Cracks
A lumpy, uneven top on a soy candle usually means the wax was poured too cool, so it started setting before it could level out, or it cooled too quickly in a cold room. The quick fix is a heat gun passed over the surface until the top layer re-melts smooth. Next time, pour a few degrees warmer and let it set somewhere warm and still.
Cracks across the top are more common in pillar and paraffin waxes than in soft container soy, and they come from cooling too fast, the surface hardening while the inside is still shrinking. Slow the cooling down. A warm room, no fridge, and no moving the candle while it sets will clear up most cracking. If you're pouring pillars, a slightly higher pour temperature and a gradual cool are the levers that matter.
A Quick Candle Troubleshooting Table
| Symptom | Most likely cause | Fix now | Prevent next time |
| --- | --- | --- | --- |
| Burns a hole down the middle | Wick too small or short first burn | Long burn, or foil method | Size up the wick |
| Dip or cavity near the wick | Cooled too fast, wax contracted | Heat gun or top-up pour | Pour cooler, cool slowly |
| Weak or no scent | Low fragrance, short cure, small wick | Let it cure longer | 6 to 10% fragrance, cure 1 to 2 weeks |
| Cloudy patches on glass | Wax lifted off the jar (cosmetic) | Nothing needed | Pre-warm jars, cool slowly |
| White crystal film | Frosting, natural to soy | Nothing needed | Pour cooler, less dye |
| Carbon ball on wick, soot | Wick too big or untrimmed | Trim to 1/4 inch | Size down the wick |
| Rough or bumpy top | Poured too cool | Heat gun the surface | Pour warmer, cool in a warm spot |
💬 Frequently Asked Questions
How do I stop my candle from tunneling?
Burn it long enough on the first light that the melted pool reaches the glass all the way around, about one hour per inch of jar width. If a candle you poured keeps tunneling even with a proper first burn, the wick is too small for the jar, so move up a wick size on the next batch.
Can a tunneled candle be saved?
Often, yes. A shallow tunnel can recover with one long burn. For a deep one, wrap foil around the rim with a gap over the flame and burn it an hour or two so the trapped heat melts the stranded wax level. Watch it closely, since it runs the candle hotter than normal.
Is frosting on a candle bad?
No. Frosting is a natural crystal film that soy wax forms as it settles, and it has no effect on how the candle burns or smells. You can reduce it by pouring cooler and using less dye, but you can't fully remove it from a pure soy candle.
Why doesn't my homemade candle smell strong?
Usually too little fragrance or too little cure time. Aim for at least 6 to 8 percent fragrance oil by weight and let the candle rest one to two weeks before burning. A wick that's too small also starves the scent, because the melt pool is what releases it.
How often should I trim the wick?
Before every burn, once the candle is cool. Trim to about a quarter inch. Keeping it short stops mushrooming, soot, and a smoky flame, and it's the simplest thing you can do for a cleaner burn.
Fixing the Next Batch
Most candle problems are set the moment you pour, not when you light the match, so the real fix is getting the wick, the temperature, and the fragrance load right from the start. If you're pouring your own, start the batch balanced with the Soaply candle calculator, then work through the full candle recipe for the method. Nail those three variables and this whole list of symptoms mostly stops happening.
Ready to Try It?
Use the free Soaply candle calculator to size your batch and get every ingredient in grams and percent.
Open Calculator