How to Make Candles at Home (A Beginner's Recipe That Actually Works)
Learn how to make candles at home with a beginner soy candle recipe: the wax and fragrance math, wick sizing by jar diameter, curing, and common fixes.
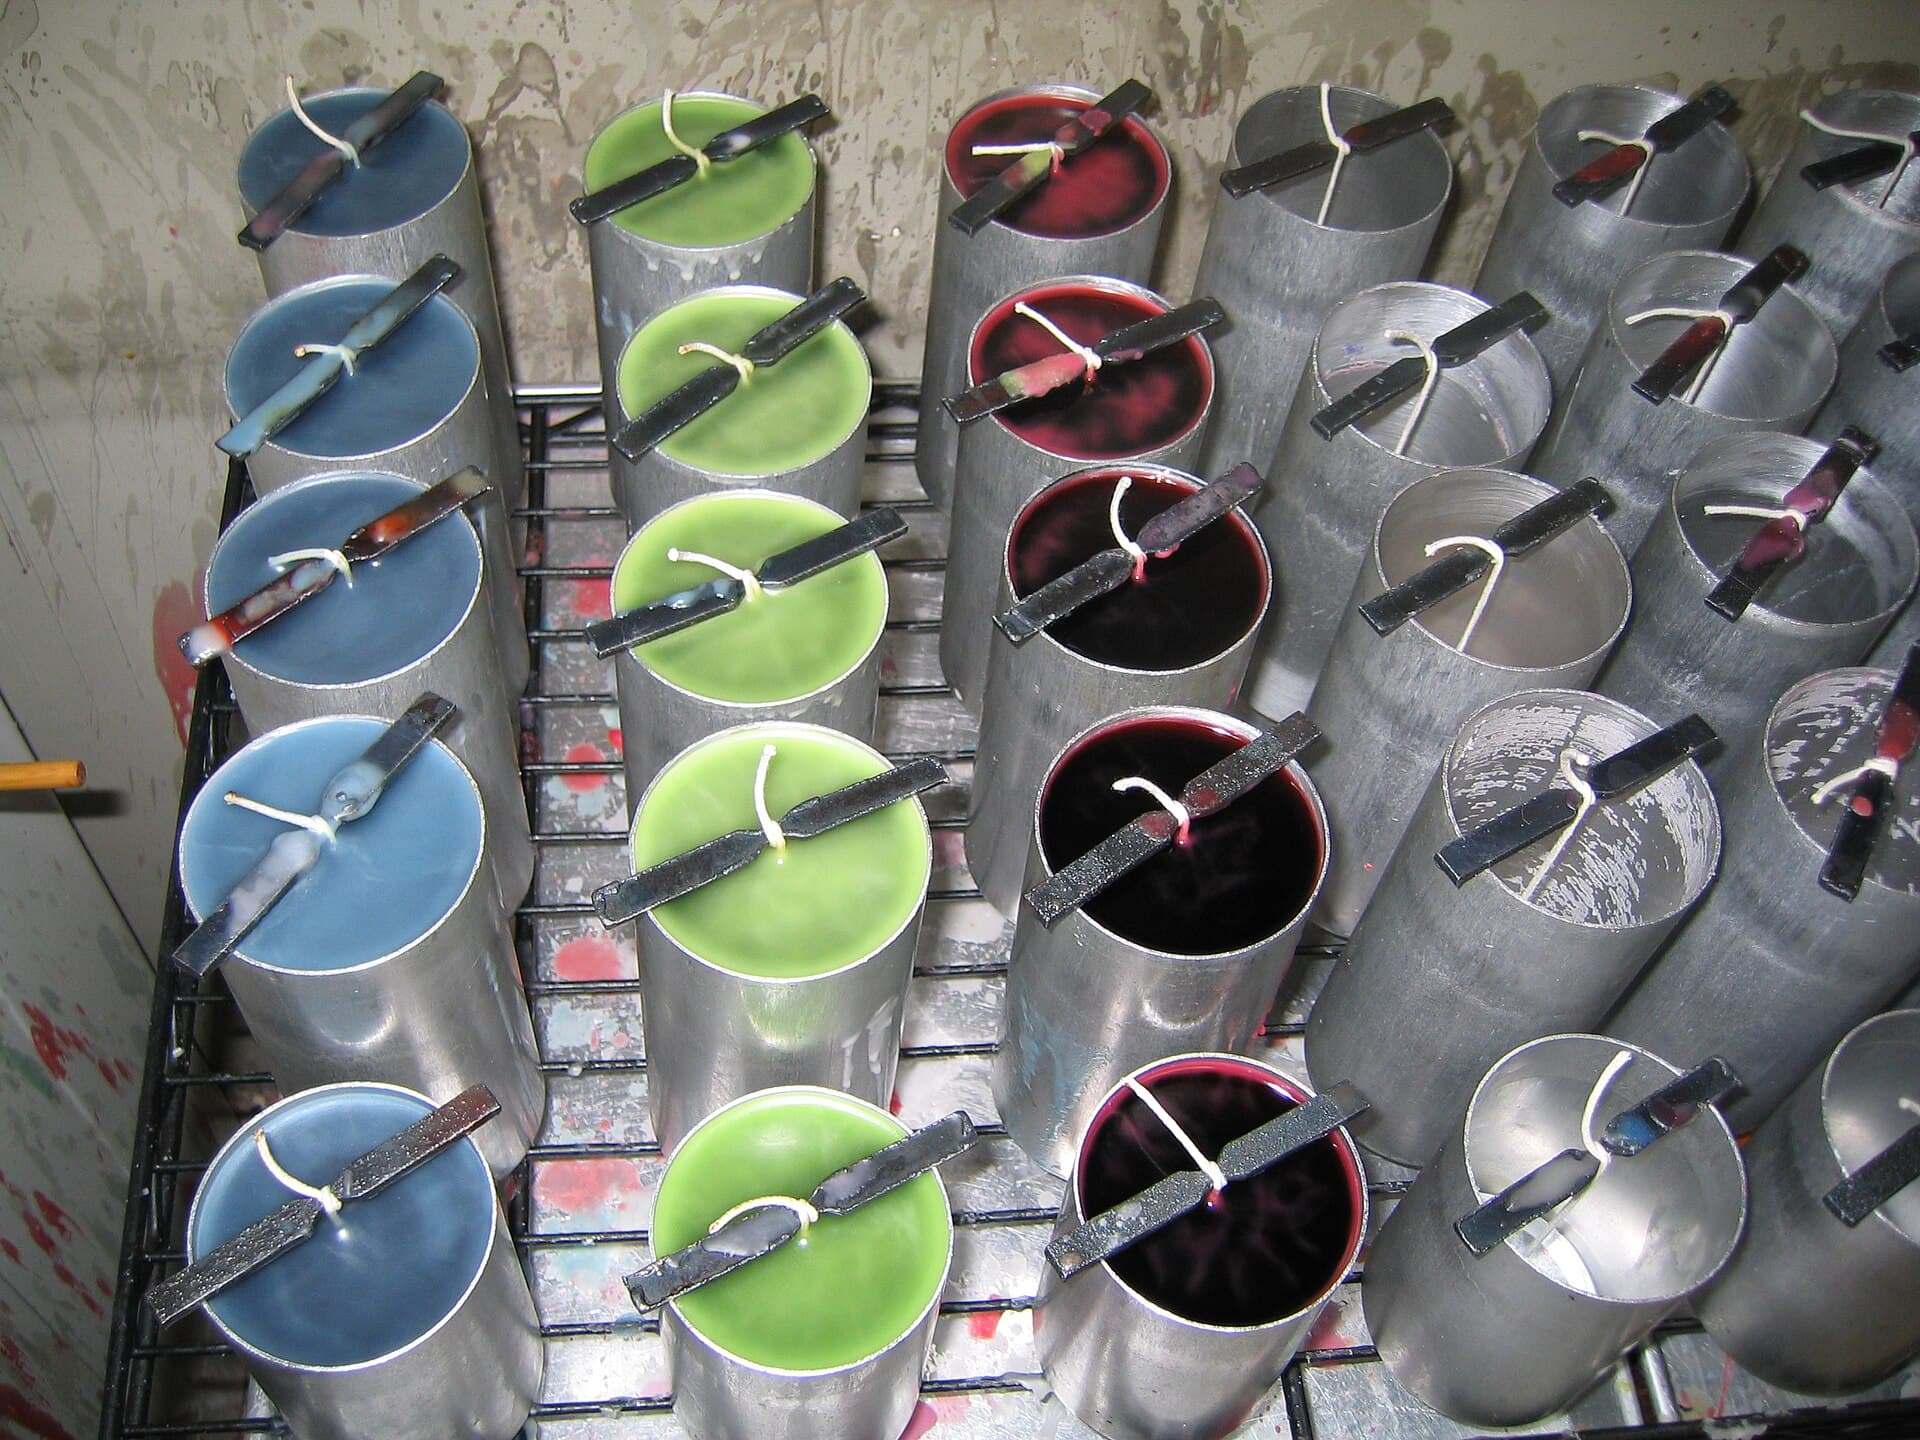
To make a candle, you melt wax, stir in fragrance oil once the wax hits about 185°F, let it cool to the pour temperature, then pour it into a container with a centered wick. That's the whole loop. A single soy container candle takes maybe 30 minutes of hands-on work, costs a few dollars in materials, and turns out far better than most people expect on the first try. The parts that trip up beginners aren't the pouring, they're the numbers: how much wax fills your jar, how much fragrance the wax can hold, and which wick fits the diameter. Get those right and the rest is easy. Below is the full recipe, the wax and wick math, and the fixes for the problems that show up in batch two.
The fast recipe: Weigh your wax (about container volume in ounces times 0.52 for soy), melt it to 185°F, stir in fragrance oil at 6 to 10 percent of the wax weight, cool to 135 to 145°F, and pour into a jar with a wick sized to the jar's diameter. Cure one to two weeks before burning.
- What You Need to Make Candles
- Choosing Your Wax
- How Much Wax and Fragrance You Need
- How to Make Candles Step by Step
- Picking and Sizing Your Wick
- Why Homemade Candles Need to Cure
- Fixing Common Candle Problems
- Is It Cheaper to Make Your Own Candles?
- Frequently Asked Questions
What You Need to Make Candles
The starter kit is short, and most of it you can reuse for years. You'll want:
- Wax. Soy is the usual beginner pick. More on that below.
- Containers. Heat-safe glass jars, tins, or tumblers. Skip anything thin or decorative that wasn't sold for candles.
- Wicks. Pre-tabbed cotton or wood wicks, sized to your container.
- Fragrance oil. Buy oil made for candles, not the skin-safe kind for lotions and soap.
- A digital scale. You measure wax and fragrance by weight, not volume, so a scale that reads to 0.1 oz or 1 g is the one tool you can't fake.
- A pouring pitcher and a thermometer. A cheap aluminum pouring pitcher set in a pot of simmering water makes a fine double boiler, and a candy or infrared thermometer tells you when to add scent and when to pour.
- Wick stickers and a wick bar (or a clothespin) to hold the wick centered while the wax sets.
That's it for a first batch. You don't need a melting tank or a heat gun yet.
Choosing Your Wax
Wax is the single choice that shapes everything else, because each type holds a different amount of fragrance and pours at a different temperature. Here's how the common container waxes stack up.
| Wax | Max fragrance load | Pour temp | Good to know |
| --- | --- | --- | --- |
| 464 soy (container) | 10% | 135 to 145°F | The most popular container soy, forgiving and clean-burning |
| 444 soy (container) | 10% | 130 to 140°F | Slightly firmer, sticks well to glass |
| Coconut-soy blend | 12% | 140 to 150°F | Creamy look, strong hot throw, easy to work with |
| Coconut wax | 12% | 140 to 150°F | A luxury wax with excellent throw and a premium price |
| Paraffin (container) | 12% | 170 to 180°F | The strongest scent throw, but petroleum-based |
| Beeswax (100%) | 6% | 145 to 160°F | Natural with a faint honey note, holds very little added fragrance |
| Palm | 6% | 200 to 210°F | Forms crystalline patterns, harder finish |
If you're starting out, 464 soy is the safe bet. It's cheap, widely available, and hides small mistakes. Beeswax smells lovely on its own but only takes about 6 percent added fragrance, so don't expect a strong scented throw from a pure beeswax candle. Paraffin throws scent the hardest, which is why so many mass-market candles use it, though a lot of home makers prefer soy or coconut blends for the plant-based label.
Whichever you pick, the Soaply candle calculator already knows each wax's density and fragrance ceiling, so you don't have to memorize this table.
How Much Wax and Fragrance You Need
This is where a scale earns its keep. Wax is sold by weight but jars are sized by liquid volume, and the two aren't the same number. Wax is lighter than water, so a jar that holds 8 fluid ounces of liquid holds only about 4 to 4.5 ounces of soy wax by weight.
The rough rule for soy is container volume in ounces times 0.52. An 8 oz jar needs about 4.2 oz of wax. A 16 oz mason jar needs about 8.3 oz. Multiply by how many candles you're pouring and add a little extra, because a bit always clings to the pitcher.
Fragrance is a percentage of the wax weight, not the jar volume. Say you're melting one pound (16 oz) of soy and running an 8 percent load: that's 1.28 oz of fragrance oil. Push soy past about 10 percent and the extra oil doesn't burn, it just pools on top or seeps out as wet, oily spots. If you've read our piece on calculating fragrance load for soap, the idea is the same here, only the safe ceiling is different because candle fragrance burns rather than sits on skin.
Rather than run the arithmetic by hand for every jar size and batch count, plug your wax, container, and fragrance percentage into the Soaply candle calculator. It gives you the exact wax weight, fragrance weight in ounces or grams, a wick suggestion, and even a per-candle cost if you enter your supply prices.
How to Make Candles Step by Step
Here's the full sequence for a soy container candle.
- Prep your containers. Stick a tabbed wick to the center of each clean, dry jar with a wick sticker or dab of hot glue. Press it down firmly, then rest a wick bar or clothespin across the rim to hold the wick upright.
- Weigh and melt the wax. Put your measured wax in the pouring pitcher and set it in a pot of simmering water. Heat the wax to about 185°F (85°C), stirring now and then. Don't let it climb much higher.
- Add fragrance. Take the pitcher off the heat at 185°F and pour in your weighed fragrance oil. Stir gently but thoroughly for about two minutes. That full two minutes matters, it's what binds the oil into the wax so it doesn't separate later.
- Add color if you want it. Drop in candle dye chips or liquid dye and stir until even. Skip this for a natural, undyed look.
- Cool to pour temperature. Let the wax drop to its pour range, 135 to 145°F for most soy. Pouring too hot is the number one cause of cracks, sinkholes, and wet spots.
- Pour slowly. Fill each jar in one steady pour, leaving a little headspace at the top. Save any leftover wax in the pitcher for a top-up.
- Let it set undisturbed. Leave the candles alone at room temperature for several hours. Moving or cooling them fast makes the surface uneven.
- Top up and trim. Soy sometimes sinks a little as it hardens. If the top dips or cracks, reheat your leftover wax and pour a thin second layer. Once fully set, trim the wick to about 1/4 inch.
That's a finished candle. The one thing left is patience, which brings us to curing.
Picking and Sizing Your Wick
A wick that's too small tunnels a narrow hole down the middle and drowns itself. One that's too big burns hot, smokes, and mushrooms. The right size is set almost entirely by your container's diameter, not its height. Use this as a starting point for cotton and wood wicks:
| Container diameter | Cotton wick | Wood wick |
| --- | --- | --- |
| Under 2 inches | ECO-1 or CD-3 | Small (0.375") |
| 2 to 2.5 inches | ECO-4 or CD-5 | Small (0.5") |
| 2.5 to 3 inches | ECO-8 or CD-8 | Medium (0.5") |
| 3 to 3.5 inches | ECO-10 or CD-12 | Medium (0.625") |
| 3.5 to 4 inches | ECO-14 or CD-14 | Large (0.75") |
| Over 4 inches | Two or more wicks | Two medium |
Wick sizing isn't exact, because fragrance load, dye, and wax type all nudge the burn. Treat the chart as your first guess, then do a test burn. If the candle tunnels, size up. If the flame is tall and sooty, size down. Anything wider than about 4 inches usually needs two wicks so the melt pool reaches the edges.
Why Homemade Candles Need to Cure
A freshly poured candle looks done, but it isn't ready to burn. Curing is the wait that lets the fragrance oil fully bind into the hardening wax. Burn a soy candle the day you pour it and the scent throw is weak. Give it time and the same candle fills a room.
For soy, one to two weeks is the sweet spot. Coconut and paraffin need less, often a few days. Store curing candles with the lids on, out of direct sun, so the top scent notes don't fade. This is the same reason a soap bar smells stronger after curing, and it's the same lesson behind making a scent last longer: give the fragrance time to settle into the base before you judge it.
Fixing Common Candle Problems
Almost every candle flaw traces back to temperature, wick size, or fragrance load. Here are the usual suspects.
Tunneling (the flame burns straight down leaving a wall of wax) means the wick is too small for the diameter. Size up next batch. For the current candle, burn it long enough each time to melt the whole top surface, two to four hours.
Sinkholes and dips in the top come from pouring too hot or cooling too fast. Pour at the low end of the range and let candles set slowly at room temperature. A thin top-up pour hides most of them.
Wet spots are those cloudy patches where the wax pulls away from the glass. They're cosmetic, common in soy, and usually caused by the jar cooling unevenly. Warming your jars slightly before pouring helps.
Frosting, a white crystalline film, is soy being soy. It's natural and harmless, and no fully soy candle avoids it forever. Pouring a touch cooler and using dye sparingly reduces it.
Weak scent throw almost always means too little fragrance, too little cure time, or both. Check that you hit at least 6 to 8 percent by weight and gave it a full one to two weeks. Fragrance oil made for candles throws better than essential oils in wax, which is worth knowing before you spend a fortune on pure oils. Our guide to fragrance oils versus essential oils covers why.
Is It Cheaper to Make Your Own Candles?
Usually, yes, once you've bought the reusable gear. A pound of soy wax runs a few dollars, fragrance oil is the priciest ingredient per candle, and jars and wicks are cents each in bulk. An 8 oz soy candle costs most home makers somewhere around $2 to $4 in materials, against $15 to $30 for a comparable candle in a shop.
The savings depend on scale. Buying wax by the case and fragrance by the pound drops the per-candle cost fast, which is why it's worth tracking. The Soaply candle calculator has a cost breakdown built in: enter your wax price per pound, fragrance price per ounce, and container cost, and it tells you what each candle actually costs you. If you're thinking of selling, that number is the floor you price above, the same discipline covered in pricing handmade products. And if candles are one product in a bigger line, the room-fragrance world is close by, like a matching room spray in the same scent.
💬 Frequently Asked Questions
How much fragrance oil do I use per pound of wax?
Between 6 and 10 percent of the wax weight for most soy, which works out to roughly 1 to 1.6 ounces per pound. Beeswax holds only about 6 percent. Going over your wax's ceiling won't make a stronger candle, the extra oil just pools or seeps out.
What wax is best for beginners?
464 soy. It's inexpensive, easy to find, pours at a low temperature, and forgives small mistakes. Coconut-soy blends are a close second and throw scent a bit harder. Save beeswax and palm for later, since they behave differently.
Why is there a hole or crack in my candle?
Usually you poured too hot or the candle cooled too quickly. Soy shrinks a little as it sets, so a dip near the wick is normal. Reheat your leftover wax and pour a thin top layer to smooth it out, and pour cooler next time.
Do homemade candles need to cure before burning?
Yes. Fragrance needs time to bind into the wax. Soy candles reach their best scent throw after one to two weeks of curing with the lid on, away from sunlight. Burn one the same day and the scent will disappoint you even if you did everything else right.
Are homemade candles safe?
They are when you use candle-specific wax, fragrance rated for candles, and a wick sized to the container. Never leave a burning candle unattended, keep the wick trimmed to 1/4 inch, and don't push fragrance past the wax's stated limit, since excess oil is a fire risk, not just a waste.
Start With the Numbers, Then Pour
Making candles is genuinely simple once the wax weight, fragrance percentage, and wick size are dialed in. Those three numbers are also the three that beginners guess wrong. Pick your wax and jar, let the Soaply candle calculator do the wax, fragrance, wick, and cost math, and pour your first batch with the recipe above. Then wait out the cure and light one.
Ready to Try It?
Use the free Soaply candle calculator to size your batch and get every ingredient in grams and percent.
Open Calculator