How to Make Shea Butter Lip Balm (Easy DIY Recipe)
Learn how to make shea butter lip balm at home with a simple 3-ingredient recipe. Get exact ratios, flavor ideas, and fixes for grainy or too-hard balm.

How to Make Shea Butter Lip Balm (Easy DIY Recipe)
Shea butter lip balm is a simple blend of shea butter, a wax, and a liquid oil that melts onto your lips and seals in moisture far better than a waxy drugstore stick. You can make a whole batch at home in about 20 minutes of active work with three main ingredients, and it costs a few cents per tube once you've stocked your supplies. This guide gives you an exact recipe, the one ratio that controls firmness, lip-safe ways to flavor it, and quick fixes for grainy or rock-hard balm.
- Why Shea Butter Makes Great Lip Balm
- Ingredients You'll Need
- The Shea Butter Lip Balm Recipe
- Step-by-Step Instructions
- How to Get the Firmness Right
- How to Flavor and Tint Your Lip Balm
- Vegan and Beeswax-Free Options
- Troubleshooting Grainy or Soft Balm
- Storage and Shelf Life
- Frequently Asked Questions
Why Shea Butter Makes Great Lip Balm
Shea butter is one of the best things you can put on dry, chapped lips. It's solid at room temperature but melts at skin temperature, so it spreads into a thin protective layer the moment it touches your mouth. That layer slows down water loss, which is the real reason lips crack in winter and after too much sun.
The butter itself is rich in oleic and stearic fatty acids that soften skin, plus small amounts of vitamins A and E that support the lip barrier. It also contains a natural fraction of unsaponifiables, the conditioning compounds that give shea its reputation as a skin healer. Unlike petroleum jelly, which only sits on the surface, shea actually feeds the skin while it seals.
You'll see two grades for sale. Refined shea butter is filtered and deodorized, so it's smooth, pale, and nearly scent-free, which makes it the easy choice when you want your flavor to come through cleanly. Unrefined shea has a nutty, slightly smoky smell and a faint tan color, and it keeps more of those natural vitamins. Either one works in lip balm, so pick based on whether you want that natural aroma in the background.
If you already make cold process bars, think of lip balm as the gentlest cousin of a high-superfat soap. There's no lye, no saponification, and no cure time. You melt, you stir, you pour, and you're done.
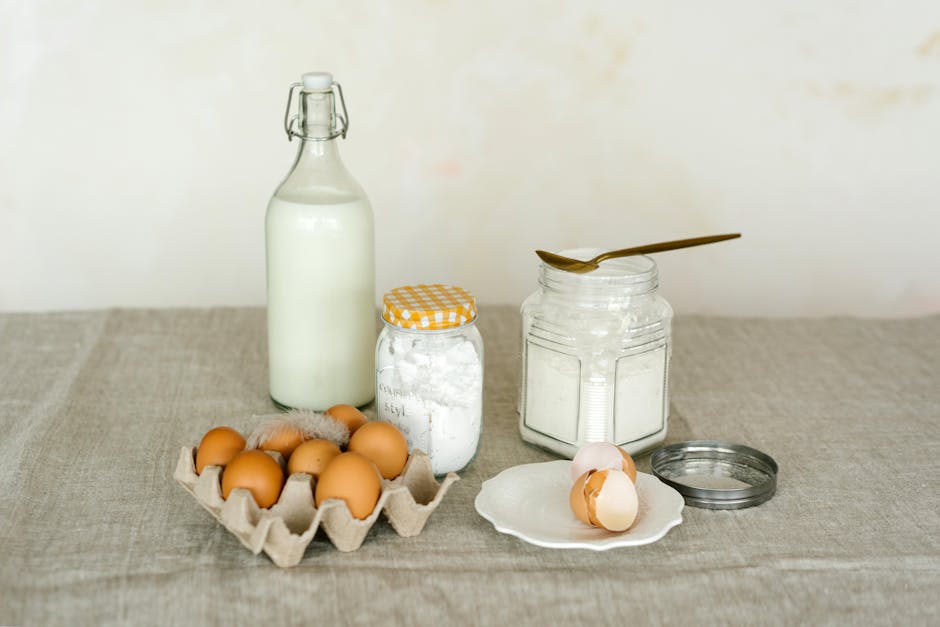
Ingredients You'll Need
A good shea butter lip balm needs three building blocks: shea butter for conditioning, a wax for structure, and a liquid oil to keep it gliding smoothly. Here's what each one does.
Shea butter is the star and the conditioning base. Use cosmetic-grade shea butter, not a body-butter blend that already has other ingredients mixed in.
Beeswax is what turns a soft salve into a balm that holds its shape in a tube. It raises the melting point so your balm doesn't turn to soup in a warm pocket. Pastilles melt faster and measure more evenly than a solid block, so grab beeswax pastilles if you can. If you want a plant-based balm, see the vegan section below.
A liquid carrier oil thins the blend so it applies smoothly instead of dragging. Jojoba oil is a favorite because it's close to skin's own oils and almost never goes rancid. Sweet almond, fractionated coconut, and castor oil all work too. Castor oil adds a little shine and slip, which is why it shows up in so many lip products.

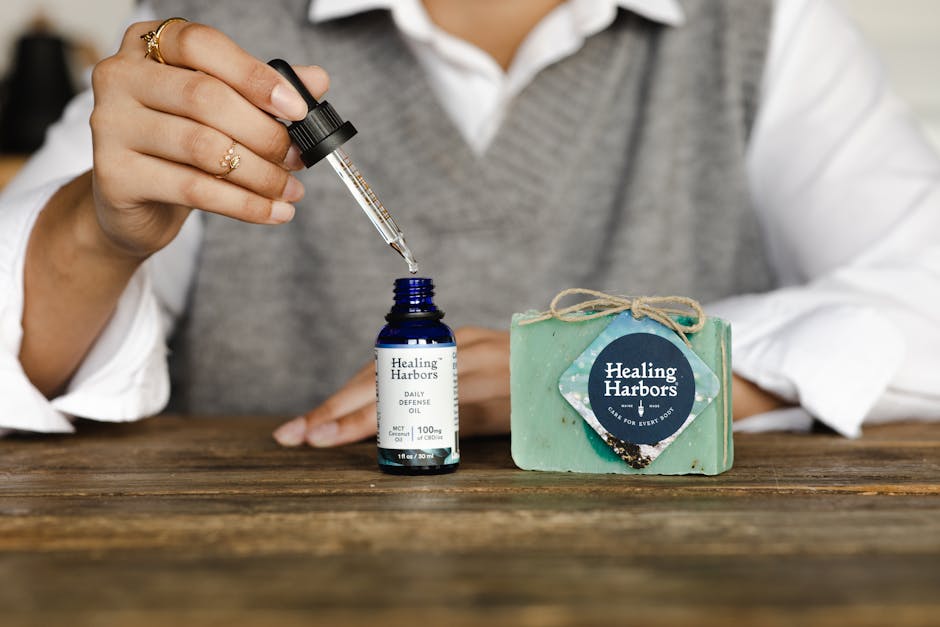
Two optional extras earn their place. A few drops of vitamin E oil act as an antioxidant that slows down rancidity and feels nice on the lips. And a lip-safe flavor oil or essential oil gives your balm its personality, which we'll cover in detail below. You'll also need containers: small lip balm tubes or little screw-top tins, plus a dropper or small pipette for the pour.
The Shea Butter Lip Balm Recipe
This makes roughly 70 grams of balm, which fills about a dozen standard 0.15 ounce tubes or four to five small half-ounce tins. The ratio is what matters, so you can scale it up or down and keep the same feel.
| Ingredient | Amount | By weight |
| ------------ | -------- | ----------- |
| Shea butter | 2 tbsp (about 28 g) | 40% |
| Beeswax pastilles | 1 tbsp (about 14 g) | 20% |
| Jojoba or sweet almond oil | 2 tbsp (about 28 g) | 40% |
| Vitamin E oil (optional) | 1/4 tsp | trace |
| Lip-safe flavor or essential oil (optional) | 4 to 8 drops | trace |
A kitchen scale makes this far more repeatable than spoons, since butters and waxes pack differently every time. If you're measuring by weight, the simple version is equal parts shea butter and carrier oil, with half that amount of beeswax. That 40/40/20 split lands right in the sweet spot for a tin or a soft tube.
Step-by-Step Instructions
- Set up a double boiler. Put an inch of water in a small pot and rest a heatproof glass measuring cup or bowl in it. This gentle, indirect heat protects the delicate oils. Don't melt lip balm directly over a burner.
- Melt the beeswax first. Beeswax has the highest melting point, around 145°F, so add it to the cup and let it liquefy before anything else. It melts slowly, so give it a few minutes.
- Add the shea butter and carrier oil. Once the wax is liquid, stir in the shea butter and your liquid oil. Keep the heat low and stir until everything is clear and combined. Pull the cup off the heat as soon as it melts; overheating dulls the shea and can speed up graininess.
- Run a firmness test. Dip a cold metal spoon into the mix and let it set for a minute. If it's too soft for your liking, stir in a few more beeswax pastilles. Too hard, add a splash more carrier oil. Adjust now, before you pour.
- Add vitamin E and flavor. Let the mix cool for thirty seconds, then stir in the vitamin E oil and your lip-safe flavor or essential oil. Adding scent off the heat keeps it from cooking off.
- Pour quickly. This blend starts setting fast once the beeswax cools, so pour into tubes or tins right away. A small pipette or a measuring cup with a spout makes this much cleaner. Work in batches and gently reheat if it firms up before you finish.
- Let it set and cap. Leave the containers undisturbed for about thirty minutes until fully solid, then cap them. Tubes set with a slight dip in the center, so top them off with a little leftover balm if you want a flat finish.
How to Get the Firmness Right
Firmness is the single thing most people get wrong, and it comes down to how much wax you use relative to the oils. More beeswax means a harder, longer-lasting balm. More liquid oil means a softer, glossier one.
Here's the quick guide. For twist-up tubes, you want a firmer balm that won't smear when it pushes up, so lean toward 25 percent wax. For tins and pots, where you apply with a fingertip, a softer 18 to 20 percent wax feels nicer. If you live somewhere hot or you're mailing balm in summer, bump the wax up a few points so it survives the trip.
The cold-spoon test in step four is your best friend here. Lip balm feels very different warm and liquid than it does set and at room temperature, so never judge firmness from the melted pot. Test, adjust, then pour. It takes two minutes and saves you from a whole batch that's too greasy or too stiff to apply.

Want a firmer balm without changing the wax? Swap a small amount of the shea for cocoa butter, which is harder and adds a faint chocolate note. Replacing about a quarter of the shea with cocoa butter gives you a sturdier stick that holds up in a warm car.
How to Flavor and Tint Your Lip Balm
Plain shea butter lip balm is wonderful on its own, but a little flavor or color makes it feel finished. Just remember your lips end up tasting and absorbing whatever you add, so everything needs to be lip-safe.
For scent and a hint of taste, use a few drops of skin-safe essential oil or a lip-safe flavor oil. Peppermint and spearmint give that classic cooling tingle, sweet orange smells bright and happy, and vanilla flavor oil reads as sweet without being cloying. Keep essential oils low, around half a percent or a few drops per batch, since lips are sensitive. Skip the hot oils like cinnamon bark and clove, which can burn, and don't use regular soap fragrance oils unless the label specifically says they're approved for lip products.
For a touch of natural sweetness, you can stir in a tiny bit of honey while the mix is still warm. Be warned that honey is water-based and an anhydrous balm has no water, so it tends to bead up and settle unless you whisk it in well and use it sparingly. A lip-safe flavor oil is the more reliable route if you want dependable taste.
To add color, use cosmetic mica that's labeled lip-safe, a pinch of cocoa powder for a warm tan tint, or a tiny amount of beetroot powder for pink. Add color a little at a time and stir thoroughly, since pigments love to clump. For a true tinted lip balm, blend the color into a small amount of the warm oil first, then stir that paste into the batch.
Vegan and Beeswax-Free Options
Beeswax is an animal product, so it's off the table for a vegan balm. The best swap is candelilla wax, a plant wax from a desert shrub. It's harder than beeswax, so use about half as much, roughly 10 percent of your recipe instead of 20, and adjust from there with the spoon test. Carnauba wax works too but is even harder and can feel draggy, so blend it with extra oil.
If you'd rather skip wax entirely, you can lean on cocoa butter for structure instead. A balm built from mostly cocoa butter with a little shea and oil sets up firm enough for a tin, though it won't hold in a twist-up tube the way a waxed version does. It'll be softer and meltier, so keep it somewhere cool.
Troubleshooting Grainy or Soft Balm
Grainy or gritty texture is the most common complaint, and it's almost always the shea butter recrystallizing. Shea has fats that set at different speeds, and slow cooling lets them form little crystals. The fix is to melt fully, then cool fast. Pop your filled tubes in the fridge for fifteen minutes right after pouring to lock in a smooth set. If a batch already turned grainy, gently remelt it and chill it quickly.
Too soft and it won't push up in the tube? You need more wax. Remelt and add beeswax a teaspoon at a time, testing with the cold spoon until it firms up.
Too hard and it barely glides? There's too much wax for your liking. Remelt and stir in more carrier oil until it spreads easily on the back of your hand.
Sweating or oily droplets on top usually means temperature swings. Store balm away from heat and direct sun, and a quick chill after pouring helps the oils stay locked in place.
Storage and Shelf Life
Because lip balm is anhydrous, meaning it has no water, bacteria and mold have nothing to grow in, so it stays good without a preservative. A well-made shea butter lip balm lasts about six months to a year. The clock is really set by your oils: the more shelf-stable they are, the longer the balm holds. Jojoba barely goes off at all, while something like grapeseed turns sooner.
A few drops of vitamin E oil slow oxidation and stretch that shelf life. Keep your finished tubes somewhere cool and dark, label them with the date you made them, and toss any balm that smells off or sharp, which is the telltale sign the oils have gone rancid. If you're gifting or selling, write a use-by date on the label so people know when it's freshest.
💬 Frequently Asked Questions
Is shea butter good for your lips?
Yes. Shea butter is rich in oleic and stearic fatty acids plus vitamins A and E, which soften skin and reinforce the lip barrier. It melts at skin temperature and forms a protective seal that slows moisture loss, making it one of the best natural ingredients for dry, chapped lips.
Do you need beeswax to make lip balm?
No, but you need some kind of wax or hard butter to give the balm structure. Beeswax is the traditional choice. For a vegan balm, swap in candelilla wax at about half the amount, or build a softer tin-style balm using mostly cocoa butter for firmness instead.
How long does homemade lip balm last?
About six months to a year. Since it's water-free, it doesn't need a preservative and won't grow mold, so shelf life depends on your oils. Use shelf-stable oils like jojoba, add a few drops of vitamin E, store it cool and dark, and replace any balm that smells rancid.
Why is my homemade lip balm grainy?
Graininess comes from shea butter recrystallizing as it cools slowly. Melt everything fully, then cool the filled tubes fast by chilling them in the fridge for about fifteen minutes. That quick set keeps the fats from forming gritty crystals. You can rescue a grainy batch by remelting and chilling it quickly.
Can you use essential oils in lip balm?
Yes, in small amounts. Keep essential oils to around half a percent, or a few drops per batch, since lips are sensitive. Peppermint, spearmint, and sweet orange are popular and safe at low rates. Avoid hot oils like cinnamon and clove, and don't use soap fragrance oils unless they're labeled lip-safe.
Make More Than Just Lip Balm
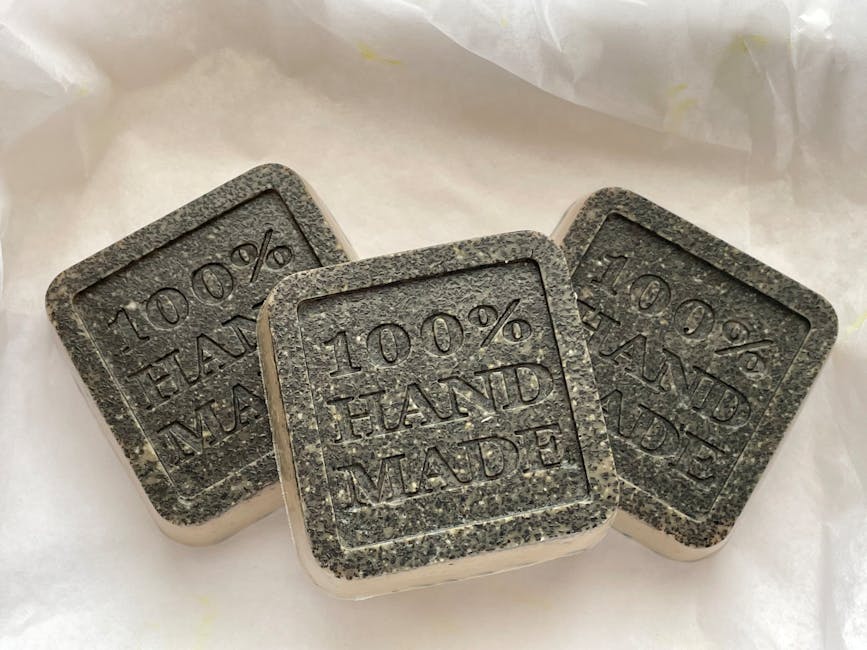
Once you've nailed a shea butter lip balm, you're a short step from a whole shelf of handmade skin care. The same shea butter shines in a whipped body butter and in a creamy shea butter soap bar, and the beeswax you bought has dozens of uses in soap making too. When you're ready to make real soap from scratch, the free Soaply soap calculator does the lye and water math for you so every batch comes out safe and balanced. Pick your oils, run the numbers, and your next project can be in the mold this weekend.
Ready to Try It?
Use our free soap calculator to create your perfect recipe with real-time property predictions.
Open Calculator