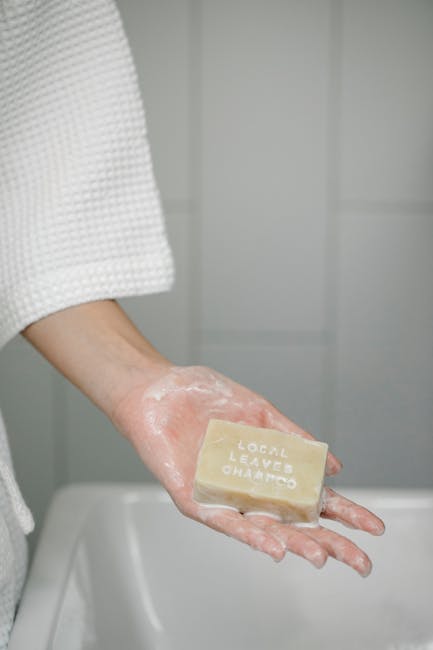
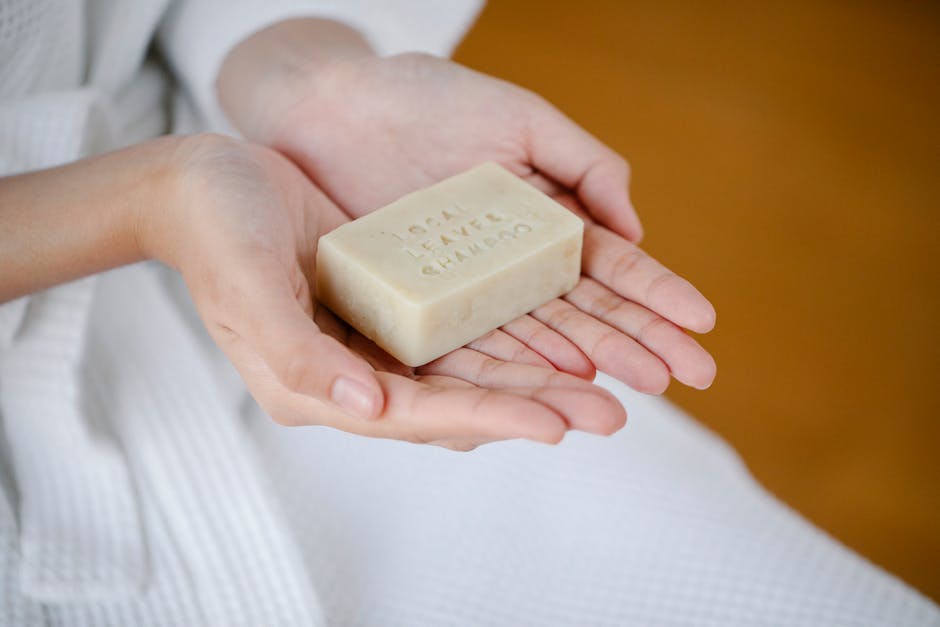
How to Make Shampoo Bars: A Complete Guide for Beginners
Learn how to make cold process shampoo bars at home. Includes recipes for different hair types, tips on pH, ingredients to use, and common mistakes to avoid.
How to Make Shampoo Bars: A Complete Guide for Beginners
Shampoo bars are one of the most popular projects for soap makers. They reduce plastic waste, last longer than bottled shampoo, and let you customize ingredients for your exact hair type. But making a good shampoo bar is different from making body soap. The oil blend, superfat percentage, and additive choices all matter more when the bar is going on your hair.
This guide covers everything you need to know to make cold process shampoo bars that actually work.
- How Shampoo Bars Differ from Body Soap
- Best Oils for Shampoo Bars
- Basic Shampoo Bar Recipe
- Recipes for Different Hair Types
- Additives for Hair Health
- The Making Process
- Troubleshooting Common Issues
- Using and Storing Shampoo Bars
How Shampoo Bars Differ from Body Soap
Body soap and shampoo bars use the same basic chemistry: oils saponified with lye. The difference is in formulation priorities:
| Property | Body Soap | Shampoo Bar |
| ---------- | ----------- | ------------- |
| Cleansing | Moderate (20-30) | Higher (30-50) |
| Conditioning | High (50-70) | Moderate (40-60) |
| Hardness | High (35-50) | Moderate (30-45) |
| Lather | Creamy preferred | Fluffy, abundant |
| Superfat | 5-8% | 2-4% |
The key difference is superfat. Too much unsaponified oil in a shampoo bar leaves hair feeling greasy and weighed down. Most shampoo bar recipes use a lower superfat (2-4%) compared to body bars (5-8%).
You can check all of these properties using the Soaply calculator before committing to a recipe.
Best Oils for Shampoo Bars
Primary Oils (Make Up the Base)
Coconut Oil (30-50%)
The workhorse of shampoo bars. Coconut oil produces excellent lather and strong cleansing, exactly what you want for washing hair. Use a higher percentage (40-50%) for oily hair, lower (30%) for dry hair.
Olive Oil (20-35%)
Adds conditioning and mildness. Olive oil produces a slippery, moisturizing lather. Too much (over 40%) can make a shampoo bar feel waxy in the hair.
Castor Oil (5-10%)
A must-have for shampoo bars. Castor oil creates thick, bubbly lather that no other oil can match. Keep it under 10%, as more than that makes the bar soft and sticky.
Supporting Oils
Avocado Oil (5-15%)
Rich in vitamins A, D, and E. Excellent for dry or damaged hair. Adds conditioning without being too heavy.
Jojoba Oil (3-5%)
Technically a liquid wax, jojoba closely resembles human sebum. Excellent for balancing oily scalps. Use it at superfat to maximize its conditioning effect.
Argan Oil (3-5%)
Lightweight and nourishing. Great for frizzy or curly hair. Best used as a superfat oil added at trace.
Babassu Oil (10-20%)
Similar cleansing power to coconut oil but lighter and less drying. Good substitute if coconut oil is too harsh for your hair.
Oils to Avoid or Limit
- Shea Butter: More than 10% can leave a waxy residue in hair
- Palm Oil: Adds hardness but minimal hair benefit; many soapers avoid it for sustainability reasons
- Soybean Oil: Can leave hair feeling limp and coated
Shampoo Bar Recipes by Hair Type
Recipe 1: Normal Hair (All-Purpose)
| Oil | Percentage |
| ----- | ----------- |
| Coconut Oil | 35% |
| Olive Oil | 30% |
| Avocado Oil | 15% |
| Rice Bran Oil | 10% |
| Castor Oil | 10% |
| Superfat | 3% |
| Lye Concentration | 33% |
A well-balanced bar with good cleansing, decent conditioning, and abundant lather.
Recipe 2: Oily Hair (Deep Cleansing)
| Oil | Percentage |
| ----- | ----------- |
| Coconut Oil | 45% |
| Olive Oil | 20% |
| Babassu Oil | 15% |
| Rice Bran Oil | 10% |
| Castor Oil | 10% |
| Superfat | 2% |
| Lye Concentration | 33% |
Higher coconut and babassu for strong cleansing. Low superfat to avoid weighing down oily hair.
Recipe 3: Dry or Curly Hair (Moisturizing)
| Oil | Percentage |
| ----- | ----------- |
| Olive Oil | 35% |
| Coconut Oil | 25% |
| Avocado Oil | 15% |
| Shea Butter | 10% |
| Castor Oil | 8% |
| Argan Oil | 7% |
| Superfat | 4% |
| Lye Concentration | 33% |
Lower coconut oil, higher conditioning oils, and a slightly higher superfat for maximum moisture.
Recipe 4: Sensitive Scalp (Gentle)
| Oil | Percentage |
| ----- | ----------- |
| Olive Oil | 35% |
| Babassu Oil | 25% |
| Sweet Almond Oil | 15% |
| Avocado Oil | 10% |
| Jojoba Oil | 5% |
| Castor Oil | 10% |
| Superfat | 3% |
| Lye Concentration | 33% |
Babassu instead of coconut for gentler cleansing. Sweet almond and jojoba are both well-tolerated by sensitive skin.
Beneficial Additives for Shampoo Bars
At Trace (Mixed In)
- Silk fibers (1 tsp per pound of oils) : Dissolve in lye water. Adds incredible slip and shine.
- Honey (1 tsp per pound) : Humectant, boosts lather. Add at thin trace. Insulate well : honey accelerates gel phase and heats up fast.
- Aloe vera juice : Replace up to 50% of water with aloe juice for scalp-soothing benefits.
- Clay (1-2 tsp per pound) : Bentonite or kaolin clay adds slip and helps with oily hair.
Essential Oils for Hair
- Rosemary: Stimulates scalp, good for thinning hair (use at 1-2% of oil weight)
- Peppermint: Cooling, invigorating, helps with dandruff
- Tea tree: Antifungal, excellent for dandruff or itchy scalp
- Lavender: Calming, works for all hair types
- Cedarwood: Grounding scent, may support hair growth
Calculate your fragrance load with the Soaply fragrance calculator since the default 6% is fine for shampoo bars, but essential oils are typically used at 2-4% of oil weight.
The pH Question
One of the biggest debates around shampoo bars: pH.
Cold process soap has a pH of 9-10. Your hair's natural pH is 4.5-5.5. Commercial shampoos are formulated at pH 5-6. This means cold process shampoo bars are more alkaline than what your hair is used to.
What this means in practice:
- Some people experience a "transition period" of 1-4 weeks as hair adjusts
- Hair may feel waxy, tangly, or different during this time
- An acidic rinse (apple cider vinegar diluted in water) after washing helps close the cuticle and restore pH
Apple Cider Vinegar (ACV) Rinse:
Mix 1-2 tablespoons of raw apple cider vinegar in 1 cup of cool water. Pour over hair after rinsing out the shampoo bar. Leave for 30 seconds, then rinse with cool water. This smooths the hair cuticle, adds shine, and eliminates any waxy feeling.
Not everyone needs a vinegar rinse; it depends on your water hardness and hair type. Try using the bar alone first.
Hard Water and Shampoo Bars
Hard water is the number one reason shampoo bars "don't work" for some people.
When soap meets calcium and magnesium minerals in hard water, it forms soap scum, the same white film you see on shower doors. On your hair, this manifests as a waxy, stiff, or sticky feeling.
Solutions:
- ACV rinse: The acid dissolves soap scum
- Chelating agents: Add sodium citrate or EDTA to your recipe (1-2% of oil weight at trace)
- Shower filter: A simple carbon or KDF filter removes most hardness
- Distilled water final rinse: Rinse hair with a jug of distilled water as the last step
If you have very hard water (over 180 ppm), be aware that shampoo bars will require more effort. Test your water hardness with an inexpensive test strip kit.
Step-by-Step: Making Your First Shampoo Bar
What You Need
- Digital scale (grams)
- Stick blender
- Safety goggles and gloves
- Heat-safe mixing containers
- Soap mold (round molds work great for shampoo bars)
- Infrared thermometer
Instructions
1. Run your recipe through the Soaply calculator.
Enter your oils and percentages. Set your superfat and lye concentration. The calculator will give you exact weights for everything, plus predicted bar properties so you can see cleansing and conditioning values before you start.
2. Prepare the lye solution.
Weigh your water (or aloe/milk). Weigh your lye. Slowly add lye to liquid : never the reverse. Stir until dissolved. Set aside to cool.
If using silk fibers, add them to the lye solution now. They will dissolve completely.
3. Melt and combine oils.
Melt solid oils (coconut, babassu, shea). Add liquid oils. Let the oil mixture cool to 100-110°F.
4. Combine and blend.
When lye solution and oils are both 100-110°F, pour lye into oils. Blend with a stick blender until light trace.
5. Add extras at trace.
Stir in essential oils, clay, honey, or any other additives. If adding a superfat oil (like argan or jojoba), add it now to keep it unsaponified.
6. Pour into molds.
Round molds (2-3 oz each) are popular for shampoo bars. They fit nicely in the hand and in a soap dish.
7. Insulate and wait.
Cover molds with a towel. Let sit 24-48 hours. Unmold when firm.
8. Cure.
Cure for 4-6 weeks. Shampoo bars benefit from a longer cure, as the bar becomes harder, longer-lasting, and milder. Some soapers cure shampoo bars for 8+ weeks.
Common Shampoo Bar Mistakes
1. Too Much Superfat
The most common mistake. A 5-8% superfat that works great for body soap will leave hair feeling greasy. Keep shampoo bar superfat at 2-4%.
2. Skipping the Cure
Under-cured shampoo bars are harsh, soft, and dissolve quickly. Wait the full 4-6 weeks. Your patience will be rewarded with a harder, milder, longer-lasting bar.
3. Using Too Much Shea Butter
Shea butter is wonderful in body soap but can leave a waxy film on hair. Keep it under 10% in shampoo bar recipes.
4. Not Accounting for Hard Water
If your hair feels terrible after switching to a shampoo bar, test your water hardness before blaming the recipe. An ACV rinse solves most hard water problems.
5. Giving Up Too Soon
The transition from commercial shampoo to a soap-based bar takes 1-4 weeks. Your scalp has been trained to overproduce oil to compensate for harsh sulfate-based detergents. Give it time to recalibrate.
Storage and Travel Tips
- Between uses: Keep on a well-draining soap dish. Shampoo bars that sit in water dissolve fast.
- Travel: Store in a soap tin or let it air-dry before putting it in a bag. One shampoo bar replaces 2-3 bottles of liquid shampoo, perfect for carry-on travel.
- Shelf life: Properly cured and stored, shampoo bars last 12+ months.
Is a Shampoo Bar Right for You?
Shampoo bars work well for most people, but they are not for everyone:
Great fit:
- You want to reduce plastic waste
- You prefer knowing exactly what goes on your hair
- You enjoy customizing products for your specific needs
- You travel frequently
May not work well:
- Very hard water area (unless you add chelating agents or use a filter)
- Color-treated hair (high pH can strip color faster)
- Hair that requires silicone-based detangling
If you are already making cold process soap, making shampoo bars is a natural next step. The process is identical; only the formulation changes.
💬 Frequently Asked Questions
How long do shampoo bars last compared to liquid shampoo?
One shampoo bar typically lasts 2-3 months with regular use, equivalent to 2-3 bottles of liquid shampoo. Proper storage on a draining soap dish extends their life significantly.
Why does my hair feel waxy after using a shampoo bar?
This is usually due to hard water creating soap scum on your hair. Try an apple cider vinegar rinse (1-2 tablespoons in a cup of water) after shampooing, or consider adding chelating agents to your recipe.
Can I use regular soap for my hair instead of a special shampoo bar?
While you can use regular soap, shampoo bars are formulated specifically for hair with lower superfat (2-4% vs 5-8%), higher cleansing properties, and better lather quality. They'll give you better results.
How long is the transition period when switching to shampoo bars?
Most people experience a 1-4 week adjustment period as your scalp learns to produce less oil. Some people have no transition period at all, while others may need up to a month.
Do shampoo bars work on color-treated hair?
The high pH of cold process soap (9-10) can strip color faster than commercial shampoos. If you have color-treated hair, use shampoo bars less frequently and always follow with an acidic rinse to help close the cuticle.
Ready to calculate your shampoo bar recipe? Plug your oils into the Soaply calculator and check your bar properties before you start. It's free, it's instant, and it will tell you exactly how much lye and water you need.
More soap making guides: Beginner's Guide · Best Oils Guide · Superfat Guide · Fragrance Calculator · Bar Properties
Ready to Try It?
Use our free soap calculator to create your perfect recipe with real-time property predictions.
Open Calculator