How to Make Lotion Bars (Easy Recipe and the 1:1:1 Ratio)
Learn how to make lotion bars with a simple 3-ingredient recipe. Get the classic 1:1:1 ratio, step-by-step directions, scent ideas, and fixes for greasy bars.
This article contains Amazon links. As an Amazon Associate, Soaply earns from qualifying purchases at no extra cost to you.
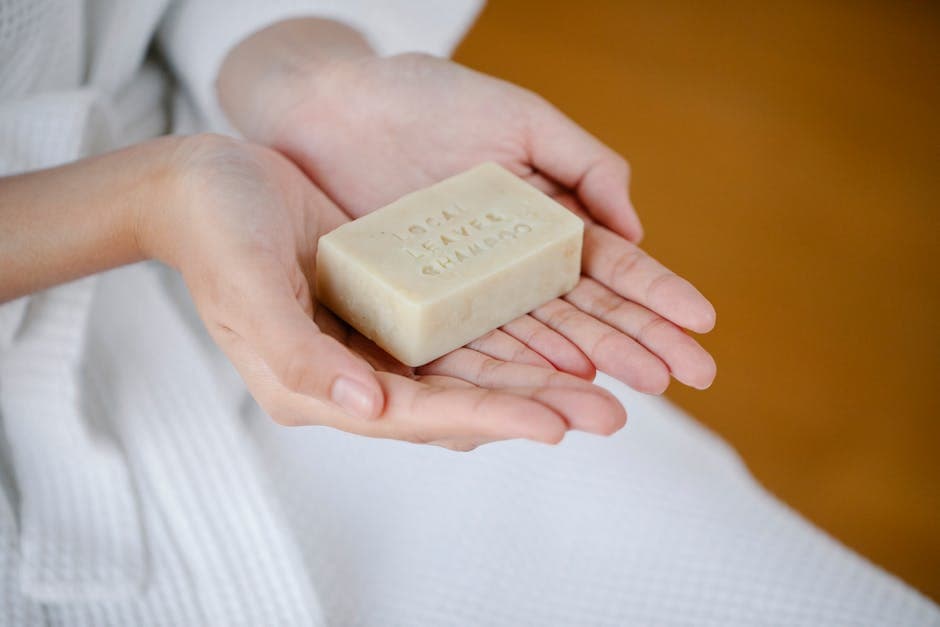
A lotion bar is a solid bar of moisturizer that melts on contact with your skin, made from just three things: a wax, a butter, and a liquid oil. You rub it over dry skin like a bar of soap, your body heat melts a thin layer, and it soaks in. A whole batch takes about 20 minutes of hands-on work, uses no water and no preservative, and the classic recipe is simple: equal parts beeswax, shea or cocoa butter, and a carrier oil. This guide gives you that 1:1:1 ratio, a full recipe, step-by-step directions, scent ideas, and quick fixes for bars that come out greasy, grainy, or too soft.
- What Is a Lotion Bar?
- Why Make Lotion Bars Instead of Lotion?
- Ingredients You'll Need
- The Basic Lotion Bar Recipe
- Step-by-Step Instructions
- How to Use a Lotion Bar
- Getting the Firmness Right
- How to Scent and Customize Your Bars
- Vegan and Beeswax-Free Lotion Bars
- Troubleshooting Greasy or Grainy Bars
- Storage and Shelf Life
- Frequently Asked Questions
What Is a Lotion Bar?
A lotion bar is basically a bottle of lotion with the water taken out and shaped into a solid puck. Regular lotion is an emulsion, meaning it mixes oils and water together so it feels light and rubs in fast. A lotion bar skips the water entirely. It's a firm blend of butters and oils held together with wax, so it stays solid on the shelf and only turns to liquid when it meets the warmth of your skin.
That one difference changes everything about how you make it. No water means no emulsifier to bind oil and water, and no preservative to stop bacteria and mold, since neither can grow in a product with no water for them to live in. You melt three ingredients together, pour them into a mold, and let them set. There's no lye, no curing, and no chemistry to get wrong.
If you already make cold process soap, think of a lotion bar as the easy afternoon project between batches. It uses the same butters and oils sitting in your soaping cupboard, but there's nothing caustic involved and nothing to wait weeks for.
Why Make Lotion Bars Instead of Lotion?
Lotion bars win on a few practical fronts. They're solid, so they travel well. No leaking bottle in your bag, and they sail through airport security since there's no liquid to declare. Toss one in a tin and it lives in your purse, your desk drawer, or your gym bag.
They're also concentrated. Because there's no water diluting them, a little goes a long way, so a single bar outlasts a bottle of lotion its own size. That makes them a favorite for cracked heels, dry elbows, rough hands, and cuticles, where you want real staying power rather than something that soaks in and vanishes.
For anyone making products to sell or gift, bars are easy to keep waterless and preservative-free, which sidesteps the trickiest part of homemade skincare. Water-based lotion needs a proper preservative and careful hygiene or it grows mold within weeks. A lotion bar needs neither. The tradeoff is feel: bars leave a richer, slightly waxier layer than a fast-absorbing lotion, so they shine on rough spots more than on your whole body after a shower.
Ingredients You'll Need
A lotion bar rests on three building blocks, plus a couple of optional extras. Here's what each one does.
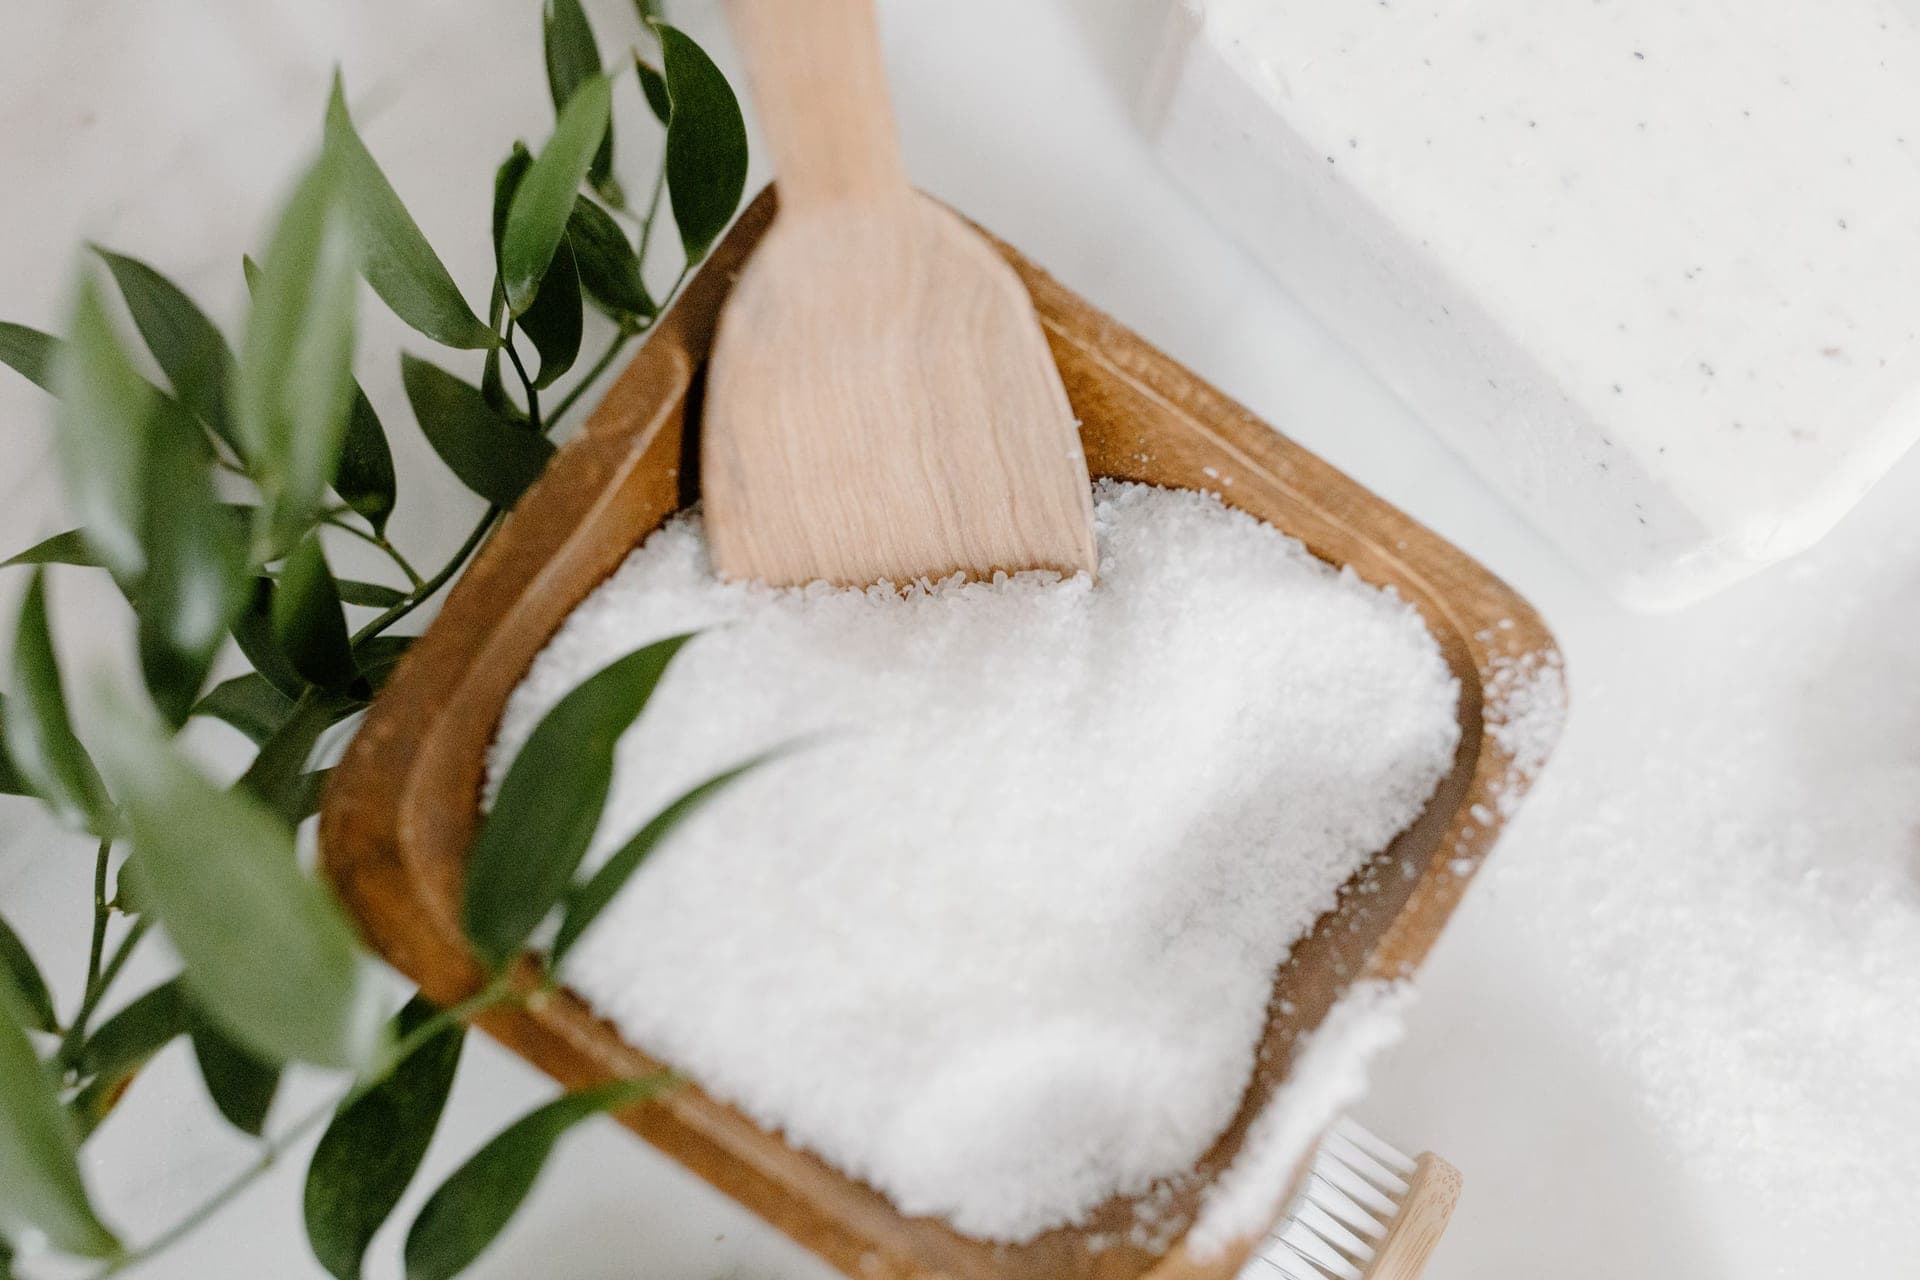
A wax gives the bar its backbone and keeps it solid at room temperature. Beeswax is the traditional choice, and pastilles melt faster and measure more evenly than a solid block. For a plant-based bar, see the vegan section below.
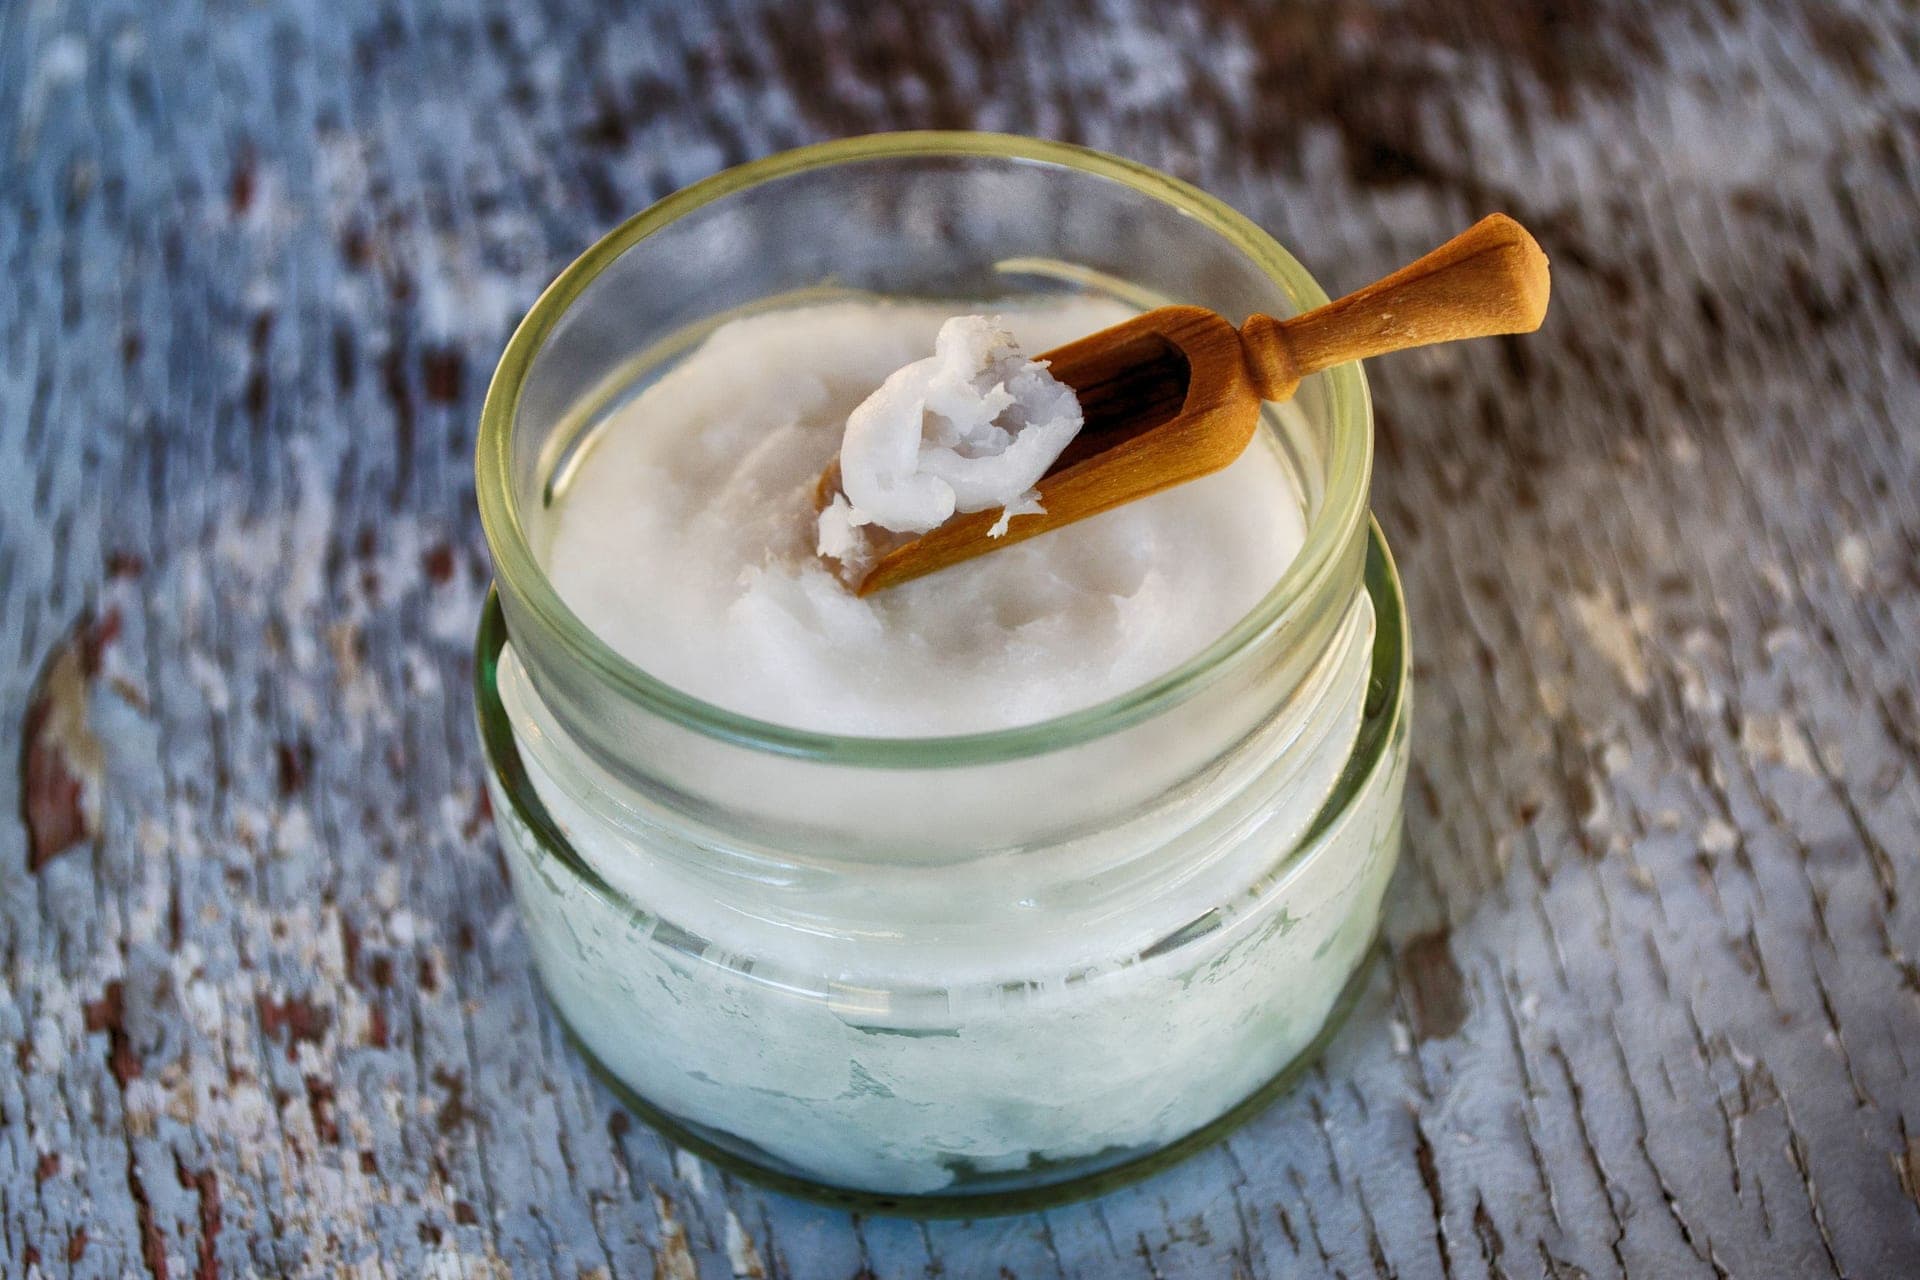
A firm butter is the conditioning heart of the bar. Shea butter is the go-to for its rich, skin-softening feel. Cocoa butter makes a harder, sturdier bar with a faint chocolate scent, and mango butter sits in between with a lighter finish. You can use one or blend them.
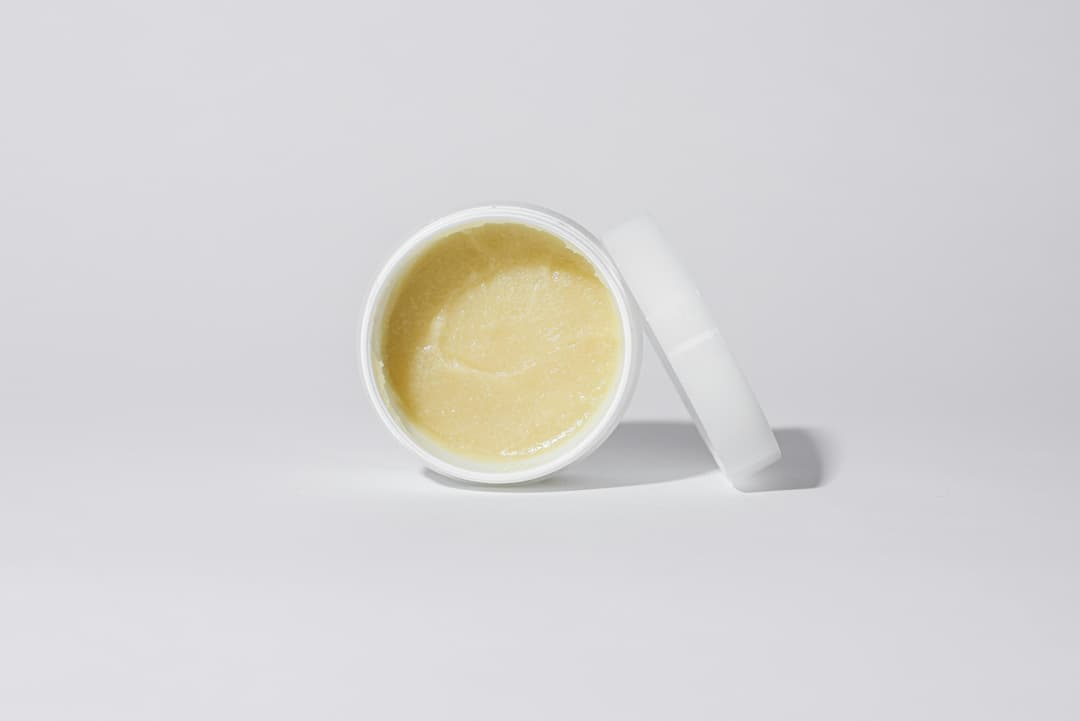
A liquid carrier oil thins the blend so it glides instead of dragging. Sweet almond oil is a classic, and jojoba, fractionated coconut, and avocado oil all work well. Jojoba barely ever goes rancid, which is handy for shelf life.
Two optional extras earn their spot. A few drops of vitamin E oil slow oxidation and stretch the shelf life, and a skin-safe essential oil or fragrance oil gives the bar its scent. You'll also want molds: silicone soap or muffin molds release the easiest, and small tins make a handy home for the finished bars.
The Basic Lotion Bar Recipe
The classic lotion bar formula is the 1:1:1 ratio, which means equal parts wax, butter, and liquid oil by weight. It's the recipe you'll see everywhere because it just works, and once you memorize it you never need to look it up again.
| Ingredient | Amount | By weight |
| ------------ | -------- | ----------- |
| Beeswax pastilles | 1/3 cup (about 40 g) | one part |
| Shea or cocoa butter | 1/3 cup (about 40 g) | one part |
| Sweet almond or jojoba oil | 1/3 cup (about 40 g) | one part |
| Vitamin E oil (optional) | 1/2 tsp | trace |
| Essential or fragrance oil (optional) | 15 to 20 drops | trace |
This makes roughly 120 grams of lotion bar, enough for two or three standard bars depending on your mold. A kitchen scale makes it far more repeatable than measuring cups, since waxes and butters pack differently every time you scoop them. If you're weighing, just use equal grams of all three and you're set. Soaply doesn't have a dedicated lotion bar tool yet, so use the lip balm calculator to scale this batch: it's built for the same anhydrous wax, butter, and oil formula, and entering the 1:1:1 split there gives you exact weights for any number of bars.
Want a harder bar for summer? Nudge the wax up a touch. Want something softer and more spreadable? Trade a little wax for more oil. The 1:1:1 base is your starting point, not a rule you can't bend.
Step-by-Step Instructions
- Set up a double boiler. Put an inch of water in a small pot and rest a heatproof glass measuring cup or bowl in it. This gentle, indirect heat protects the oils. Don't melt lotion bars directly over a burner.
- Melt the beeswax first. Beeswax has the highest melting point, around 145°F, so add it to the cup and let it liquefy before anything else. It's slow to melt, so give it a few minutes.
- Add the butter and carrier oil. Once the wax is liquid, stir in your shea or cocoa butter and the liquid oil. Keep the heat low and stir until everything is clear and combined, then pull the cup off the heat. Overheating dulls the butters and can speed up graininess.
- Run a firmness test. Dip a cold metal spoon into the mix and let it set for a minute. Too soft, stir in a few more beeswax pastilles. Too hard, add a splash more oil. Adjust now, before you pour.
- Add vitamin E and scent. Let the mix cool for thirty seconds, then stir in the vitamin E and your essential or fragrance oil. Adding scent off the heat keeps it from cooking off.
- Pour into molds. This blend firms up fast once the beeswax cools, so pour into your molds right away. A spouted measuring cup makes for a cleaner pour. Gently reheat if it sets before you finish.
- Let it set and unmold. Leave the molds undisturbed for about an hour, or pop them in the fridge for fifteen minutes to speed things up. Silicone molds peel away cleanly once the bars are fully solid.
How to Use a Lotion Bar
Using a lotion bar is the easy part. Warm it against your skin by rubbing the bar directly over dry areas: hands, elbows, knees, heels, shins, wherever you need it. Your body heat melts a thin layer of oils and butters onto the skin, and you smooth it in with your fingers. A few passes is plenty, since bars are concentrated and a little goes a long way.
The best time to use one is right after a shower while your skin is still slightly damp, which helps trap moisture. Bars are ideal for rough, stubborn spots and for cuticles and dry hands during winter. Because they leave a richer film than a quick-absorbing lotion, give them a minute to sink in before you grab your phone or pull on gloves.
Keep the bar in a small tin or on a dish, not loose in a warm bag where it could soften and pick up lint. If it ever gets soft on a hot day, a few minutes in the fridge firms it right back up.
Getting the Firmness Right
Firmness is the thing most people want to fine-tune, and it comes down to two levers: how much wax you use, and which butter you pick. More beeswax makes a harder, longer-lasting bar. More liquid oil makes a softer, more spreadable one.
Climate matters too. If you live somewhere hot or you're mailing bars in summer, bump the wax up so they survive the trip, or swap some of the shea for cocoa butter, which is harder and holds its shape better in a warm car. For a softer bar meant to melt quickly onto skin, lean the other way with a little extra oil.
The cold-spoon test in step four is your best guide here. A lotion bar feels completely different warm and liquid than it does set and at room temperature, so never judge firmness from the melted cup. Test, adjust, then pour. It takes two minutes and saves you from a whole batch that's too greasy or too stiff to use.
How to Scent and Customize Your Bars
Plain lotion bars are lovely, but scent and add-ins make them feel finished. For fragrance, stir in skin-safe essential oils or a body-safe fragrance oil off the heat. Keep the total scent to around 1 to 2 percent of your batch weight, which lands near 15 to 20 drops for a small batch. Lavender, sweet orange, and peppermint are easy crowd-pleasers, and the same essential oils you'd use in soap work here too. Skip hot oils like cinnamon bark and clove at high rates, since they can irritate skin.
For extra conditioning, you can work in a small amount of a specialty oil like rosehip or a spoonful of extra butter, adjusting the wax to keep the bar firm. To tint bars a natural color, a pinch of skin-safe mica or a little cocoa powder does the job, though most people leave lotion bars their natural cream color. Avoid anything water-based like fruit purees or aloe juice, since water in a waterless bar invites mold and would need a preservative you don't otherwise have to worry about.
Vegan and Beeswax-Free Lotion Bars
Beeswax is an animal product, so a vegan bar needs a plant wax instead. The best swap is candelilla wax, a hard wax from a desert shrub. It's firmer than beeswax, so use about half to two-thirds as much and adjust from there with the spoon test. Carnauba wax works too but is even harder and can feel draggy, so blend it with a little extra oil.
If you'd rather skip wax altogether, you can build a softer bar that leans on cocoa butter for structure. A blend of mostly cocoa butter with a little shea and oil sets firm enough to hold as a bar, though it'll be meltier than a waxed version and needs to stay somewhere cool. It won't be as sturdy in your pocket, but it feels wonderful and melts fast onto skin.
Troubleshooting Greasy or Grainy Bars
Too greasy and it never seems to sink in? There's too much oil relative to wax and butter. Remelt the batch and add beeswax a teaspoon at a time until a cold-spoon test feels drier and firmer.
Grainy or gritty texture is almost always the shea butter recrystallizing as it cools slowly. Melt everything fully, then cool fast by chilling the filled molds in the fridge for fifteen minutes right after pouring. If a batch already turned grainy, gently remelt it and chill it quickly to reset the crystals.
Too soft and it won't hold its shape? You need more wax or a harder butter. Remelt and add beeswax, or swap some shea for cocoa butter, testing with the cold spoon until it firms up.
Sweating or oily droplets on top usually means temperature swings. Store bars away from heat and direct sun, and a quick chill after pouring helps the oils stay locked in place.
Storage and Shelf Life
Because a lotion bar is anhydrous, meaning it has no water, bacteria and mold have nothing to grow in, so it lasts without a preservative. A well-made bar stays good for about six months to a year. The clock is really set by your oils: shelf-stable ones like jojoba barely go off, while lighter oils like grapeseed turn sooner.
A few drops of vitamin E oil slow that oxidation and stretch the shelf life. Keep finished bars in a tin somewhere cool and dark, label them with the date you made them, and toss any bar that smells sharp or off, which is the telltale sign the oils have gone rancid. If you're gifting or selling, add a use-by date so people know when the bar is freshest.
💬 Frequently Asked Questions
How do you use a lotion bar?
Rub the solid bar directly over dry skin like hands, elbows, heels, and shins. Your body heat melts a thin layer of oils and butters onto the skin, which you smooth in with your fingers. A few passes is plenty since bars are concentrated. They work best right after a shower on slightly damp skin.
What is the ratio for lotion bars?
The classic lotion bar recipe is a 1:1:1 ratio, meaning equal parts wax, firm butter, and liquid oil by weight. Weigh out equal grams of beeswax, shea or cocoa butter, and a carrier oil like sweet almond. Add more wax for a harder bar, or more oil for a softer, more spreadable one.
Do lotion bars need a preservative?
No. Lotion bars have no water, so bacteria and mold have nothing to grow in, which means they're safe without a preservative. Just keep them away from moisture. If you ever add a water-based ingredient like aloe juice, that changes, and the bar would then need a proper preservative.
How long do homemade lotion bars last?
About six months to a year. Since they're waterless they won't grow mold, so shelf life depends on your oils. Use shelf-stable oils like jojoba, add a few drops of vitamin E, and store the bars cool and dark. Replace any bar that smells rancid or sharp.
Why is my lotion bar greasy?
A greasy bar has too much liquid oil relative to wax and butter, so it can't firm up enough to absorb cleanly. Remelt the batch and stir in more beeswax a teaspoon at a time, testing with a cold spoon until it feels drier and holds a firmer set.
Make More Than Lotion Bars
Once you've nailed a lotion bar, you're a short step from a whole shelf of handmade skincare. The same butters shine in a whipped body butter and a creamy shea butter soap, the beeswax you bought has dozens of uses in soap making, and those leftover butters and oils are perfect for a batch of shea butter lip balm. When you're ready to make real soap from scratch, the free Soaply soap calculator does the lye and water math for you so every batch comes out safe and balanced. Pick your oils, run the numbers, and your next project can be in the mold this weekend.
Ready to Try It?
Use the free Soaply lotion calculator to size your batch and get every ingredient in grams and percent.
Open Calculator