How to Make Lip Balm: An Easy Beginner Recipe You Can Customize
Learn how to make lip balm at home with an easy 3-ingredient recipe. Get the wax-to-oil ratio, vegan and tinted versions, and fixes for soft or grainy balm.
This article contains Amazon links. As an Amazon Associate, Soaply earns from qualifying purchases at no extra cost to you.
Making lip balm at home comes down to melting three things together: a wax for structure, a butter for conditioning, and a liquid oil for glide. Pour the warm mix into tubes, let it set, and in under half an hour you've got a batch of natural lip balm that costs pennies per tube and beats most drugstore sticks. This guide covers how to make lip balm from scratch, the one ratio that controls how hard or soft it sets, and easy vegan, tinted, and flavored versions once you've got the basics down.
Quick pick: If you want everything in one box, a lip balm making kit comes with tubes, beeswax, and a pour tray. If you already stock oils and butters, all you need to add is a bag of beeswax pastilles and some empty tubes.
- What You Need to Make Lip Balm
- The Basic Lip Balm Recipe
- How to Make Lip Balm Step by Step
- Dialing In the Firmness
- How to Make Lip Balm Without Beeswax
- How to Flavor and Tint Lip Balm
- Filling, Storing, and Shelf Life
- Troubleshooting Grainy or Soft Balm
- Frequently Asked Questions
What You Need to Make Lip Balm
Every good lip balm is built from three kinds of ingredient, plus a couple of optional extras. Once you understand what each one does, you can swap brands and oils freely without breaking the recipe. Keep everything cosmetic or food grade, since this is going on your lips.
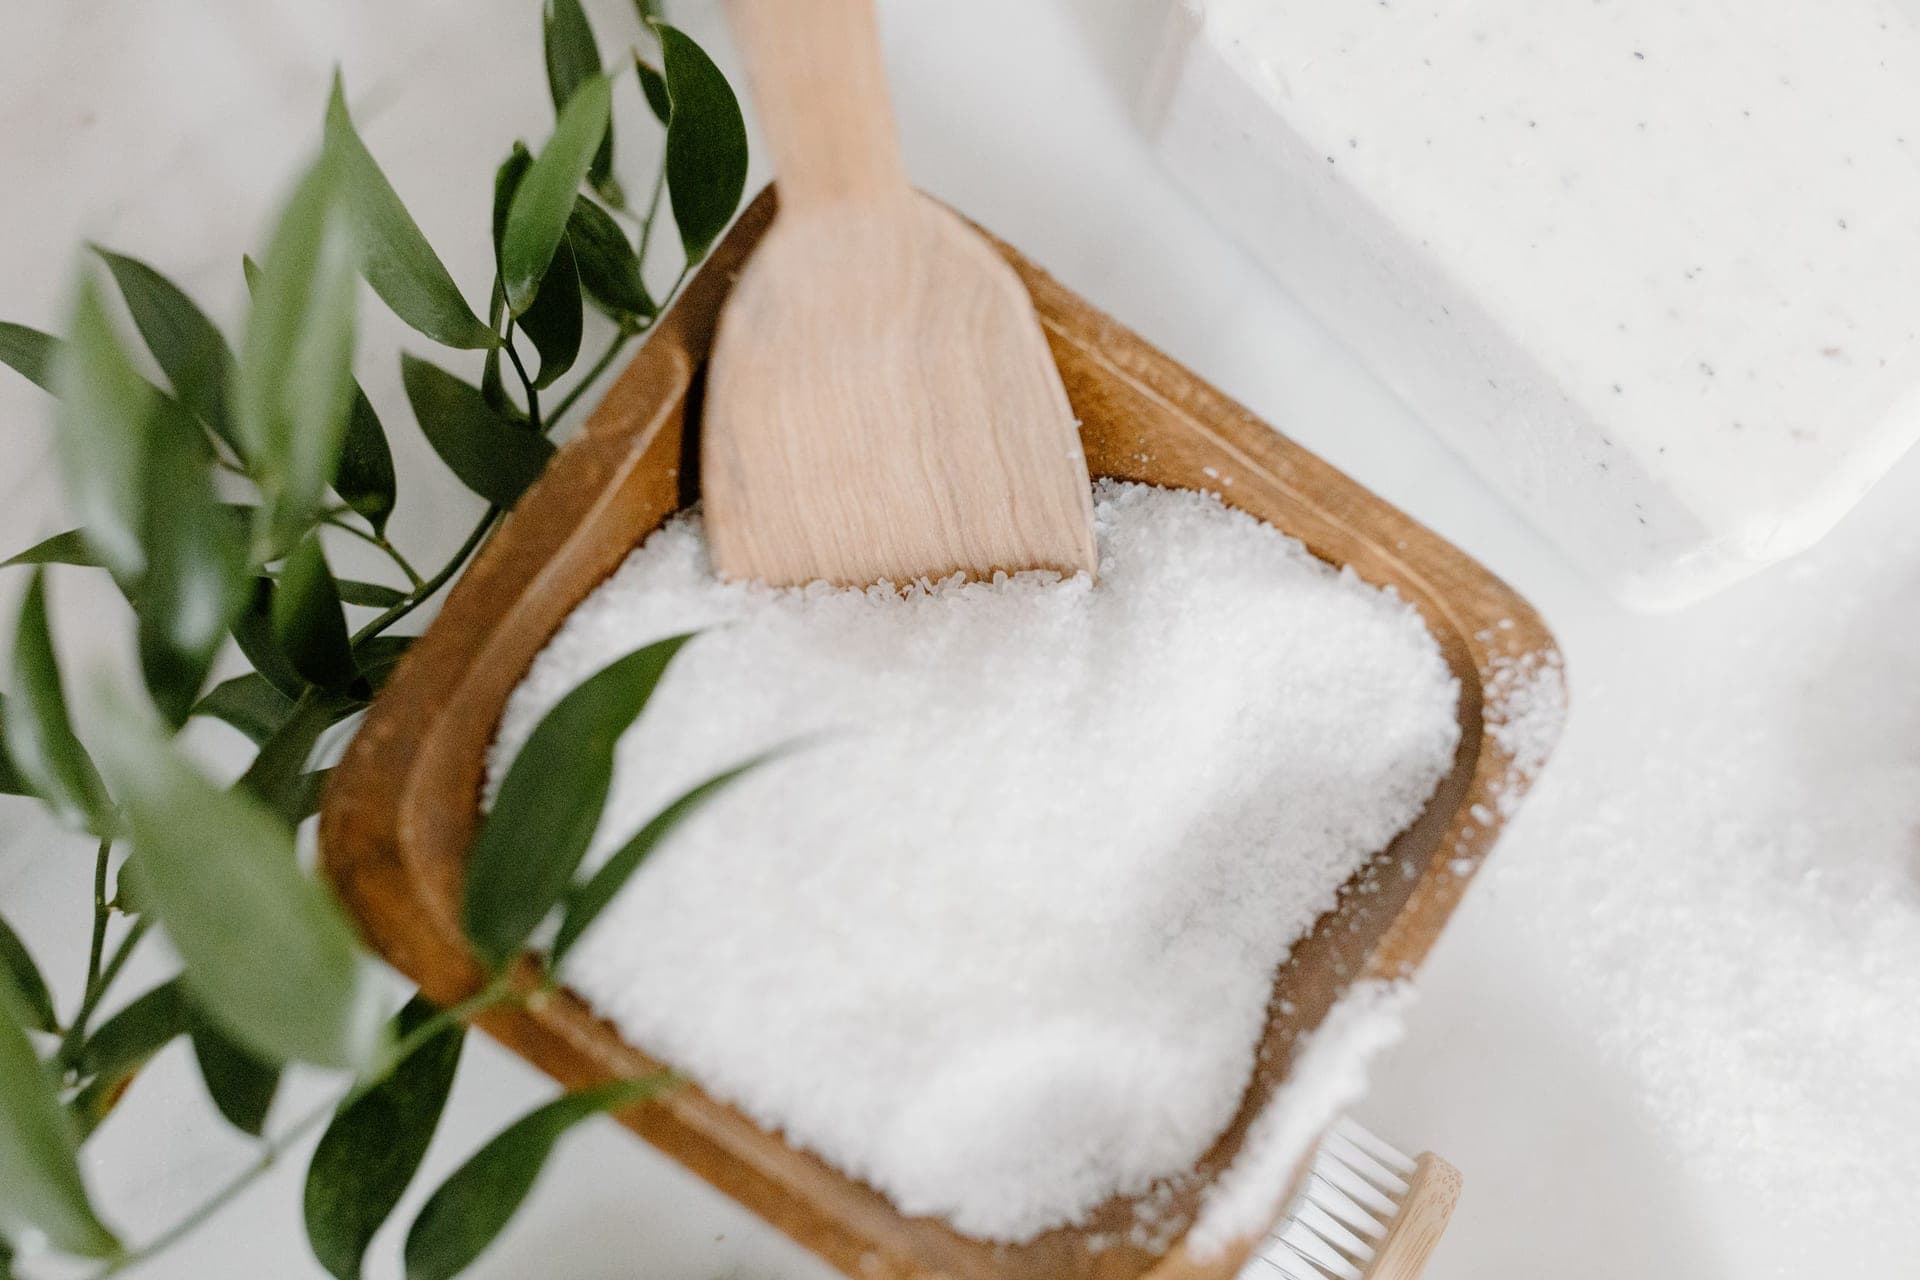
A wax gives the balm its backbone. It's what turns a puddle of oil into something that holds its shape in a tube. Beeswax is the classic pick because it's protective, faintly sweet, and easy to find as small pastilles that melt fast. Cosmetic-grade beeswax is the one you want, not craft or candle beeswax.
A solid butter adds richness and a creamy feel. Shea butter and cocoa butter are the two most popular. Cocoa butter is harder and adds a light chocolate note, while shea is softer and nearly scent-free when refined. This is the conditioning heart of the balm.
A liquid carrier oil keeps the balm gliding smoothly instead of dragging. Sweet almond, jojoba, and fractionated coconut oil are all excellent because they stay stable and soak in cleanly. Olive oil and sunflower oil work too if that's what you already have.
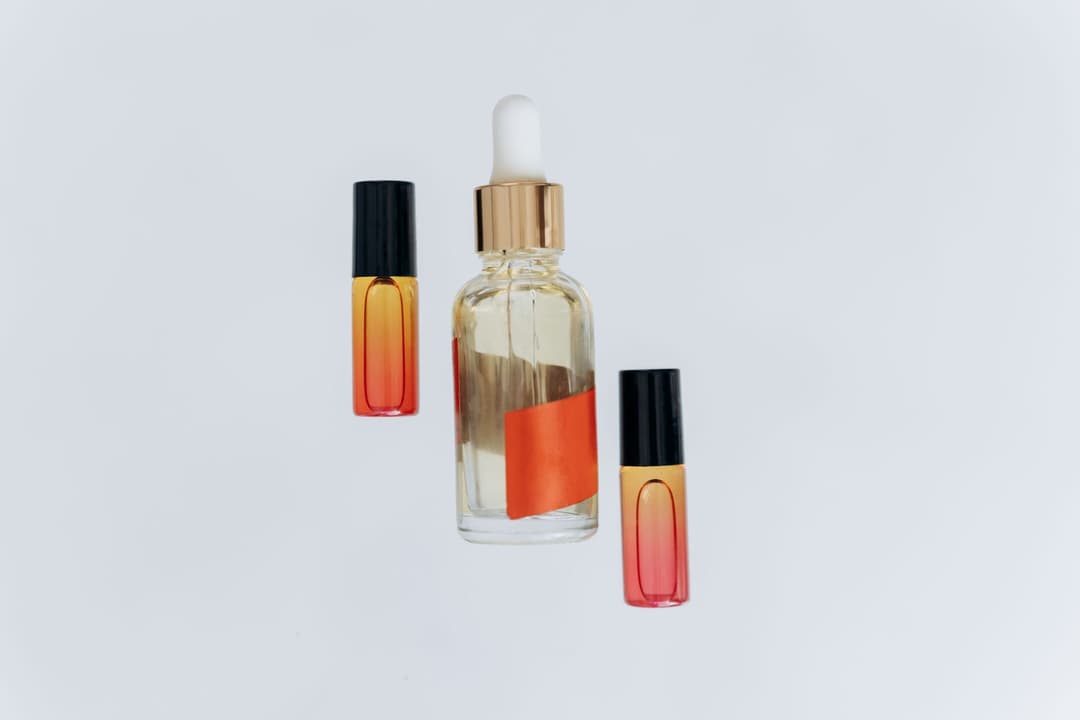
Two optional extras earn their place in most batches. A few drops of vitamin E oil slow down how fast your oils age, and a lip-safe flavor or tint makes the balm feel finished. We'll cover both below.
The Basic Lip Balm Recipe
Here's a simple recipe for making lip balm that fills about ten standard tubes. It's measured by weight because that's what keeps the firmness consistent from batch to batch. A cheap digital kitchen scale that reads in grams is the single best upgrade for any home balm maker.
| Ingredient | By weight | Rough volume | Role |
| --- | --- | --- | --- |
| Beeswax pastilles | 30% (9 g) | about 1 tbsp | structure and firmness |
| Shea or cocoa butter | 30% (9 g) | about 1 tbsp | conditioning body |
| Liquid carrier oil | 40% (12 g) | about 2 tsp | glide and spread |
| Vitamin E oil (optional) | a few drops | 3 to 4 drops | extends shelf life |
That's about 30 grams total, which fills roughly ten 3-gram tubes or two half-ounce tins. No scale on hand? A one-to-one-to-one shortcut of 1 tablespoon beeswax, 1 tablespoon butter, and 1 tablespoon oil gets you close, though weighing is more reliable once you start tweaking.
A Shea Butter Lip Balm Variation
Shea butter deserves a version of its own. It's solid at room temperature but melts at skin temperature, so it spreads into a thin layer that slows water loss, which is the actual reason lips crack in winter. It's rich in oleic and stearic fatty acids plus a natural fraction of unsaponifiables, the conditioning compounds behind its reputation. You'll see two grades for sale: refined shea is filtered and deodorized, so it's pale and nearly scent-free and lets your flavor come through cleanly. Unrefined has a nutty, faintly smoky smell and a tan color, and keeps more of its natural character. Either works. Pick based on whether you want that aroma in the background.
For a shea-forward balm, drop the wax and raise the butter:
| Ingredient | By weight | Role |
| --- | --- | --- |
| Shea butter | 40% (about 28 g) | conditioning base |
| Beeswax pastilles | 20% (about 14 g) | structure |
| Jojoba or sweet almond oil | 40% (about 28 g) | glide |
| Vitamin E oil (optional) | a few drops | shelf life |
That 40/40/20 split makes about 70 grams, enough for roughly a dozen tubes or four to five small tins, and it lands on the soft side, so it suits tins better than twist-up tubes. Want it sturdier without adding wax? Swap about a quarter of the shea for cocoa butter, which is harder and adds a faint chocolate note. Shea is also the butter most likely to turn grainy, so read the troubleshooting section below before you pour.
How to Make Lip Balm Step by Step
You don't need special gear. A small heatproof bowl, a pot for a water bath, and something to stir with will do.
- Set up a double boiler. Put an inch of water in a small pot, set a heatproof bowl on top, and bring the water to a gentle simmer. A double boiler or even a canning jar in a pan of water keeps the heat gentle so nothing scorches.
- Melt the wax and butter first. Add the beeswax and your solid butter to the bowl. Beeswax has the highest melting point, so give it a few minutes to fully liquefy before moving on.
- Stir in the liquid oil. Once the wax and butter run clear, pour in your carrier oil and stir. Adding the oil last keeps it from overheating.
- Do the firmness test, then add extras. Take the bowl off the heat, then stir in vitamin E, flavor, and any tint. Adding these off the heat protects the delicate ones.
- Pour quickly. The mix starts to set as it cools, so pour into your tubes or tins right away. A dropper or a small pouring pitcher makes this far less messy.
- Let it set. Leave the balm at room temperature for about an hour, or chill it in the fridge for 15 minutes for a faster, smoother set. Cap the tubes once they're solid.
Dialing In the Firmness
The ratio of wax to oil is the only thing that decides whether your balm ends up rock hard or too soft to hold in a tube. More wax makes it firmer. More liquid oil makes it softer. Everything else you change, from the butter to the flavor, barely touches the firmness.
The trick experienced makers use is the spoon test. Before you pour the whole batch, dip a cold metal spoon into the melted mix and set it aside for a minute. That thin layer sets up almost instantly and tells you exactly how the finished balm will feel. If it's too hard and waxy, stir in a little more oil. If it smears and won't hold, melt in a few more beeswax pastilles.
Climate matters too. If you live somewhere hot or you carry balm in a pocket, nudge the beeswax up a few percent so it doesn't go soft. For a soft, glossy balm you scoop from a tin, do the opposite and drop the wax down. Tube balms want to be firmer than pot balms because they have to stand up on their own.
How to Make Lip Balm Without Beeswax
Vegan lip balm skips the beeswax and swaps in a plant wax. Candelilla wax is the usual choice, but it's harder and stiffer than beeswax, so use only about two-thirds as much or your balm will feel draggy. Carnauba wax works similarly and is firmer still. Start low and use the spoon test to fine-tune.
You can also build a nearly wax-free balm that leans on cocoa butter for structure, since cocoa butter sets hard on its own. It won't be as sturdy in a tube, so pour these into small lip balm tins instead. Either way, keep the same idea: a firm ingredient for structure, a softer butter for feel, and a liquid oil for glide.
How to Flavor and Tint Lip Balm
Flavor and color are where a homemade lip balm starts to feel like a real product. Both need lip-safe ingredients, so this isn't the place for soap fragrance oils.
For scent and taste, use lip-safe flavor oils made for the job, added at just a drop or two per batch. Essential oils can work at a very low rate, around half a percent, but keep them gentle. Peppermint, spearmint, and sweet orange are popular and well tolerated. Skip hot oils like cinnamon, clove, and cassia, which can burn sensitive lips.
For a hint of color, a tiny amount of cosmetic mica labeled lip-safe gives a sheer tint or shimmer. Add it a pinch at a time and stir well, since a little goes a long way. For a natural rose tint, oil infused with alkanet root works beautifully. Beetroot powder is tempting but tends to stay gritty, so most people skip it.
Filling, Storing, and Shelf Life
Wipe your tubes and tools with a little rubbing alcohol before you start, since a clean fill lasts longer and looks more professional. Pour the warm balm slightly past the fill line, because it dips a little in the center as it cools. A lip balm filling tray lets you fill a dozen tubes at once and scrape the top flush, but a steady hand and a dropper work fine for small batches. If the centers sink, a quick second top-off pour fixes it.
Because lip balm is water-free, it doesn't grow mold and needs no preservative. Shelf life comes down to your oils, and most homemade balm stays good for six months to a year. Store it somewhere cool and dark, and keep tubes out of hot cars, where they'll melt and deform. Adding vitamin E and choosing shelf-stable oils like jojoba buys you extra time. Toss any balm that smells sharp or crayon-like, since that's the oil going rancid.
Troubleshooting Grainy or Soft Balm
Grainy or gritty texture is the most common complaint, and it's almost always shea butter recrystallizing. Shea is made of fats that set at different speeds, and slow cooling lets some of them form tiny crystals you can feel on your lips. The fix is to melt fully, then cool fast: put the filled tubes in the fridge for fifteen minutes right after pouring. A batch that's already grainy can be rescued by remelting it and chilling it quickly.
Too soft to push up in the tube means not enough wax for the oils you chose. Remelt and add beeswax a teaspoon at a time, checking with the cold spoon until it holds.
Too hard and it barely glides is the reverse. Remelt and stir in more carrier oil until it spreads easily on the back of your hand.
Sweating or oily droplets on the surface come from temperature swings after the balm set. Store it away from heat and direct sun, and chill new batches briefly after pouring so the oils stay locked into the wax structure.
💬 Frequently Asked Questions
What is the basic ratio for making lip balm?
A reliable starting point is about 30 percent wax, 30 percent solid butter, and 40 percent liquid oil by weight. More wax makes a firmer stick, more oil makes a softer balm. Adjust in small steps and use the spoon test before pouring the full batch.
Can you make lip balm with just coconut oil and beeswax?
Yes. A two-ingredient balm of roughly two parts oil to one part beeswax by weight works well and is a great first project. It sets up glossy and simple. Coconut oil alone is too soft to hold a shape, which is why the beeswax matters.
Why won't my homemade lip balm harden?
It has too much liquid oil or not enough wax. Melt the batch again and stir in a few more beeswax pastilles, a little at a time, testing on a cold spoon until it sets firm. Coconut and olive oil balms need slightly more wax than jojoba-based ones.
How many lip balms does one batch make?
A 30-gram batch, which is the recipe above, fills about ten standard 3-gram tubes or two half-ounce tins. Scale the recipe up by any whole number and keep the same percentages, and the firmness stays exactly the same.
Is homemade lip balm better than store-bought?
It can be, because you control every ingredient. There's no petroleum, no mystery fragrance, and no filler. As long as you use cosmetic or food-grade oils, a lip-safe flavor, and clean tubes, a homemade balm is just as safe and often more conditioning than a drugstore stick.
Why is my homemade lip balm grainy?
Graininess comes from shea (or mango) butter recrystallizing as it cools slowly. Melt everything fully, then chill the filled tubes in the fridge for about fifteen minutes so the fats set before crystals can form. You can rescue a grainy batch by remelting it and cooling it fast.
Turn One Batch Into a Whole Shelf
Once you've learned how to make lip balm, you're a short step from a shelf of handmade skin care. The same butters whip into a rich body butter, that bag of beeswax has dozens of uses in soap, and the shea-forward variation above makes a good second batch. To size any of these recipes to the exact number of tubes you want to fill, run it through the free Soaply lip balm calculator. It scales the wax, butter, and oil percentages to your tube count and totals the cost per tube. Pick your oils, run the numbers, and your next project can be setting up by tonight.
Ready to Try It?
Use the free Soaply lip balm calculator to size your batch and get every ingredient in grams and percent.
Open Calculator