How to Fix Common Soap Making Mistakes
Learn how to identify and fix the most common cold process soap making problems, from seized soap to soda ash, and how to prevent them next time.
How to Fix Common Soap Making Mistakes
Every soap maker has had a batch go wrong. Whether it is your first attempt or your fiftieth, problems happen. The good news: most mistakes are fixable, and almost all are preventable once you understand what went wrong.
This guide covers the most common cold process soap making mistakes, what causes them, and how to fix or prevent them.
- Soap Seized (Turned Solid Too Fast)
- Soda Ash (White Powdery Film)
- Soft or Sticky Bars
- Dreaded Orange Spots (DOS)
- Lye Heavy Soap (Soap That Burns or Stings)
- Glycerin Rivers (Translucent Lines)
- Partial Gel (Ring of Doom)
- Cracking on Top
- Air Bubbles
- False Trace
1. Soap Seized (Turned Solid Too Fast)
What it looks like: Your soap batter suddenly turns thick, lumpy, or solid in the pot. You cannot pour it smoothly into the mold.
Common causes:
- Fragrance oil that accelerates trace (floral and spice fragrances are common culprits)
- Soap batter was too hot when fragrance was added
- Over-blending with a stick blender
- High percentage of hard oils or butters
How to fix it:
- If it is still somewhat workable, glop it into the mold and press it down firmly. It will not look pretty, but it will still be usable soap.
- For a complete seize, you can rebatch it. Chop the soap, add a small amount of water or milk, and melt it in a slow cooker on low until it is a mashed potato consistency. Then remold.
How to prevent it:
- Research fragrance oils before using them. Check supplier reviews for acceleration warnings.
- Blend to a light trace before adding fragrance, then stir fragrance in by hand.
- Soap at lower temperatures (90-100°F) when using risky fragrances.
- Reduce hard oil percentages if you consistently have acceleration issues.
2. Soda Ash (White Powdery Film)
What it looks like: A white, chalky, or ashy film on the surface of your soap. Sometimes it covers the entire top, sometimes just patches.
What causes it: Unsaponified lye reacts with carbon dioxide in the air. It is cosmetic and does not affect the soap's quality or safety.
How to fix it:
- Steam the surface with a handheld garment steamer or hold it briefly over a pot of boiling water. The steam dissolves the soda ash.
- Wash it off under running water and wipe with a cloth.
- For light soda ash, it often fades after a few weeks of curing.
How to prevent it:
- Spray the top of your freshly poured soap with 91% isopropyl alcohol.
- Cover the mold tightly with plastic wrap immediately after pouring.
- Gel phase your soap (insulate the mold with towels). Soda ash rarely forms on fully gelled soap.
- Use a water discount. A higher lye concentration means less free water to react with CO2.
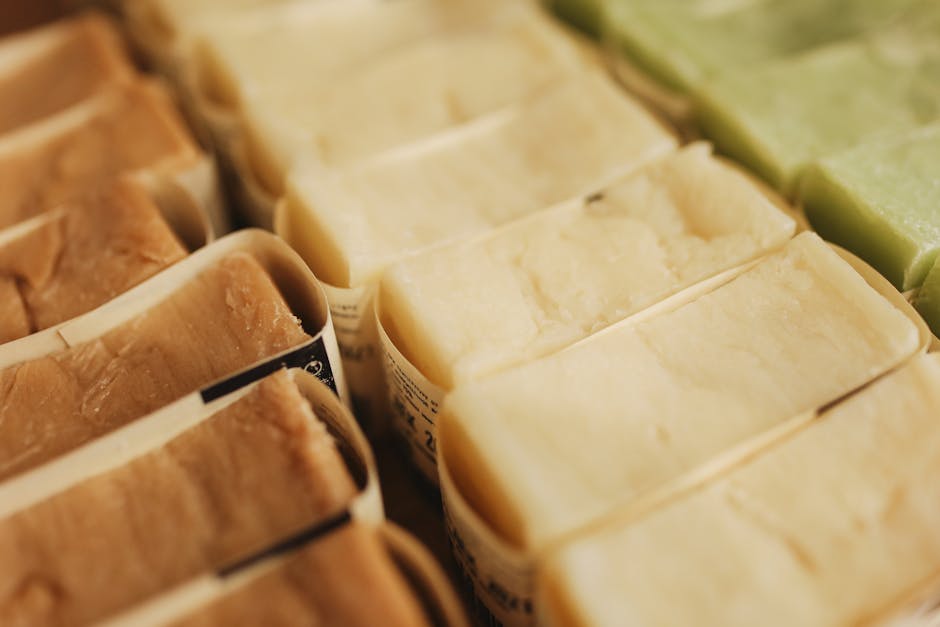
3. Soft or Sticky Bars
What it looks like: After 24-48 hours, your soap is still too soft to unmold. Or after curing, the bars feel mushy and do not hold up in the shower.
Common causes:
- Too many soft oils (olive, sunflower, sweet almond) without enough hard oils
- Not enough cure time
- Too much water (low lye concentration)
- Lye was measured incorrectly
How to fix it:
- Give it more time. Some high-olive-oil recipes need 48-72 hours before unmolding.
- If it is been a week and the soap is still very soft, put it in the freezer for a few hours. This often firms it enough to unmold.
- Extend cure time to 6-8 weeks for soft oil-heavy recipes.
How to prevent it:
- Aim for at least 25-30% hard oils and butters (coconut, palm, cocoa butter, shea, lard, tallow).
- Use a higher lye concentration (33-35% instead of the default 28-30%).
- Use the Soaply calculator to check your bar properties before mixing. Look at the Hardness score; aim for at least 35-45.
- Add sodium lactate at 1 tsp per pound of oils for harder bars.
4. Dreaded Orange Spots (DOS)
What it looks like: Orange or brown spots that appear on cured soap, sometimes weeks or months after making. They often smell rancid.
What causes it: Oils in the soap have gone rancid. This is more common with oils that have a short shelf life (hemp seed, grapeseed, canola, sunflower).
How to fix it:
- If the spots are small and few, you can cut them out and use the rest of the bar.
- If the whole bar smells rancid, discard it.
- You can rebatch spotted soap, but the rancid oils are still there, so the problem may return.
How to prevent it:
- Use fresh oils. Check expiration dates and smell oils before using.
- Keep short shelf-life oils under 10% of your recipe.
- Add Rosemary Oleoresin Extract (ROE) at 0.02-0.05% of oil weight as an antioxidant.
- Store cured soap in a cool, dry, dark place with airflow.
- Use a higher superfat only with stable oils. High superfat with rancid-prone oils is asking for DOS.
5. Lye Heavy Soap (Soap That Burns or Stings)
What it looks like: The soap feels "zappy" on the tongue (yes, the tongue test is real), irritates skin, or is crumbly and brittle.
What causes it:
- Measuring error (too much lye or not enough oil)
- Using the wrong type of lye (KOH vs NaOH have different SAP values)
- Not mixing thoroughly (lye pockets in the soap)
How to fix it:
- If the soap is lye heavy, do NOT use it on skin.
- Rebatch it with additional oils. Grate the soap, melt it down in a slow cooker, and add extra oil (start with 1-2 oz per pound of soap).
- Test with pH strips after rebatching. Soap should be pH 9-10.
How to prevent it:
- Always measure by weight, never by volume.
- Double-check your recipe in a lye calculator before mixing.
- Make sure your scale is accurate and calibrated.
- Stick blend thoroughly to ensure even saponification.
- Run your recipe through multiple calculators to verify; the numbers should match.
6. Glycerin Rivers (Translucent Lines)
What it looks like: Translucent, crackly, or river-like lines running through your soap when you cut it. More common in lighter colored soaps.
What causes it: Overheating during gel phase, often caused by too much insulation or using titanium dioxide. The glycerin separates slightly and forms visible channels.
How to fix it:
- There is no fix, but glycerin rivers are purely cosmetic. The soap is safe and functions fine.
How to prevent it:
- Do not over-insulate your mold.
- If using titanium dioxide, mix it into oils before adding lye.
- Avoid CPOP (cold process oven process) if you get rivers frequently.
- Some soap makers embrace glycerin rivers as a unique design element.
7. Partial Gel (Ring of Doom)
What it looks like: A darker ring or circle in the center of each bar, with lighter edges. The center looks more translucent than the outside.
What causes it: The center of the mold got hot enough to gel, but the edges did not. It happens when insulation is uneven.
How to fix it:
- Cut the soap and use it. Partial gel does not affect safety or performance.
- If it bothers you aesthetically, you can try to force full gel by putting the mold in a 170°F oven for 1-2 hours (CPOP method).
How to prevent it:
- Commit to full gel (insulate well with towels and a heating pad underneath) or no gel (put the mold straight in the fridge/freezer).
- Use individual cavity molds instead of loaf molds, as they gel more evenly.
- Soap at higher temperatures (120-130°F) if you want full gel.
8. Cracking on Top
What it looks like: The top of your soap loaf has cracks or splits after it has set up.
What causes it: The soap overheated. This happens when:
- Too much insulation was used
- The recipe has a lot of sugars, honey, or milk (which generate extra heat)
- High percentage of fast-moving oils (coconut, palm kernel)
How to fix it:
- Smooth the top before cutting if the cracks are shallow.
- If the cracks are deep, cut around them.
- The soap is still perfectly usable.
How to prevent it:
- Do not insulate milk or honey soaps, as they generate plenty of heat on their own.
- Start at lower temperatures (80-90°F) for sugar or milk recipes.
- Monitor the mold temperature. If it is getting very hot, remove insulation.
9. Air Bubbles
What it looks like: Small holes or pockets in the finished soap, visible when you cut it.
What causes it: Air was introduced during blending and was not tapped out before the soap set up.
How to fix it:
- Cosmetic only. The soap works fine.
- For future batches, tap the filled mold firmly on the counter several times after pouring.
How to prevent it:
- Keep the stick blender head submerged while blending (do not lift it in and out).
- Tap and drop the mold on the counter after pouring.
- Pour slowly from a low height.
10. False Trace
What it looks like: You think you have reached trace, but after pouring, the soap separates into oil and lye layers in the mold.
What causes it: Solid oils (like coconut oil, butters) cooled and thickened the batter, mimicking trace. The oils were not actually saponifying; they were just solidifying.
How to fix it:
- If you catch it early (oily liquid pooling on top), you can pour the mixture back into the pot and reblend.
- If it has been sitting for hours with separation, the unsaponified lye is dangerous. Discard safely or rebatch carefully.
How to prevent it:
- Make sure your oils are fully melted and at proper temperature (100-110°F) before adding lye.
- Blend until you see true trace: drizzle from the blender should leave a visible trail on the surface for a few seconds.
- Do not rely only on thickness; look for emulsification.
The Most Important Rule
Measure accurately. A digital scale that reads in grams, a reliable lye calculator, and careful attention to your recipe will prevent the majority of soap making failures.
When in doubt, run your numbers through the Soaply calculator before you start. It is free, it is fast, and it will tell you exactly what your bar properties will be before you commit a single ounce of oil.

💬 Frequently Asked Questions
Can I still use soap that has soda ash?
Yes! Soda ash is purely cosmetic and doesn't affect the soap's cleaning ability or safety. You can either wash it off or steam it away, but the soap is perfectly fine to use as-is.
What's the difference between seized soap and false trace?
Seized soap happens when the batter suddenly thickens due to acceleration from fragrance oils or high temperatures. False trace occurs when solid oils cool down and create a thick appearance before actual saponification begins.
How long should I wait before using soap with DOS (orange spots)?
Don't use soap with DOS. The orange spots indicate rancid oils, which can cause skin irritation and have an unpleasant smell. It's best to discard the entire bar.
Can I prevent all soap making mistakes?
While you can minimize mistakes with proper technique, accurate measurements, and quality ingredients, even experienced soap makers occasionally have batches go wrong. The key is learning from each issue and adjusting your process.
Is it safe to rebatch lye-heavy soap?
Yes, but only if you add additional oils to neutralize the excess lye. Always test the pH after rebatching and ensure it's within the safe range (pH 9-10) before use.
More soap making guides: Beginner's Guide · Lye Concentration · Oil Selection · Superfat Guide · Bar Properties
Ready to Try It?
Use our free soap calculator to create your perfect recipe with real-time property predictions.
Open Calculator